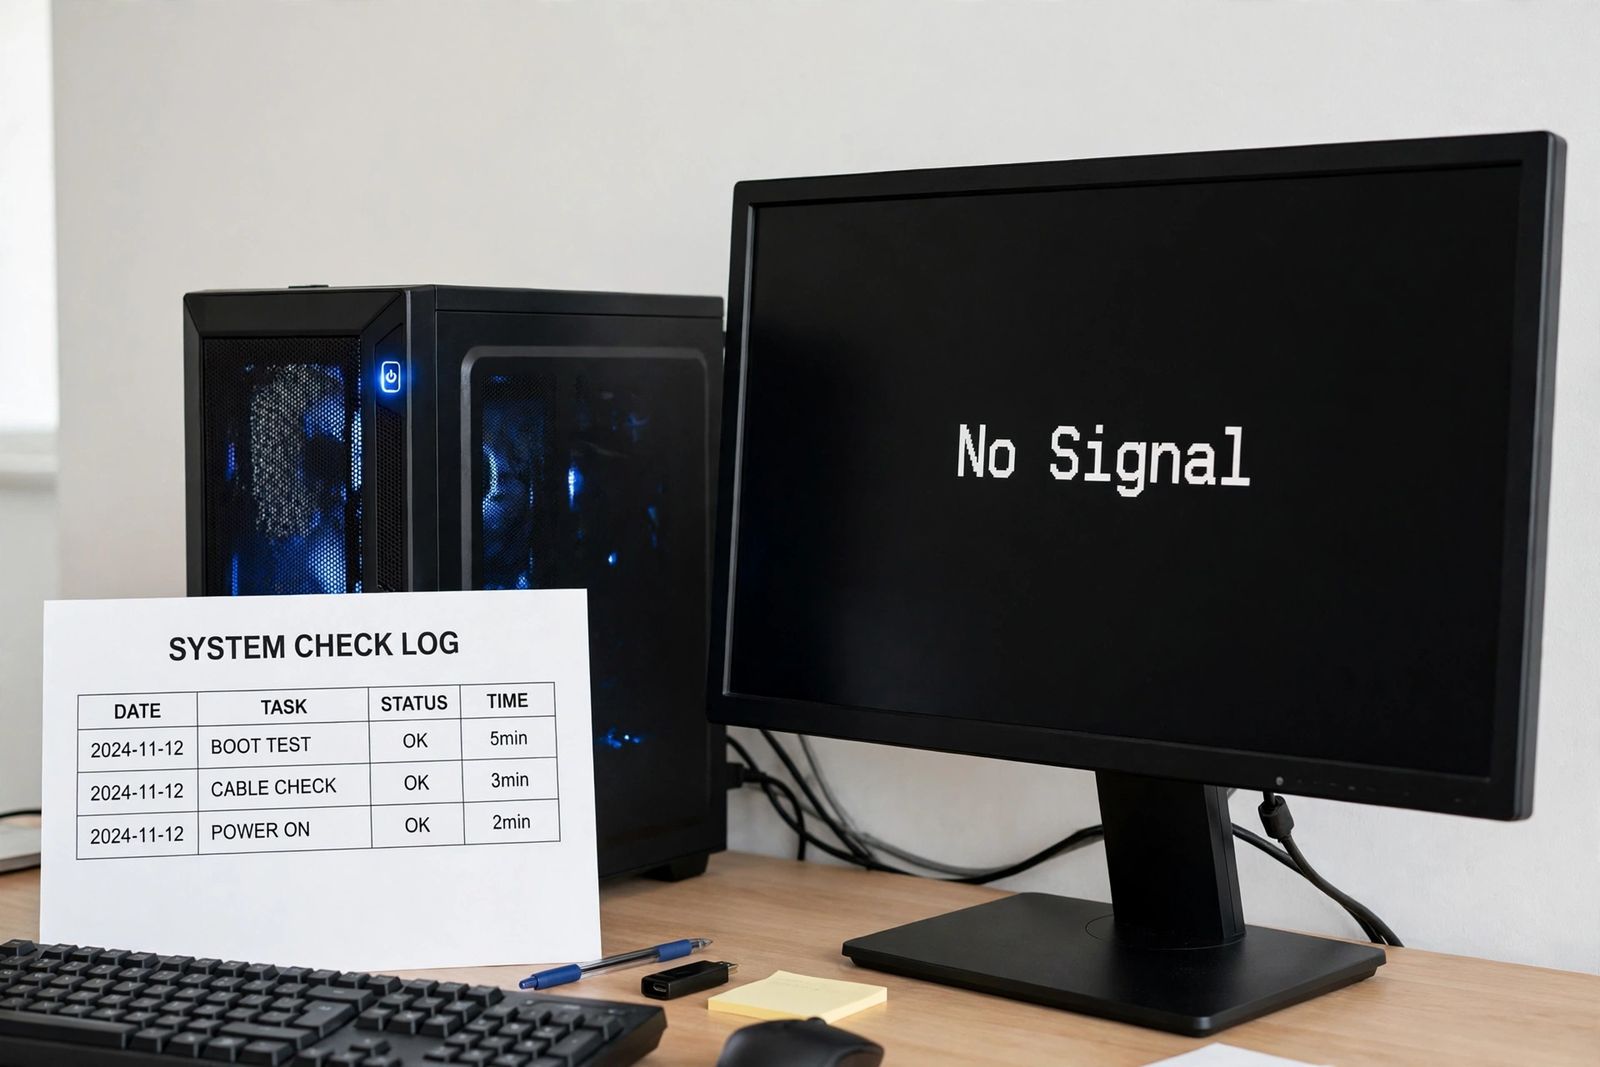
A monitor that says “No Signal” has power and a working screen — it is simply receiving no video on the input it is listening to, so the fault sits in one link of a short chain: the cable, the input the monitor is set to, the port the cable is plugged into at the PC end, the PC’s ability to produce video at all, or one failed part that a swap can identify. Do not test those links at random, and do not start by opening the case or reinstalling drivers. Follow the test sequence below in its exact order — cable, input source, port and graphics card, RAM reseat, then a known-good swap — testing after each step and stopping the moment the picture returns. Each step rules out one link, so by the end the dead link has named itself instead of you guessing at it.
What “No Signal” proves — and what it does not
The message is drawn by the monitor itself, not sent by the computer. That is genuinely useful information: a monitor that can light up and draw its own “No Signal” box has power, a working panel and working electronics. Dell makes the same point with its monitor self-test: disconnect the video cables, turn the monitor on, and the no-signal or self-test message that appears is the monitor demonstrating it can produce an image on its own — Dell’s self-test guide uses exactly this check to separate a monitor problem from a cable, graphics card or computer problem.
What the message does not prove is anything about the rest of the chain: not that the cable carries video, not that the monitor is listening on the right input, not that the port at the PC end outputs anything, and not that the PC finished starting up. Each of those is a separate link that fails in its own way — which is why the order below goes link by link instead of fix by fix.
Two quick observations before the sequence. First, is the PC actually running? Look for fans, a power light, and a keyboard whose Caps Lock light toggles when you press Caps Lock. If Caps Lock responds, the PC is awake and the fault is in the video chain. If instead the keyboard itself is the unreliable part — some keys dead, others fine, on a PC whose picture works — that is a separate fault, diagnosed by its dead-key pattern in some keyboard keys not working. If the keyboard is a USB one and it — along with every other USB device — is dead in every port, the unreliable part is the ports rather than the keyboard, and USB ports not working splits that fault by how many ports have failed. If the fans spin but Caps Lock never responds, the PC has probably not finished starting up — that is handled at step 4, because a PC that never completes its start-up checks never sends a picture. Second, did a maker’s logo appear at start-up before the message? A picture that vanishes as Windows loads means the cable, port and monitor all work, and the problem is a Windows setting or driver — that case has its own section after the sequence. If you have never seen any picture from this PC on this monitor, start at step 1. If the screen showing the message is a TV fed by a streaming box, console or cable box rather than a PC, the same chain logic applies with TV-specific steps — input, cable swap, port swap and a TV-first handshake reset — in TV no signal on HDMI.
The ordered test sequence
Work through these five steps in order. Change one thing at a time, test after each change, and stop as soon as the picture returns — the step that brings it back names the dead link. Steps 1 to 3 need no tools and open nothing. Step 4 is the first and only step inside the case, and it comes fourth on purpose: most no-signal cases are already fixed by then, and opening a PC to reseat parts before ruling out a cable is how working parts get disturbed for no reason. Step 5 is the decider, used only when the first four have not found it.
| Step | Link being tested | The test, in brief | If the picture returns, the dead link was |
|---|---|---|---|
| 1 | Cable | Reseat both ends firmly; inspect the plugs; remove anything between PC and monitor | A half-seated, damaged or adapted connection |
| 2 | Input source | Set the monitor by hand to the exact input the cable uses — HDMI 1 is not HDMI 2 | The monitor was listening on the wrong input |
| 3 | Port / graphics card | On a desktop with a graphics card, move the cable to the card’s ports; try a second port | The motherboard port, or one dead output |
| 4 | RAM seating (and whether the PC starts at all) | Power off, unplug, reseat each RAM stick until its clips lock; watch for start-up signs | A memory stick the PC could not start with |
| 5 | One part, proven by swap | Swap in one known-good part at a time — cable, then monitor, then source — and read the result table | Whichever part the fault follows |
Step 1: The cable — reseat it, inspect it, simplify it
Turn both the PC and the monitor off. Unplug the video cable at both ends, look at each plug, then push both ends firmly back in until each is fully seated. A plug that looks connected can sit a millimetre out and carry nothing; on DisplayPort plugs, press the release latch before pulling the plug out, and push it back until it clicks — DisplayPort connectors lock with a latch, not with screws, whatever some guides say. Thumbscrews belong to older VGA and DVI cables: if you use one of those, tighten both screws at both ends, and check the pins inside the plug, because a bent pin is a classic cause of a missing picture.
While the cable is out, simplify the path. Take out anything sitting between the computer and the monitor — a dock, a hub, a KVM switch, a splitter, an adapter, an extension. Connect one monitor to the computer with one direct cable. Microsoft’s external-monitor troubleshooting starts its hardware checks the same way: disconnect accessories, because docks, dongles and adapters can cause conflicts, make sure the cable connecting the PC to the monitor is secure, and try changing the cable — if the new one works, the previous cable was faulty. Adapters deserve particular suspicion during this test: many HDMI-to-DisplayPort and DisplayPort-to-HDMI adapters work in one direction only, and a USB-C port only carries video at all if it supports DisplayPort Alt Mode or Thunderbolt — the shape of the plug guarantees nothing.
Then turn the monitor on first, then the PC, and test. If the picture is back, the link was the connection itself. If not, leave the direct connection in place — it stays in place for the rest of the sequence, so nothing in between can confuse a later result.
Step 2: The input source — tell the monitor where to listen
A monitor with several inputs is listening to exactly one of them, and many monitors do not switch automatically, or switch too slowly and give up. If your cable is in HDMI 2 and the monitor is set to HDMI 1 or DisplayPort, it will report “No Signal” on a completely healthy setup. Press the monitor’s Input, Source or menu button — often a small joystick on the back or underside — open the input list, and select by hand the exact input that matches the physical port your cable is plugged into, reading the label beside the port rather than trusting your memory of it. HDMI 1 and HDMI 2 are different inputs; so are two DisplayPorts.
Give it a few seconds after selecting. If your monitor offers an Auto Select or Auto Source option, it is reasonable to turn it on after the manual selection has worked, so the monitor finds the active input itself next time — but prove the manual selection first, because auto modes are exactly what fails after sleep, a power cut or a cable change. On Dell monitors, for example, the same floating box is used for “No VGA Cable”, “No HDMI Cable” and “No DP Cable” depending on the input selected, and the wording tells you which input the monitor thinks it is on — read it as a label, not just an error.
If the correct input is selected and there is still no picture, the monitor is listening in the right place and hearing nothing. The fault is now upstream of the monitor: move to the PC end. The same input test applies when the screen is a TV and the source is a streaming player rather than a PC — select the exact HDMI input the player uses. If the picture then appears but the player does not respond to its own remote, the signal fault is solved and the remaining fault is a different one, worked through by remote type in Roku remote not working.
Step 3: The port — on a desktop, the graphics card is the output
Many desktops have two sets of video ports, and only one set works. The motherboard’s ports sit in the vertical panel near the top of the back of the case, among the USB, network and audio sockets. A separate graphics card’s ports sit lower down, in a horizontal row in the expansion slots. If the PC has a graphics card, plug the monitor into the card’s ports. Then re-check step 2 — a port change sometimes needs the input re-selected — and test.
Why the motherboard ports are dark is worth stating precisely, because guides often overstate it. It is not quite true that fitting a graphics card always switches the motherboard output off. Two different things can be going on. Some processors have no built-in graphics at all, so their motherboard ports can never output a picture: Intel marks those chips with an F or KF at the end of the model name, and many AMD Ryzen desktop chips are the same — AMD’s own specifications for them list a discrete graphics card as required. On other machines the processor does have built-in graphics, but the motherboard’s firmware turns that output off, or leaves it off by default, while a card is installed; some boards have a setting that keeps both alive. Either way the practical step is identical — use the card’s ports — but the distinction matters at step 5: on a processor with built-in graphics, the motherboard port is a valid test output later; on an F-series or equivalent processor, it is not a test at all, because it could never have worked.
While you are at the back of the PC, try a second output on the graphics card if it has one — a different HDMI or DisplayPort socket. A single output can fail while the card itself is fine. If a second port on the same card gives a picture, you have found the dead link: that one port. If no port on the card gives anything, the question is no longer about ports — it is whether the PC is producing video at all, which is step 4.
Step 4: RAM reseat — and whether the PC finishes starting
A PC that cannot read its memory stops during its power-on self test (POST), before any video is sent. The monitor is then reporting the truth: nothing is coming because the PC never got far enough to send it. Loose or partly seated RAM is the most common reason a PC that worked yesterday does this today, especially after the case was moved, cleaned or opened — a stick can sit in its slot looking fitted while one end is not fully home.
Before opening anything, take the readings that point here: no maker’s logo on any monitor at start-up, fans and lights on, the Caps Lock light not responding, and — on boards that have them — a small debug LED on the motherboard staying lit, usually labelled CPU, DRAM, VGA or BOOT, or a repeating beep pattern if the machine has a start-up speaker. A stuck DRAM light is the board naming this step for you. Many modern PCs have neither a speaker nor debug LEDs, which is why the Caps Lock test matters: it is the check that works on almost any machine.
Reseat the memory like this:
- Shut the PC down, switch it off at the wall and unplug the power cable. Hold the power button for a few seconds to drain leftover charge, and touch bare metal on the case to discharge static before touching parts.
- Open the case and find the RAM sticks, beside the processor. Push the retaining clips at the ends of a stick outward and lift the stick out by its edges.
- Push the stick straight back into the same slot until both clips snap closed over its ends by themselves. A stick that needs the clips pushed shut by hand is usually not fully seated. Repeat for each stick.
- Reconnect power, turn the PC on with the monitor connected to the graphics card, and watch for the maker’s logo.
If the logo appears, the dead link was a memory stick the PC could not start with. If the machine has a graphics card and still shows nothing, this is also the moment to check the card itself is fully seated in its slot and that its power cables from the power supply are connected, since a card that has shifted or lost its power cable outputs nothing on any port — reseat it the same way, pressing it in until its slot latch clicks. Do not go further into the parts than this in a no-signal diagnosis: if a reseated stick and a reseated card change nothing, step 5’s swaps will tell you more than opening anything else. And if the PC does start but is painfully slow once Windows loads, that is a different fault with its own ordered checks — see why is my computer so slow. A PC that reaches Windows and then restarts on its own is a third fault again, worked through by restart pattern and Event Viewer codes in computer keeps restarting.
Step 5: The known-good swap — let the fault follow the part
If the first four steps have not brought the picture back, stop adjusting and start proving. A known-good swap means replacing exactly one part of the chain with a part you know works — a cable from a working setup, a monitor or TV that was displaying a minute ago, a laptop or second PC as the source — then reading what the result actually proves. Microsoft recommends the same isolation: try using the external monitor with a different system, because it helps isolate whether the issue is with the monitor or the primary system. Change one part at a time; swapping the cable and the monitor together teaches you nothing.
Run the swaps in this order, because each result halves the chain:
- Known-good cable, same ports. If the picture returns, the old cable was the dead link, however healthy it looked — cables fail internally with no visible damage.
- Your monitor on a known-good source — a laptop, a console, another PC — using the known-good cable, with the monitor set to the matching input. If it displays there, your monitor is cleared completely: its panel, electronics and inputs all work.
- A known-good monitor or TV on your PC, on the graphics card’s ports, with the known-good cable. If it displays, your PC is producing video and the fault is back in your original monitor’s input side.
Read the three results together:
| Result | What it proves | The dead link |
|---|---|---|
| Works with the known-good cable only | Original cable carried no video | The cable |
| Your monitor works on another source | Monitor is healthy; the fault stayed with the PC | The PC’s output, card or start-up |
| Another monitor works on your PC | PC is healthy; the fault stayed with the monitor | The monitor or the input you were using |
| No combination produces a picture anywhere | The PC is not producing video on any output, or the monitor shows nothing from any source | Whichever side failed every test — see below |
One correction matters here, because at least one widely read guide gets it backwards: if your monitor works when connected to another computer, that result clears the monitor — it does not point at it. A part is guilty when the fault follows it to a new setup, or when every known-good replacement for the other parts still fails with it in place. If your monitor failed on a known-good source with a known-good cable, on more than one of its inputs, then the monitor itself is the dead link. If instead no monitor ever shows even a start-up logo from your PC, after the RAM reseat in step 4, the PC is failing before video — at that point the remaining suspects are the graphics card, the power supply and the motherboard, and that is a repair-shop or warranty conversation, not another cable.
The picture was there at start-up, then “No Signal” as Windows loads
This pattern clears the whole hardware chain in one go: the cable, input, ports and monitor all carried a picture seconds ago. What changed at the Windows sign-in is that Windows applied its own display settings and driver. Work through these in order, using the laptop’s own screen if you have one, or blindly if you do not:
- Windows + Ctrl + Shift + B restarts the graphics driver. Microsoft lists this shortcut for exactly the case where a setup that was working suddenly stops; you should hear a beep and see a flicker, and open apps stay open.
- Windows + P opens the projection choices. If Windows is set to PC screen only, it sends nothing to an external monitor at all. Press Windows + P, then choose Duplicate or Extend; blind, press the arrow keys and Enter, pausing between tries. Microsoft’s own first check for an external monitor that is not working is to press Windows + P and make sure Extend is selected.
- Detect the display manually: Settings > System > Display > Multiple displays > Detect, then select the monitor and check it is not set to be disconnected. Note the boundary of this check: if Windows does not list a second monitor at all — one screen works, the other never appears in Settings — that is a detection failure in the chain between PC and second screen, covered link by link in second monitor not detected.
- Lower the mode. A picture that stays present but flickers — at one refresh rate, only in games, or everywhere including the start-up screens — is the unstable version of a display fault rather than a dead link, and it is diagnosed pattern-first, then by an ordered cable / refresh-rate / driver test, in monitor flickering. A resolution or refresh rate the monitor or cable cannot carry produces a blank or no-signal screen only after Windows loads, because start-up uses a basic mode everything supports. In Display settings choose the resolution marked Recommended, and under Advanced display set the refresh rate to 60 Hz for the test. As a reference point, HDMI 2.0 tops out at 4K at 60 Hz; asking it for more needs HDMI 2.1 or DisplayPort cabling rated for the higher mode. If you cannot reach these settings, start Windows in low-resolution video or Safe Mode from the recovery environment (Troubleshoot > Advanced options > Startup Settings) and set them there. Note the modern route: holding Shift while choosing Restart, or the recovery environment after failed starts — tapping F8 at start-up is a legacy habit that does not open a boot menu by default on current Windows machines.
- Roll back the driver if the problem began with an update: Device Manager > Display adapters > your adapter > Properties > Driver > Roll Back Driver. Microsoft documents rolling back as the response when issues appear after an update. Get any replacement driver from Windows Update or the PC or card maker’s own support page, not from a driver-updater utility.
If the no-signal moment happens specifically after sleep rather than at start-up, the same Windows checks apply, plus two: wake the PC and re-select the monitor’s input by hand (some monitors disable a DisplayPort input after the computer sleeps, and need it chosen again), and unplug the monitor’s power cable for a minute to clear a stuck connection state before testing again.
Three claims to be careful with
Guides on this topic repeat a few things that are wrong or only half true, and each one can send you buying the wrong part:
- “The monitor works on another PC, so the monitor is faulty.” Backwards, as step 5 explains. Working on a known-good source is the strongest evidence a monitor is healthy.
- “Fitting a graphics card always disables the motherboard ports.” Often true in effect, but for two different reasons — firmware switching the built-in output off, or a processor with no built-in graphics at all (Intel’s F and KF models, many Ryzen chips). The second kind can never be switched back on, and its motherboard ports cannot be used as a test output.
- “Just tap F8 and Safe Mode will be at 800×600.” That describes older Windows. On a current machine the route to Safe Mode or low-resolution video is through the Windows recovery environment, and once there you set a supported resolution and 60 Hz yourself in Display settings.
When to stop testing
Stop and hand it over — to the maker’s warranty service if it is covered, or a repair shop if it is not — when any of these is true: the monitor shows no menu and no self-test message with nothing connected to it (that failure is inside the monitor); the PC shows no start-up logo on any known-good monitor after the RAM reseat; you find a cracked socket, bent connector pins you cannot straighten, or any sign of burning, smoke or a buzzing power supply — unplug that last one and leave it off. Do not reinstall Windows for a no-signal fault: it cannot repair a cable, an input, a port or a part that has failed, and every check above can be done without touching your files. If the dark screen is not a separate monitor at all but a laptop’s own built-in screen, the fault is a different one again — whether it is the screen or the whole laptop is decided by its own ordered sequence in laptop screen is black.
Frequently asked questions
Why does my monitor say “No Signal” when my PC is on? Because the monitor has power but receives no video on the input it is set to. The PC being on only proves the PC has power — it does not prove the PC finished starting, or that it is sending video out of the port your cable is in. Follow the sequence: cable, input source, graphics card port, RAM reseat, known-good swap.
Does “No Signal” mean my monitor is broken? Usually the opposite. The monitor is drawing that message itself, which proves its panel and electronics work. Dell’s self-test uses the same logic: a monitor that shows its no-signal message with the video cables disconnected is functioning. It becomes the suspect only if it fails on a known-good source with a known-good cable.
Can a bad cable really cause “No Signal” with no visible damage? Yes. A cable can fail internally and look perfect, and Microsoft’s own troubleshooting includes changing the cable for exactly this reason — if the new cable works, the old one was faulty. That is why the known-good cable swap is in the sequence rather than a visual inspection alone.
Why did it stop working after I moved or cleaned my PC? Because moves disturb exactly the links in the sequence: a cable end pulled partly out, a cable re-plugged into a motherboard port instead of the card, a monitor left on the old input, or a RAM stick nudged partly out of its slot. Work the steps in order rather than assuming the move broke something expensive.
My monitor works, but only at 60 Hz — higher settings give “No Signal”. Is that the same fault? It is a mode the chain cannot carry, not a dead link. Every part — card port, cable, monitor input — must support the resolution and refresh rate together; HDMI 2.0, for example, carries 4K only up to 60 Hz. Lower the refresh rate in Settings > System > Display > Advanced display, or fit cabling rated for the mode you want.
This article is general information, based on the Microsoft Support and Dell Support pages linked above and checked in November 2026. Model-specific details such as debug LED labels, input names and self-test steps vary by maker — your monitor’s and motherboard’s manuals are the authority for your exact hardware. If data matters and the PC will not start at all, treat the machine gently and consider professional help before repeated power cycles.