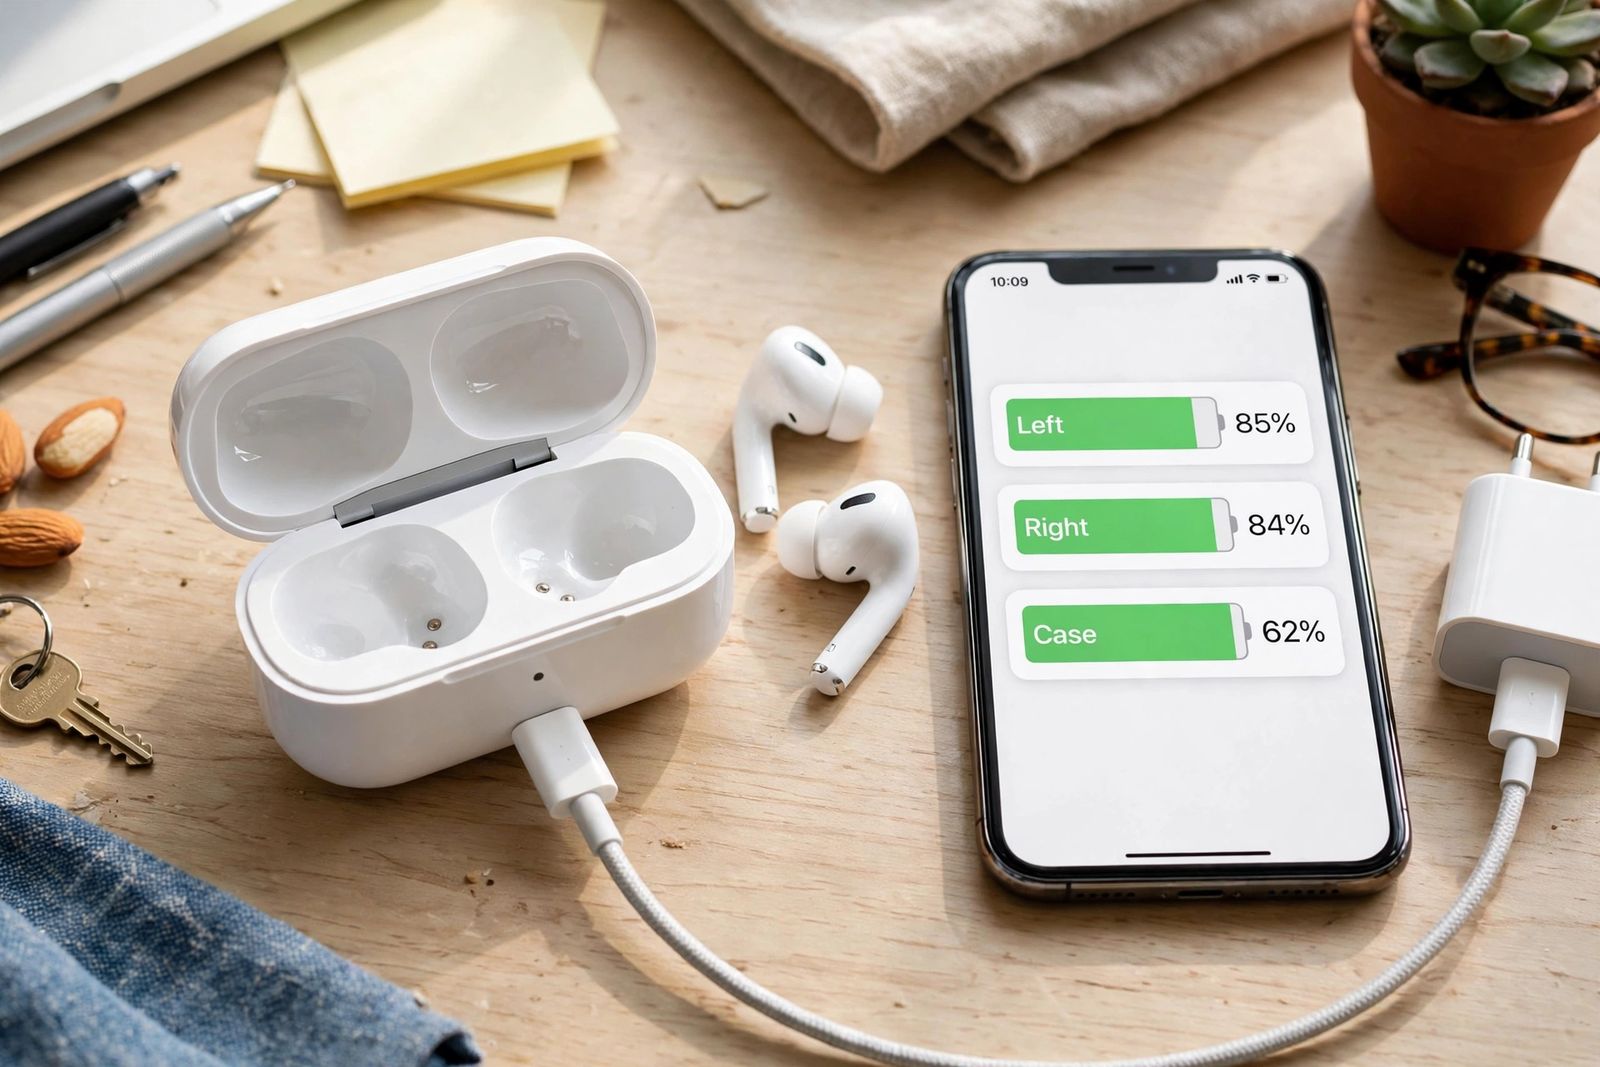
If your AirPods case is not charging — the earbuds charge fine whenever the case has power, but the case itself will not take a charge, its percentage never rises, and its status light stays dead when you plug it in — the fault is in the case’s own power path, and the fix order is short: swap in a known-good cable and wall adapter first, check the case’s charging port for packed lint second, charge the case on its own with both earbuds removed third, and reset the AirPods last, only if the case responds at all. That order matters because each step rules out a cheaper cause than the next, and because a case that shows no light is not necessarily a dead case: Apple says a fully flat case can show nothing at first, which is why its own first step is to connect the case to power and charge the AirPods and case for at least 15 minutes before judging it. One split decides everything that follows, so make it now: this article owns the case that will not take power. If your case charges normally but the buds inside it do not — one bud dead, both buds dead, the case percentage healthy — that is a different fault with different fixes, covered in AirPods not charging. Here, the buds are the healthy part. They are your test instrument, not your problem.
First, prove it is really the case
Two readings, taken the right way, separate a case fault from everything that imitates one.
Read the case’s percentage with the buds out of it. The status light and the battery display both report different batteries depending on where the buds are: with the AirPods in the case, the light shows the AirPods’ charge status; with the AirPods out, it shows the case’s own. So take both buds out, open the case near your iPhone or iPad, and read the case percentage on its own — Apple notes you can check charge status on your iPhone or iPad, your Mac, or the case itself. Note that number. It is the only figure the rest of this article is trying to move.
Read the light the same way — buds out. With the buds removed, a steady green means the case is fully charged, a steady amber means less than one full charge remains in the case, and no light at all means the case battery is empty and needs charging. Amber here is a level reading, not proof that charging is under way: an unplugged case sitting in a drawer shows amber too. Several top guides for this search shorten that to “amber = charging,” which sends people waiting beside a case that is receiving no power at all. Only the percentage, rising over time on a charger, proves power is flowing. If instead of a dead or steady light your case is flashing amber and will not connect, that is a pairing error rather than a charging fault — its decode and fix are in AirPods flashing orange light — although a case too flat to power its buds can imitate one, which is why the charge tests below still come first.
The split: “buds charge, case doesn’t” vs “nothing charges”
These two patterns look identical at the wall socket — you plug in, nothing seems to happen — and they are not the same fault. Telling them apart takes one observation: what did the buds do the last time the case had any charge in it?
| Pattern | What it tells you | Where the fault lives |
|---|---|---|
| Buds charge, case doesn’t — whenever the case holds charge, both buds charge normally from it; but plugged into a cable or a pad, the case’s own percentage never rises and its light stays dead | The case-to-buds half of the chain works. The break is upstream of the case battery: power is not getting into the case | Cable, adapter, outlet, the case’s charging port, one failed charging route (cable or wireless), or the case’s charging circuit — work the order below |
| Nothing charges — the case takes no power, and the buds do not charge from it either, even the charge the case had is gone or going | You cannot yet tell whether the buds ever had a working case to charge from. The case fault is masking the buds entirely | Start with the same case order below. Only when the case demonstrably takes power again can the buds be judged — if they then still refuse, that is the buds fault in AirPods not charging |
The practical point: never buy a replacement case, and never conclude a bud is dead, off the “nothing charges” pattern alone. A flat case makes healthy buds look dead, because they have nowhere to charge. Fix — or condemn — the case first, on its own evidence: its own percentage, with the buds out.
The case-only diagnosis order
Work these four steps in this order, and do not skip ahead. Each step is a test with a verdict, not just a fix to try.
1. The cable and adapter swap test
Cables are the weakest link in the chain and the cheapest to rule out, so rule them out properly — as a test, not a wiggle.
Reseat everything first: Apple starts here because a plug that looks seated may not be — make sure the cable is plugged firmly into the case and into the USB power adapter, and that the adapter is correctly plugged into a working power outlet. Test the outlet with a phone or a lamp if there is any doubt. Then swap, one variable at a time: a different cable of the type your case actually has — Lightning on AirPods 1, 2 and 3 and Pro 1 cases and the original Pro 2 case, USB-C on later Pro 2, AirPods 4 and 5 cases and current models — in a wall adapter you know works, not a laptop port or a USB hub, which are weak and inconsistent power sources and make a poor experiment. Leave the case connected for a full 15 minutes, then read the case percentage with the buds out, as above.
- Percentage rising: the original cable, adapter or outlet was the fault. You are done; replace the failed piece.
- Still flat on two cables and two adapters: the power path up to the case is now proven good. The fault is at or inside the case. Go to step 2.
If your case also charges wirelessly, this step has a second half that isolates the route: put the case on a Qi or MagSafe pad with the status light facing up. Apple says the light should turn on for several seconds, then turn off while continuing to charge — a light that lights briefly and goes out on a pad is success, not failure. If the light never comes on, reposition the case. If the case charges on the pad but not on the cable, the fault is the port or the cable route (step 2 becomes the prime suspect). If it charges on the cable but not the pad, suspect alignment, a cover or ring between case and pad, or the pad itself — test the pad with a phone before blaming the case. Not every case charges wirelessly; a cable-only case ignoring a pad is expected behaviour, not a second fault.
2. The port lint check — Apple’s way, not the toothpick way
Pocket lint packs into the case’s charging port a little further every time you plug the cable in, until the plug can no longer seat fully and the pins never meet. The symptom is exactly a dead case: cable apparently connected, no light, no charge. Shine a light into the port. A grey plug of compressed fluff at the back of it is the diagnosis.
This is also where the top results for this search give their worst advice, and it is worth correcting plainly. The current number-two guide tells you to pick the debris out with a wooden toothpick; another ranking guide goes further — compressed air into the port, then, for corrosion, scraping with a pin or a metal SIM ejector, and alcohol applied into the port itself. Apple’s cleaning guidance says the opposite on every point: remove debris from the charging port with a clean, dry, soft-bristled brush, do not get liquid in the charging ports, and — to avoid damaging the metal contacts — do not put anything in the charging ports. No toothpicks, no pins, no SIM tools. The brush works because lint that has not been rammed home by a pick is loose enough to brush out; work the brush around the port mouth, tap the case port-down, and repeat until the plug seats with a clean, full stop you can feel. Then repeat the 15-minute charge from step 1 and read the percentage again.
- Percentage rising: it was lint. Expect to repeat the brush-out every few months if the case lives in a pocket.
- Still flat, and the port is visibly clean and the plug seats fully: the break is inside the case or in its battery. Go to step 3 — the last test that can separate those two.
3. The buds-removed charge test
This is the test none of the top guides runs as a diagnosis, and it is the one that isolates the case completely. Appuals buries “charge the case without the AirPods inside” as a throwaway sub-step with no reasoning attached; used deliberately, it removes the buds from the circuit entirely, so nothing they do can mask or drain the result.
Take both buds out and leave them out — beside the case, as in this article’s photo. Connect the empty case to the known-good cable and wall adapter proven in step 1. Leave it for a full 30 minutes — longer than the standard 15, because with no buds drawing power, any rise in the case percentage is the case charging itself, and a deeply flat case needs time before it reports anything. Then read the case percentage with the case still empty.
- The case percentage rose with the buds out: the case, its port and its battery all work. The problem is the load or the reporting when the buds are in — put the buds back, charge everything together for 15 minutes, and re-read all three percentages separately. If the case now falls or stalls only with the buds in, one bud may be draining the case as fast as it fills; how each bud behaves from a working case is the buds-side diagnosis in AirPods not charging, and step 4 below is worth running before service.
- The case percentage did not move at all, on a proven cable and adapter, with a clean port, in 30 minutes: the case’s charging circuit or its battery has failed. One step remains — step 4 — because a reset costs nothing but settings, and after that the verdict is service.
4. Reset — last, and only if the case responds
A reset clears pairing state and settings. It cannot repair a port, a cable or a cell, and on a case that takes no power at all it usually cannot even run — which is precisely why it sits last here, reversing the order in several ranking guides that reset second or third, before the power path has been tested at all. Run it when the case shows some life — a light during the buds-removed test, a percentage that moved and then stalled, a flashing-amber error after charging — and skip it, going straight to the service list below, when the case has shown nothing on any test.
Forget the AirPods first (Settings > Bluetooth > (i) > Forget This Device), then, with both buds back in the case: button models (AirPods 1, 2 and 3, Pro 1 and 2) — hold the setup button on the back for about 15 seconds; buttonless models (AirPods 4, 5 and Pro 3) — double-tap the front of the case three times. In both cases keep going until the status light flashes amber, then white. That sequence is the confirmation; guides that stop you at white alone have left you in pairing mode, not a reset. Reconnect, then run the buds-in 15-minute charge and the buds-removed 30-minute test once more. A case that charges after the reset had a software fault. A case that behaves exactly as before has a hardware one. The full per-model reset procedure is in how to reset AirPods.
Charges — but drains overnight, or stops short of full
Two behaviours mean the case can take power, so they sit outside the dead-case order above, but they are regularly misread as “case not charging”:
- Stops below 100 percent can be a setting, not a fault. AirPods Pro 3 ship with an Optimized Charge Limit, and Apple’s won’t-charge guidance gives the remedy directly: you can use your iPhone or iPad to turn off the Optimized Charge Limit on AirPods Pro 3 and charge your AirPods fully. A case that pauses at a limit and completes when the limit is off was never broken.
- Charges fully, then is empty by morning with the buds barely used points to the case battery wearing out, or to a bud inside drawing power continuously. The buds-removed test doubles as the separator here too: charge the empty case to full, leave it closed and empty overnight, and read its percentage in the morning. A case that holds its charge empty but loses it with the buds in is being drained by a bud; a case that loses it either way has a tired cell. Neither is a home repair — AirPods case batteries are not user-replaceable.
When to stop and get service
The case is a service problem, not a home fix, when any of these is true after the order above: no light and no percentage movement on two known-good cables and adapters after a full 30-minute buds-removed charge; the port is clean, the plug seats fully, and the case still takes nothing by cable or by a wireless route it supports; you can see damaged, bent or corroded contacts in the port, or the case has taken liquid or a hard drop; or the same failure returns immediately after a correct amber-then-white reset. Take the case and both buds in together, so the working half can be proven on the spot. Apple sells replacement charging cases through its service channels, so a dead case does not mean a whole new set — a point worth knowing before a guide’s embedded shopping links talk you into a third-party case that may not pair, charge or report its percentage the same way.
Frequently asked questions
Why do my AirPods charge but the case won’t? Because they are separate batteries with separate paths. The buds charge from the case, so buds charging happily only proves the case-to-buds half works — it says nothing about power getting into the case. When the case will not take power, work its path in order: known-good cable and wall adapter, port lint, a buds-removed charge test, then a reset.
How do I check the case’s battery on its own? Take both buds out of the case. With the buds out, the status light and the battery display report the case itself rather than the AirPods: green is fully charged, amber is less than one full charge remaining, and no light means the case needs charging. Open the empty case near your iPhone or iPad to read its exact percentage.
Should I charge the AirPods case with the buds in or out? Either charges the case; Apple’s standard step is buds in, lid closed, at least 15 minutes on the cable. Buds out is the diagnostic version: with nothing drawing power, a rising case percentage over 30 minutes proves the case, port and battery work, and a flat reading on a proven cable and clean port condemns them. Normal daily charging does not need the buds removed.
Can I clean the charging port with a toothpick? Apple says no — not a toothpick, not a pin, not a SIM tool. Its instruction is a clean, dry, soft-bristled brush for port debris, no liquid in the charging ports, and nothing put into the ports, because that is how the metal contacts get damaged. Guides recommending picks, scrapers or alcohol in the port are contradicting the manufacturer on the exact part your case charges through.
My case light goes out on the wireless charger. Is it charging? Yes, if it lit first. Apple says that on a Qi-compatible charger with the status light facing up, the light turns on for several seconds, then turns off while continuing to charge. If the light never appears at all, reposition the case; if wireless still fails, test with a cable into a wall outlet — that separates a pad or alignment problem from a case problem.
Will resetting fix a case that won’t charge? Only a software version of the problem — a case that responds, stalls or misreports. A reset does nothing for a failed cable, a lint-packed port or a worn-out cell, and a case with no power at all often cannot run the reset anyway. That is why the reset is step 4 here, after the swap test, the lint check and the buds-removed test have each had their say.
This article is general information based on Apple Support’s published AirPods charging and cleaning guidance, linked above and checked in November 2026. Port types, light behaviour and charge-limit settings differ between AirPods models; where your model differs, Apple’s guide for that model is the deciding source.