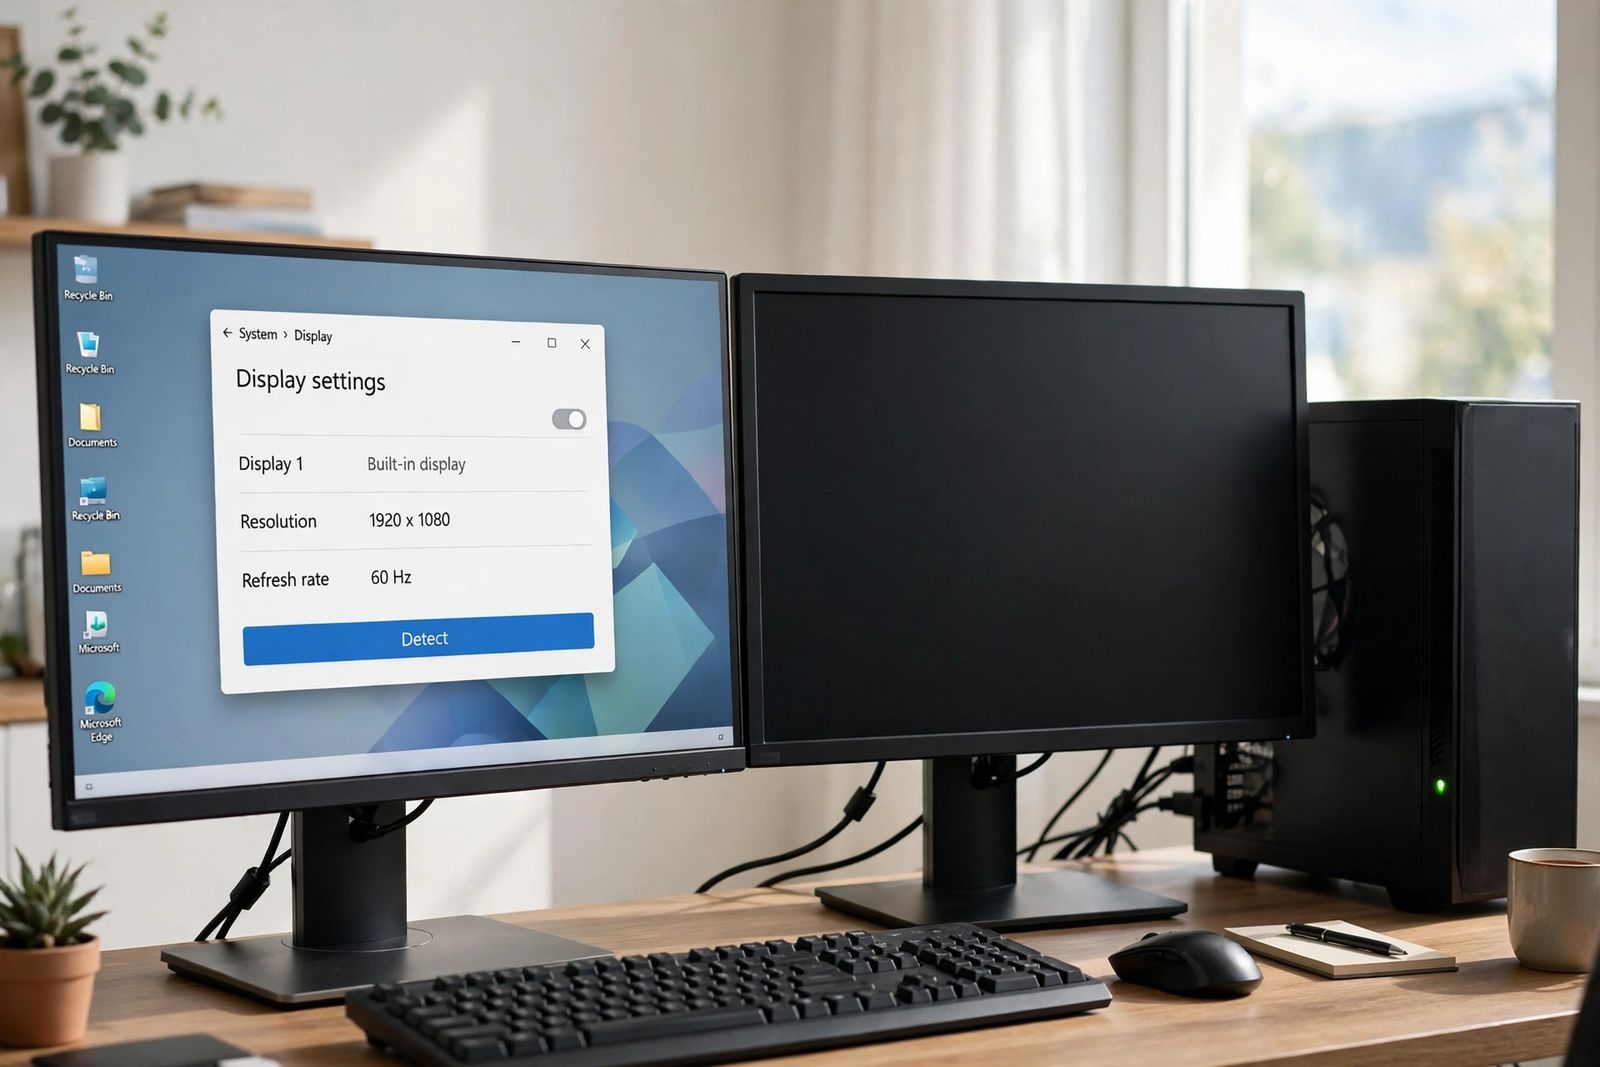
A second monitor that Windows does not detect has failed at one link of a short chain, and the fix is to test the links in their physical order: the cable and the port it sits in, then Windows’ own display settings, then the graphics driver, then — if the monitor connects through one — the dock or hub and its limits. Do not start with the driver, and do not start by clicking Detect over and over: Detect only asks Windows to rescan connections that already exist electrically, so if the cable, the port or the monitor’s input is wrong, there is nothing for it to find. Work down the chain below, test after each step, and stop the moment the second numbered box appears in Display settings — the step that brings it back names the link that failed.
Not detected is a specific fault — separate it from its neighbours first
Three different problems get called “second monitor not detected,” and they do not share fixes:
- Windows does not list the monitor at all. Settings > System > Display shows one numbered box, and Detect answers that it did not find another display. This is the fault this article covers: somewhere in the chain, the connection handshake between PC and monitor never completed.
- Windows lists the monitor, but its screen is black or says “No Signal.” Detection succeeded; the picture is failing afterwards — a projection mode, a resolution or refresh rate the chain cannot carry, or the monitor listening on the wrong input. If the detected monitor’s picture is present but flickers instead, that instability is a separate fault, diagnosed by where the flicker shows and then by an ordered cable / refresh-rate / driver test in monitor flickering. The detected-but-blank cases are handled inside steps 2 and 4 below, and a single monitor that shows “No Signal” while its PC is on is a different fault again, with its own ordered test sequence: monitor no signal. A TV showing the same message from a streaming box, console or cable box is covered by the same isolation logic in TV no signal on HDMI.
- The monitor has no power at all — no light, no menu, nothing on its own buttons. That is the monitor or its power cable, and no Windows setting is involved. Test it on another PC or take it for service.
One more observation before the chain: did this setup work before? A second monitor that has never been detected points first at the port and the cable — above all at a USB-C port or cable that cannot carry video at all. A setup that worked yesterday and is dead today points first at what changed overnight: an update, a moved desk, a sleeping monitor that never woke. Both routes run through the same chain, but the “worked yesterday” section after the chain lists those overnight causes in their own order, because they are the majority of sudden cases.
The detect-failure chain
This is the whole method, in the order the signal itself travels. Each step rules out one link; a later step cannot compensate for an earlier one, which is why the order is not interchangeable.
| Step | Link being tested | The test, in brief | If the monitor appears, the failed link was |
|---|---|---|---|
| 1 | Cable and port | Reseat both ends; set the monitor to the exact input; use a port that carries video (graphics card, not motherboard; a USB-C port with DisplayPort Alt Mode); swap in a known-good cable | A half-seated or dead cable, the wrong input, or a port with no video on it |
| 2 | Windows display settings | Press Windows + P and choose Extend; then Settings > Display > Multiple displays > Detect; restart the driver with Windows + Ctrl + Shift + B | Windows was set to one screen, or its display list was stale |
| 3 | Graphics driver | Check Device Manager for Microsoft Basic Display Adapter or an error; update from Windows Update or the maker; roll back if an update started this | A missing, generic or newly broken driver |
| 4 | Dock, hub and limits | Connect the monitor directly to the PC; then test the dock with its own power, driver and firmware; lower the mode to test the dock’s bandwidth limit; confirm the adapter’s display count | The dock, its power or firmware, or a resolution/count limit Settings cannot override |
Step 1: The cable and the port — prove the handshake can happen at all
Detection is a conversation. When a monitor is connected, it announces itself to the graphics card — what it is, which resolutions and refresh rates it supports — and Windows builds the display list from the answers it receives. A cable that is half-seated, a monitor listening on the wrong input, or a port that outputs no video all break that conversation before it starts, and no setting in Windows can restart it. That is why this step comes before every software step, including Detect.
Work through it in this order:
- Reseat both ends of the cable, firmly. Unplug the video cable at the PC and at the monitor, look at the plugs, and push both back in until fully seated. DisplayPort plugs lock with a latch — press the latch to remove one, and push until it clicks when refitting. A plug a millimetre out can carry power lights and still carry no picture.
- Set the monitor to the exact input the cable uses. Press the monitor’s Input or Source button — often a small joystick on the back or underside — and select the input by hand: HDMI 1 is not HDMI 2, and neither is DisplayPort. Many monitors do not switch automatically, or scan too slowly and give up, so “Auto” is not a test. Read the label beside the physical port your cable is in, not your memory of it.
- Check the port at the PC end actually carries video. This is the step that catches the two most common dead ports:
- On a desktop with a graphics card, use the card’s ports. They sit low on the back of the case, in a horizontal row in the expansion slots. The motherboard’s ports, up in the vertical panel among the USB and audio sockets, are dark in most such machines — either the firmware has switched the built-in output off, or the processor has no built-in graphics at all (Intel marks those chips F or KF; many AMD Ryzen desktop chips are the same, with a separate card listed as required). Either way, a monitor plugged into the motherboard of a PC with a card is a monitor plugged into nothing.
- On USB-C, the port must support video. The plug’s shape promises nothing: a USB-C port carries a display only if it supports DisplayPort Alt Mode or Thunderbolt. Look for a small DisplayPort or lightning-bolt symbol beside the port, or check the laptop’s specifications for that exact port — on machines with several USB-C ports, they are not all equal. The cable matters the same way: a USB-C cable sold for charging or phone data may be wired for neither video nor speed, and a cable whose label says 480 Mbps is a USB 2.0 cable that cannot carry a DisplayPort signal.
- Simplify to one direct cable. Take out anything between the PC and this monitor — dock, hub, adapter, KVM, splitter — for the whole of this step. Microsoft’s external-monitor troubleshooting starts its hardware checks the same way: disconnect accessories, because docks, dongles and adapters can cause conflicts. Adapters deserve particular suspicion: many HDMI-to-DisplayPort and DisplayPort-to-HDMI adapters carry a signal in one direction only.
- Swap in a known-good cable. If the picture returns, the old cable was the dead link, however healthy it looked — cables fail internally with no visible damage, and Microsoft’s own guidance includes changing the cable for exactly this reason: if the new one works, the previous cable was faulty. Keep the known-good cable in place for the rest of the chain.
If the monitor is still not listed after a direct connection, a known-good cable, the correct input selected by hand, and a port that certainly carries video, the hardware conversation can happen — Windows is failing to hold it. Move to step 2. And if the monitor fails the same way on a second computer with the known-good cable, skip ahead: the monitor itself is the suspect, and the stop-testing section at the end applies.
Step 2: Windows display settings — ask Windows to look, in the right order
With the physical chain proven, three Windows actions, in this order, clear the large majority of remaining cases:
- Windows + P, then choose Extend. Windows has four projection modes, and one of them — PC screen only — instructs Windows to send nothing to any external monitor at all. A PC left in that mode is not failing to detect your monitor; it is obeying an instruction to ignore it. Microsoft’s own first check for an external monitor that is not working is to press Windows + P and make sure Extend is selected. Choose Extend (separate desktop) or Duplicate (same picture) — either proves the output; Extend is the mode most people want to keep.
- Detect, manually: Settings > System > Display, expand Multiple displays, and select Detect. Windows answers honestly here — “We didn’t find another display” means the rescan found no answering monitor, which after step 1 points at the driver, not at the button. When the monitor does appear, use Identify to flash a number on each screen and confirm which box is which, then drag the boxes to match how the monitors sit on your desk.
- Windows + Ctrl + Shift + B restarts the graphics driver without restarting the PC. Microsoft lists this shortcut for exactly the case where a setup that was working suddenly stops; you should hear a beep and see the screens flicker, and your open apps stay open. Follow it with a full Restart (Start > Power > Restart) if the monitor is still missing — a restart rebuilds the display list from a cold start, which the in-place driver reset does not.
Two detected-but-blank checks belong in this step, because they are the cases where Detect succeeds and the screen still shows nothing. First, select the second monitor’s box in Display settings and confirm it is not set to be disconnected — the Multiple displays dropdown for that screen should say Extend desktop to this display, not disconnect. Second, if the monitor appears but stays black or drops out, lower the mode: choose the resolution marked (Recommended) for that monitor, then open Advanced display and set the refresh rate to 60 Hz for the test. Start-up and safe modes use basic timings everything supports; a saved 4K high-refresh mode that the cable or port cannot carry fails only when Windows loads its real settings. As a reference point, HDMI 2.0 carries 4K only up to 60 Hz — asking it for more needs cabling and ports rated for the higher mode, end to end.
Step 3: The graphics driver — the link that translates for Windows
The driver is what turns the monitor’s announcement into a display Windows can list. A missing, generic or freshly broken driver produces exactly this symptom — a healthy monitor, a good cable, and an empty display list — which is why the driver is the third link and not the first: reinstalling it cannot repair a cable, and most detection failures never reach this step.
Read what is installed first. Open Device Manager and expand Display adapters:
- If the adapter is listed as Microsoft Basic Display Adapter, Windows is running its fallback driver. It can light a screen, but multi-monitor support, proper resolutions and stability are limited. The fix is the real driver, below.
- If your adapter (Intel, AMD or NVIDIA) is listed with a warning icon or an error code, the driver itself is the fault the chain has been looking for.
- If the correct adapter is listed cleanly, note its maker and model — you need both for the right download.
Then act, in this order:
- Windows Update first, including the optional drivers. Settings > Windows Update > Check for updates, install what is offered and restart; then Advanced options > Optional updates, where Microsoft offers driver updates it does not install automatically. For most laptops and prebuilt desktops, the PC maker’s own support page for your exact model is the other correct source, because makers package display, dock and power components that are tested together.
- If this began with an update, roll back instead. Device Manager > Display adapters > your adapter > Properties > Driver > Roll Back Driver. Microsoft documents rolling back as the response when issues appear after an update, and a failure that started the morning after an overnight update is the textbook case. If Roll Back is greyed out, no earlier driver is stored — use the update route above, or the reinstall below.
- Reinstall only if the first two fail. In Device Manager, right-click the adapter and select Uninstall device, ticking Attempt to remove the driver for this device where offered, then restart; Windows attempts to reinstall a driver, and you then install the maker’s current package. Download that package before uninstalling, so it is on the disk in front of you.
- Check the maker’s own control panel. A display can be present but disabled in the graphics software even when Windows is behaving. In Intel Graphics Command Center, open Display, find the monitor under Connected Displays and use its menu to Enable it. In NVIDIA Control Panel, open Display > Set up multiple displays, tick the missing monitor and Apply; if it is not listed at all, the My display is not shown option offers Rigorous Display Detection on configurations that support it. AMD’s software has the equivalent display page — the labels differ, the check is the same.
One route to avoid, stated plainly because ranking guides promote it: do not use a third-party driver-updater utility, and do not reach for a driver-wiping tool as a routine step. No PC or graphics maker sends owners to either. Drivers belong to Windows Update or the maker’s own support page, nowhere else — an updater that installs the wrong package can turn a one-link fault into a machine with no working display driver at all.
Step 4: The dock or hub — its power, its driver, and its hard limits
If the monitor works connected directly to the PC but not through your dock or hub, the chain has already named its link — everything upstream and downstream of the dock is proven. What remains is to find which of the dock’s three failure kinds you have:
- Power and connection state. A dock needs its own power supply connected, not just the laptop’s. Then power-cycle it properly: disconnect the dock from the computer, unplug its power, wait, reconnect power, then reconnect the computer. Dell documents a fuller reset for its WD19, WD19S and WD22TB4 dock families — disconnect, unplug the AC power, hold the dock’s power button for 30 seconds, reconnect power (the LED blinks three times), then reconnect the computer — use that sequence only on those families, and your own dock maker’s support page for any other model.
- The dock’s own driver and firmware. Docks that create their video in the dock itself — DisplayLink docks are the common kind — need their driver installed before any monitor behind them can exist as far as Windows is concerned; a missing DisplayLink driver looks exactly like a dead monitor. Other docks pass the laptop’s own video through, and for those the laptop’s port must support DisplayPort Alt Mode or Thunderbolt in the first place (step 1). Either kind can also need a firmware update from the dock maker’s support page; Dell, for one, resolves documented cases of intermittent monitor blanking on its docks with specific firmware versions.
- The dock’s limits — the link Settings cannot fix. A dock shares one connection’s bandwidth across every monitor, USB device and network cable plugged into it, and it has a ceiling stated as resolutions and refresh rates together: a dock that drives two 4K monitors may do so only at 30 Hz, or one at 60 Hz and the second not at all, where the same laptop drives both happily on its own ports. Test the limit directly: through the dock, set the second monitor to 1920 × 1080 at 60 Hz in Display settings and Advanced display. If it appears at the low mode and vanishes at the high one, the chain is healthy and the dock’s ceiling is the answer — the permanent choices are to live at the supported mode, move one monitor to a port on the PC itself, or fit a dock rated for the combination you want. The same logic caps the number of displays: confirm with the graphics adapter’s maker how many monitors it supports, because ports are not the same as display engines — a card can carry four sockets and drive three screens. Dell’s multiple-monitor guidance gives the matching test for a third or fourth monitor that will not respond while the first two work: disconnect all monitors, reconnect them one at a time so Windows identifies each individually, try a lower resolution on each, and check the manual for how many simultaneous displays the machine actually supports.
And one device that is not a dock at all: a splitter is not two outputs. Microsoft states it directly — a splitter duplicates the same signal instead of creating two independent signals, so both screens show one picture and Windows correctly lists one display. No Detect click, driver or setting turns a splitter into an extended desktop; the routes to a second independent screen are a second video port, a dock, or a USB display adapter.
Worked yesterday, dead today: the overnight causes
A setup that worked and then stopped, with nothing deliberately changed, has its own short list of causes — and “nothing changed” is usually wrong, because the changes that break detection are the ones that happen while you are not watching:
- A Windows or driver update installed overnight. The single most common sudden cause. Windows Update can replace a working graphics driver or reset display settings, and the failure is discovered at the next sign-in. The test and the fix are both in step 3: check Settings > Windows Update > Update history for what arrived, then Roll Back Driver if the timing matches. Microsoft Q&A is full of this exact pattern — monitors via a dock undetected the morning after updates, working again when connected directly — which is steps 3 and 4 arriving together.
- The cable failed, or was disturbed. Cables die internally with no visible damage, and desks get cleaned, PCs get moved, chairs catch cables. A monitor re-plugged after cleaning sometimes lands in a motherboard port instead of the graphics card (step 1), or the monitor is left listening on its old input. Reseat, re-select the input by hand, and swap in the known-good cable before suspecting anything expensive.
- Sleep left something stuck. Some monitors disable a DisplayPort input after the computer sleeps — HP documents this for its monitors — and deep-sleep settings can drop the connection announcement entirely, so the PC wakes to a monitor that is no longer there. Wake the PC, re-select the input by hand on the monitor, and if that revives it, look in the monitor’s own menu for a deep-sleep or power-saving option and try the other setting. Unplugging the monitor’s power cable for a minute clears a stuck connection state before you test again.
- The graphics driver stalled. Not broken, just hung — the case Windows + Ctrl + Shift + B exists for (step 2). A beep, a flicker, and the monitor returns.
- The dock lost its state. A dock that was unplugged, lost power, or took a firmware or driver update can stop announcing its monitors while passing USB devices happily. Power-cycle it as in step 4, and reconnect the monitors one at a time.
If the machine does not merely lose the monitor but restarts around updates as well, that is a second fault travelling with the first — work it by its own pattern in computer keeps restarting once the display chain is settled.
Three claims to be careful with
Guides on this topic repeat a few things that are wrong or only half true, and each one wastes time or money:
- “Just keep clicking Detect.” Detect is a rescan, not a repair. It cannot create a connection the hardware has not made — a dead cable, a wrong input, a video-less USB-C port and an unpowered dock all answer a rescan with the same silence. Prove step 1 first; then one Detect click is a real test.
- “Every USB-C port and cable carries video.” The connector is a shape, not a capability. The port needs DisplayPort Alt Mode or Thunderbolt, and the cable needs to be wired for video — a 480 Mbps charging cable is neither, and it fits perfectly while carrying nothing.
- “Update the driver with this utility” (or wipe it with this tool). Driver-updater utilities appear in ranking guides, sometimes as the headline fix and sometimes next to a row of adapters for sale. No manufacturer documents them. The supported sources are Windows Update and the PC or GPU maker’s own page, and the supported order is update, roll back, reinstall — in that order.
When to stop testing
Stop and hand it over — to the maker’s warranty service if covered, or a repair shop if not — when any of these is true: the monitor fails on a second computer with a known-good cable, on more than one of its inputs (the monitor itself is the dead link); no monitor is ever detected on any port of the PC after steps 1 to 3, including on a direct connection with the correct driver installed (the PC’s graphics output is the suspect); the monitor fails its own built-in diagnostics — Dell monitors, for example, run a self-test with the video cable unplugged, and a monitor that cannot show its own self-test screens has failed inside itself; or you find physical damage — a cracked socket, bent pins, a damaged panel. Do not reinstall Windows for a detection fault: it cannot repair a cable, a port, a dock limit or a failed monitor, and every check above can be done without touching your files.
Frequently asked questions
Why is my second monitor not detected at all? Because one link in the chain — cable or port, Windows display settings, graphics driver, or the dock and its limits — never completed the connection. Work the chain in that order: a known-good cable into a port that carries video, the monitor set to that input by hand, Windows + P set to Extend, Detect in Display settings, then the driver, then the dock.
How do I force Windows to detect my second monitor? Settings > System > Display > Multiple displays > Detect is the force-detect control, and Windows + Ctrl + Shift + B restarts the graphics driver so it re-polls every output. Both only work on a connection that already exists — reseat the cable and select the monitor’s input first, or the rescan finds nothing to detect.
Why did my second monitor stop working after an update? Because the update most likely replaced the graphics driver or reset the display settings. Check Update history to confirm the timing, then roll the driver back in Device Manager > Display adapters > Properties > Driver > Roll Back Driver. If the monitor connects through a dock, test it directly on the PC as well — dock setups are the ones updates break most often.
Can a dock stop a second monitor being detected? Yes, in three ways: the dock is unpowered or in a stuck state, its own driver or firmware is missing or out of date (DisplayLink docks show nothing at all without their driver), or the total resolution and refresh rate you are asking for exceeds what the dock can carry. The direct-connection test separates all three from a PC fault in one move.
Why does Windows detect my monitor but the screen stays black? Detection and picture are separate steps. Check the projection mode (Windows + P, Extend), confirm the display is not set to disconnected in Display settings, select the monitor’s input by hand, and lower the mode — Recommended resolution, 60 Hz in Advanced display — because a saved mode the cable or port cannot carry produces exactly a listed-but-black monitor. If instead the screen says “No Signal” and Windows never listed it, that is the detection fault this article covers; a lone monitor with a “No Signal” message has its own sequence in monitor no signal.
This article is general information, based on the Microsoft Support and Dell Support pages linked above and checked in November 2026. Dock limits, control-panel labels, port symbols and self-test steps vary by maker and model — your PC, monitor and dock manuals and support pages are the authority for your exact hardware.