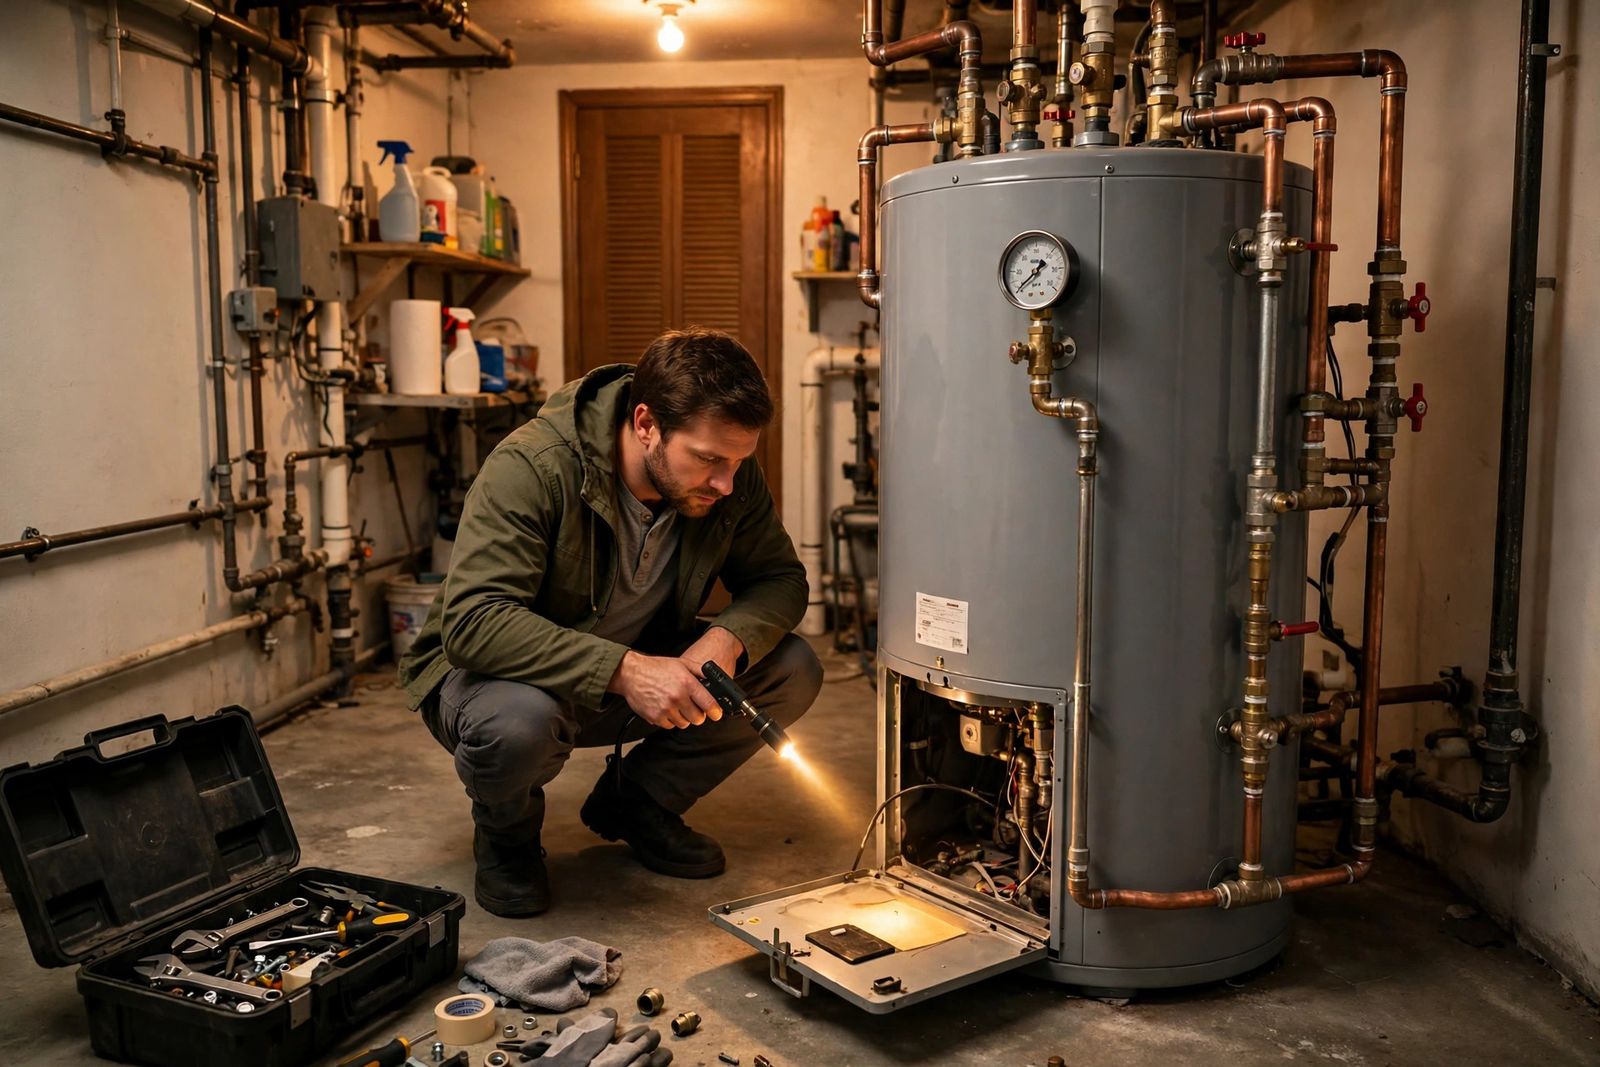
If you have no hot water in the house, the fault is almost always at the water heater — and a water heater not heating is almost never a dead tank; it is one open link in its fuel chain. The first check depends on which kind you own. On an electric heater, work in this order: the breaker, then the red high-limit reset button on the upper thermostat, then the elements and thermostats. On a gas heater, work in this order: the pilot light, then the gas supply, then what the pilot is telling you about the thermocouple and the gas control valve. Most no-heat faults are one of those links: on an electric heater, a tripped breaker or a tripped high-limit reset is the most common, cheapest cause; on a gas heater, an unlit pilot stops everything downstream, because if it is out, nothing else on the heater can work. The two fuel types share almost no parts, which is why a guide that mixes them sends people checking a pilot light on an electric tank or hunting for elements on a gas one. Confirm the thermostat is set near 120°F (49°C) on either type, and stop at the safety lines below: gas parts and internal electrical testing are where the homeowner checks end.
Safety — read this before any check. If you smell gas (a rotten-egg smell) at any point, leave the house and call your gas company or emergency service from outside. Do not relight anything, do not operate electrical switches, and do not go back in to investigate. A. O. Smith’s own safety guidance for a heater that is not working gives the same rule for gas models, and for electric models it is equally direct: turn the power off at the breaker before removing any access panel or touching anything, because the components stay live at typically 240 volts — a supply that can kill — even when the heater is not actively heating. Never cap, plug or tamper with the temperature-and-pressure (T&P) relief valve on the tank. Never bypass, tape down or hold in a safety sensor, a high-limit switch or a thermocouple to keep a heater running. Keep the thermostat at or near 120°F: the U.S. Department of Energy (DOE) recommends turning the thermostat down as its core energy-saving strategy, hotter stored water scalds in seconds — especially children and older adults — and you should never set the tank above 120°F without a thermostatic mixing valve to temper the water at the taps. If any step below feels beyond you, stop and call a licensed plumber — that is a correct outcome, not a failed one.
The original split: one symptom, two different machines
An electric tank and a gas tank store water the same way and fail in completely different ways. Use this map first — find your fuel, follow only your column, and note where your column hands over to a professional.
| What you see | Electric heater — check in this order | Gas heater — check in this order | Who finishes it |
|---|---|---|---|
| No hot water anywhere | 1. Breaker tripped? 2. High-limit reset popped? 3. Upper element or upper thermostat failed | 1. Pilot out? 2. Gas valve open, other gas appliances working? 3. Pilot won’t stay lit = thermocouple/thermopile; pilot lit, burner silent = gas control valve | Supply checks: you. Parts: a professional |
| Hot water, but it runs out fast | Lower element failed, or sediment burying it | Sediment insulating the burner, or a failed dip tube (either fuel) | Professional for an element; flushing can be combined with the visit |
| Lukewarm, never properly hot | One element weak or a thermostat set low or failing | Thermostat on the gas control set low or failing; dip tube mixing cold in at the top | Check the setting yourself; parts are a professional’s |
| Heater makes popping or rumbling sounds | Sediment on the tank floor and around the lower element | Sediment on the tank floor above the burner | Flushing — yours only if you already know the drill, otherwise a service visit |
| Breaker trips again, or pilot dies the moment you release the knob | Grounded (shorted) element — stop resetting the breaker | Thermocouple or thermopile no longer proving the flame — stop relighting | Professional in both cases; these are the two “stop” symptoms |
That table is the whole method. Everything below is the detail behind each row, in the same safety-first order: supply before parts, cheap before expensive, and nothing opened until its supply is proven off.
Step 0: Name the heater, and rule out the house
Before opening anything, run these checks.
Name the heater and its age. Identify the type first: a gas heater has a vent pipe rising out of the top and a gas line entering near the bottom, with a control knob and a pilot access cover at the base; an electric heater has a thick power cable into the top or side, no vent, and one or two access panels on the front. Look for the rating label on the tank: fuel type, model, serial number and often the manufacture year — any plumber or support line will ask for those label details first. Note also whether yours is a tank heater, which stores heated water, or a tankless (on-demand) heater, a wall-mounted box with no storage — their faults overlap less than their names suggest, and the tankless differences have their own section below. A tank heater commonly lasts about 8 to 12 years; past that range, age starts deciding the repair-versus-replace question at the end.
Rule out the house. Confirm cold water flows normally at several taps: if neither hot nor cold runs, the problem is the mains supply, not the heater — the same first split as how to fix low water pressure. Blame the heater only when the whole house agrees.
Then rule out the single fixture. One pattern is worth naming before you touch the heater: hot water everywhere except at one tap or one shower. That is not a heater fault. A single fixture that runs lukewarm while the rest of the house is fine points at that fixture — usually its cartridge or a thermostatic mixing valve in the shower control; on a shower, also check the anti-scald limit stop inside the handle, which can be set (or can drift) to cap how far the handle turns toward hot, and test the cartridge itself. A. O. Smith’s manuals make the same split: check the other faucets first. The fixture-side checks are worked through in shower water not getting hot.
Check the setting once. Both fuel types should sit near 120°F (49°C). One correction matters here, because a lot of online advice gets it wrong: 120°F is the setting, not the bottom of a “120–140°F range.” A. O. Smith lists 120°F as its recommended setting and the DOE’s water-heating guidance is built around the same figure; water stored at 140°F scalds skin in seconds, so the higher number is not a harmless extra margin.
Then follow only your fuel’s path.
Step 1 (electric): the breaker
Find the double-pole breaker labelled for the water heater in your electrical panel. If it has tripped — sitting in the middle or off position — reset it once: fully off, then firmly on. Wait at least 30 to 60 minutes and test a hot tap; a tank needs time to recover, and judging after five minutes condemns healthy heaters. If it trips again, stop. A repeatedly tripping breaker signals a shorted heating element or a wiring fault — resetting it repeatedly does not fix that and risks worse damage; A. O. Smith’s troubleshooting names the usual causes of repeated tripping as a shorted (grounded) heating element or a faulty thermostat, and resetting a breaker into a short, over and over, only heats wiring. A breaker that will not hold is a diagnosis, not a nuisance: the heater stays off and a professional tests the elements. If the tank is also wet, make it safe and work through water heater leaking first, because water and a live electric tank change the order of everything.
Step 2 (electric): the high-limit reset (the ECO)
If the breaker holds and there is still no hot water, the next suspect is the high-limit switch — the Energy Cut Off, or ECO — a red reset button on the upper thermostat which cuts all power to the elements if the water overheats. It does not reset itself; until someone presses it, the heater stays dead even with the breaker on. This one switch is behind a large share of “no hot water at all” calls on electric tanks.
Rheem’s own manual gives the reset procedure, and the order in it is the safety point:
- Turn off the power to the water heater at the breaker.
- Remove the upper jacket access panel and pull the insulation aside. Rheem’s manual adds a detail most guides skip: do not remove the thermostat’s protective cover.
- Press the red RESET button on the combination thermostat and temperature-limiting control, which sits above the upper element, against the tank surface. A click means it had tripped.
- Replace the insulation and the access panel before turning the power back on.
- Restore power and wait 30 to 60 minutes before judging the result.
Two limits on this fix. Never open that panel with the breaker on — the terminals behind it carry the full supply. And a reset that trips again, or repeatedly, is information, not bad luck: the ECO opened because something overheated the water, most often a thermostat stuck calling for heat or an element shorted to the tank. Press it once; if it goes again within days, the cause — commonly a failing thermostat or a grounded element — is still present, and testing it involves live electrical diagnosis that belongs to a professional. Never hold it in or tape it down.
Step 3 (electric): the thermostat settings
Most electric tanks have two thermostats, upper and lower, behind two access panels. Both should be set the same, near 120°F. A thermostat knocked down, or a single thermostat set far below the other, produces weak or short-lived hot water rather than none at all. Adjust only with the power off, and never set the tank above 120°F without a thermostatic mixing valve to temper the water at the taps — see the safety note at the top.
If the breaker holds, the reset holds and both thermostats sit at 120°F, yet there is still no hot water after an hour, the supply side is proven and the fault is in a heating part.
Step 4 (electric): heating elements and thermostats
An electric tank heats with two elements, in sequence. The upper element heats the top of the tank first; only when that zone reaches its setting does the lower element take over and heat the rest. That sequence explains the classic symptoms:
- No hot water at all usually means the upper element or the upper thermostat has failed — the lower element never gets its turn, so nothing heats.
- Some hot water, then cold within minutes usually means the lower element has failed — the top of the tank heats, giving a short supply, and the bulk of the tank stays cold.
- Water far too hot, or a breaker or ECO that keeps tripping, points at a thermostat stuck calling for heat, or an element that has shorted to its metal sheath and the tank (a “grounded” element) — the classic cause of the repeatedly tripping breaker in step 1.
Testing an element means isolating the power, disconnecting its wires and checking continuity and resistance with a multimeter, and checking whether it has shorted to the tank. Manufacturers treat element failure as the central electric diagnosis — Rheem’s guidance for its electric and hybrid models starts from power supply and thermostat setting before condemning parts, in its heat pump water heater care and troubleshooting guide. If you are confident with a multimeter and the power is verifiably off, the test itself is straightforward; if you are not, this is the natural handover point — the point A. O. Smith’s own guidance routes readers to a professional as well. Element replacement requires draining the tank below the element (or working quickly against a full tank), plus a new gasket — and a leaking element port afterwards is a worse problem than a cold tank. One rule protects the new part: never restore power to a tank that is not completely full. An element switched on in air — “dry firing” — burns out in seconds. Refill, run a hot tap until it flows steadily with no sputtering, and only then switch the breaker back on. Sediment matters too: a tank that rumbles or pops has mineral build-up coating the lower element and the tank floor, which shortens element life and slows recovery; flushing is maintenance a professional can combine with the repair.
Step 1 (gas): pilot light and gas supply
For a gas tank heater, work in this order — and re-read the gas warning at the top before starting. Any smell of gas at any point ends the job immediately.
- Check the pilot. Look through the sight glass or inspection opening at the base of the heater. A lit pilot is a small, steady blue flame. If there is no flame, the pilot is out and the burner cannot fire. A yellow, lazy or flickering flame is also wrong — it signals dirty burner parts or poor combustion air, and that is a technician’s finding, not a relight-and-forget one. Many modern gas valves also carry a status light: on A. O. Smith heaters, one flash every few seconds means the pilot is lit and the valve has detected no problem; a different flash pattern is a fault code, and the chart for your valve is in the heater’s manual. Record the pattern before you change anything — it is the valve’s own account of the fault.
- Confirm the gas supply. Check the shut-off valve on the gas line to the heater: its handle should lie parallel to the pipe (open), and across it when closed. Check whether other gas appliances work. If nothing gas-powered works, the supply to the house is interrupted and the gas company, not a plumber, is the call. If only the heater is dead and the valve is open, the fault is inside the heater’s ignition chain — the next two steps.
- Relight only by the label. If gas is reaching the house and there is no smell of gas, relight strictly by the lighting instructions printed on the heater’s own label, because knob layouts vary. A. O. Smith’s official pilot-light guidance gives the sequence, and it starts with a step much of the advice elsewhere shortens or drops: turn the gas control knob to OFF and wait at least 10 minutes for any residual gas to dissipate before attempting to relight — a combustion chamber that has been filling with unlit gas is exactly the wrong place to make a spark, and the shorter wait in many guides is not what the manufacturer instructs. Then turn the knob to Pilot, press and hold it, and press the igniter repeatedly until the pilot catches. Keep holding the knob for 30 to 60 seconds after the flame lights — that is not dead time: the flame is heating the thermocouple or thermopile, the sensor that must prove the flame to the gas valve before the valve will stay open on its own. Release the knob slowly; if the pilot stays lit, turn the knob back to On, near 120°F, and wait at least 30 to 60 minutes for recovery before judging. Rheem’s own troubleshooting support follows the same discipline: the model’s instructions first, and its error-code and service route when the fault persists, as set out in Rheem’s troubleshooting help.
- Read what the pilot is telling you. A pilot that will not light at all suggests no gas at the pilot, a clogged pilot tube or a failed igniter. A pilot that lights while you hold the knob but dies the moment you release it is the classic thermocouple or thermopile failure: that sensor sits in the pilot flame, powers the gas valve and shuts off the flow of gas if the pilot goes out — so when the sensor itself fails (dirty, loose, drifted out of the flame, or worn out after years of heat cycles), the valve never receives its proof and closes for safety. All three are gas-side repairs for a licensed technician — do not bypass, tape down or defeat the sensor or the control to keep a flame alive — and on modern sealed units even cleaning or replacing the sensor means opening the sealed burner compartment and working on the gas train, which is a technician’s job. A pilot that stays lit while the main burner never fires, with the thermostat calling for heat, points at the gas control valve — the combined control and thermostat the knob is part of — or to gas pressure; the valve is the heater’s most safety-critical part, and its testing and replacement are licensed gas work. And a pilot that lights and stays lit while the burner fires, but the flame is yellow or the pilot keeps going out over days, points at combustion air and venting: a starved or dirty burner, blocked air openings at the base of the tank, or a venting problem. Keep the air openings at the base clear of lint and stored items — a pilot needs combustion air — and have the rest checked by a technician. For a pilot that relights and then keeps going out on its own schedule, water heater pilot light keeps going out runs the relight-and-watch test in full: dies on release points to the thermocouple path, dies later points to draft, pilot tube or valve. One discipline runs through all of it: manufacturers diagnose by symptom and sequence, as above — treat any precise percentage for how often a part causes these calls as a number nobody actually publishes.
Step 5: Hot water that runs out too fast, and the dip tube
If the heater fires but showers run cold early, think capacity rather than ignition. The dip tube is the plastic pipe inside the tank that delivers incoming cold water to the bottom, near the burner or lower element, so hot water is drawn from the top. When it cracks or disintegrates, cold water pours in at the top and mixes with the hot water leaving — the tank holds plenty of heat that you never receive. Clues are lukewarm water from the start of a draw, a supply that feels half its old size, white or pale plastic fragments in aerators, and an older heater, from the era of deteriorating tubes. Dip-tube replacement means shutting off water and power or gas, draining and opening the cold inlet — feasible, but on an older tank it is often combined with the replacement conversation below.
The other capacity thieves are a thermostat set too low (raise it only to 120°F), and heavy sediment insulating the water from the heat source: minerals settle on the tank floor, burying an electric heater’s lower element and sitting between a gas heater’s burner and the water, with popping or rumbling and slower recovery than the heater used to manage as the clues; flushing is the fix, and it pairs naturally with any element or burner service. Then there is a heater that is simply outmatched: a 40-gallon tank delivers its top portion as a full-temperature draw before mixing pulls the outlet temperature down, and if a household has added occupants, a soaking tub or back-to-back showers, the heater may be healthy and merely outgrown — the DOE sizing guidance linked from its water-heating pages is the right starting point for that judgement. Pressure belongs in this picture too: if hot water is not only short but weak at the taps while cold runs normally, work the heater-outlet and sediment checks in how to fix low water pressure alongside this page.
Tankless heaters: what changes
A tankless heater has no stored water, no pilot (electronic ignition instead) and no dip tube — so the checks translate rather than transfer. No hot water from a tankless unit most often means: power or gas supply interrupted (check the breaker and that the unit’s display is alive), flow too low to trigger ignition (a single low-flow tap may not reach the activation rate — test with a tap fully open), an error code on the display (record the exact code; manufacturers diagnose by it, and Rheem’s support route begins with the code), or scale build-up on the heat exchanger in hard-water areas, which needs descaling with a pump kit or a service visit. A tankless unit that delivers hot water that turns cold mid-shower under several simultaneous draws is usually undersized for that combined flow, not broken. Do not open a tankless heater’s case beyond the maker-approved user checks: the gas, venting and electronics inside are technician territory.
Repair or replace?
The parts on both paths — an element, a thermostat, a thermocouple, a gas control valve — are repairs on a sound tank. Age and tank condition decide whether they are worth it. Rheem puts a traditional tank heater’s typical life at 8–12 years and suggests planning replacement from around year 10: a failed element on a six-year-old tank is a repair, while the same bill on a twelve-year-old tank with rusty water and rust at its base is usually money spent delaying a replacement. And one verdict overrides all of it — if the tank body itself leaks, there is no repair on either fuel path. A pressurised, glass-lined tank cannot be patched; water heater leaking separates that one fatal leak from the fixable valve and fitting leaks, with the same find-the-exact-source discipline that separates a failed wax ring from a cracked flange in a toilet leaking from base.
When to call a professional
Call a licensed plumber — and for a gas smell or a house-wide gas failure, the gas company first, from outside — if any of these apply: you smell gas; the breaker or the high-limit reset trips repeatedly; a pilot will not light after the full 10-minute wait, will not stay lit after a correct 30–60 second hold, or stays lit while the burner never fires; the pilot flame is yellow or flickering, or there is soot around the burner; an element or thermostat needs testing or replacement and you are not equipped for electrical work; the tank leaks (a leaking tank cannot be repaired, only replaced), the T&P valve discharges repeatedly, or there is rusty water with falling performance on an old tank; or a tankless heater shows a persistent error code. Telling the technician which row of the split table you reached — “pilot dies on release,” “upper-element symptom, breaker holds” — is genuinely useful: it is the diagnosis half-done, in the manufacturers’ own terms. For a heater that is leaking rather than cold, water heater leaking gives the shut-off order and the source-by-source verdicts — which leaks are a valve or fitting you can fix, and which one means the tank itself is done. The same supply-first method runs through the neighbouring plumbing jobs: how to fix a leaky faucet begins with its shut-off valves just as this job begins with the breaker and pilot, and toilet keeps running is the other common “water doing the wrong thing” fault to rule out now. If the cold taps misbehave alongside electrical symptoms elsewhere, why lights flicker helps separate a house electrical fault from an appliance one.
Frequently asked questions
Why is my water heater not heating at all? Because one link in its fuel chain has opened. On electric heaters that is usually the breaker, the tripped high-limit reset, or the upper element or thermostat. On gas heaters it is usually the pilot — out, unable to stay lit because the thermocouple or thermopile is failing, or lit while a failed gas control valve keeps the burner shut. Work your fuel’s order in the split table; the first link that fails is the answer.
How do I reset a water heater? Electric: there are two resets, in order — the breaker (once, fully off then on), then, with the breaker off, the red high-limit RESET button behind the upper access panel, following Rheem’s manual sequence above. Gas: a gas heater is not “reset” — its pilot is relit by the label instructions, starting with the knob at OFF and A. O. Smith’s wait of at least 10 minutes before you try to light it.
How long should I wait after resetting the breaker or relighting the pilot? At least 30 to 60 minutes for noticeably hot water, and longer to recover fully. Judging after five minutes leads to unnecessary part replacement and makes healthy heaters look broken.
Why did my breaker trip once and never again? A single trip can follow a power surge or a momentary fault. Reset once and monitor. Tripping again — immediately or repeatedly — is the signal that an element or wire is faulty, and that needs a professional, not another reset.
What temperature should a water heater be set to — is 120°F hot enough? Yes for household use: near 120°F (49°C) is A. O. Smith’s recommended setting and the figure the DOE’s guidance is built around — hot enough for showers, laundry and dishwashers with their own heaters, while reducing scalding risk and standby heat loss compared with the 140°F many heaters ship set to. Treat any advice to set 140°F as a routine household setting with caution: it raises scald risk sharply, and higher storage temperatures belong with a thermostatic mixing valve fitted by a professional.
Can I replace a thermocouple or a heating element myself? The honest split: an element is electrical work some equipped homeowners do with the power verifiably off, the tank drained below the element and a new gasket on refitting — and a professional’s job if any of that is unfamiliar. A thermocouple sits in the gas train inside a sealed burner compartment on modern heaters; treat its cleaning, adjustment and replacement as licensed gas work, and never bypass it.
This article is general information based on the A. O. Smith, Rheem and U.S. Department of Energy sources linked above and checked in November 2026. Water-heater designs, controls, valves and codes vary by maker and model — follow the instructions and warnings printed on your own heater first, never bypass a safety sensor or relief valve, and use a licensed professional for gas components, internal electrical testing and any leaking tank.