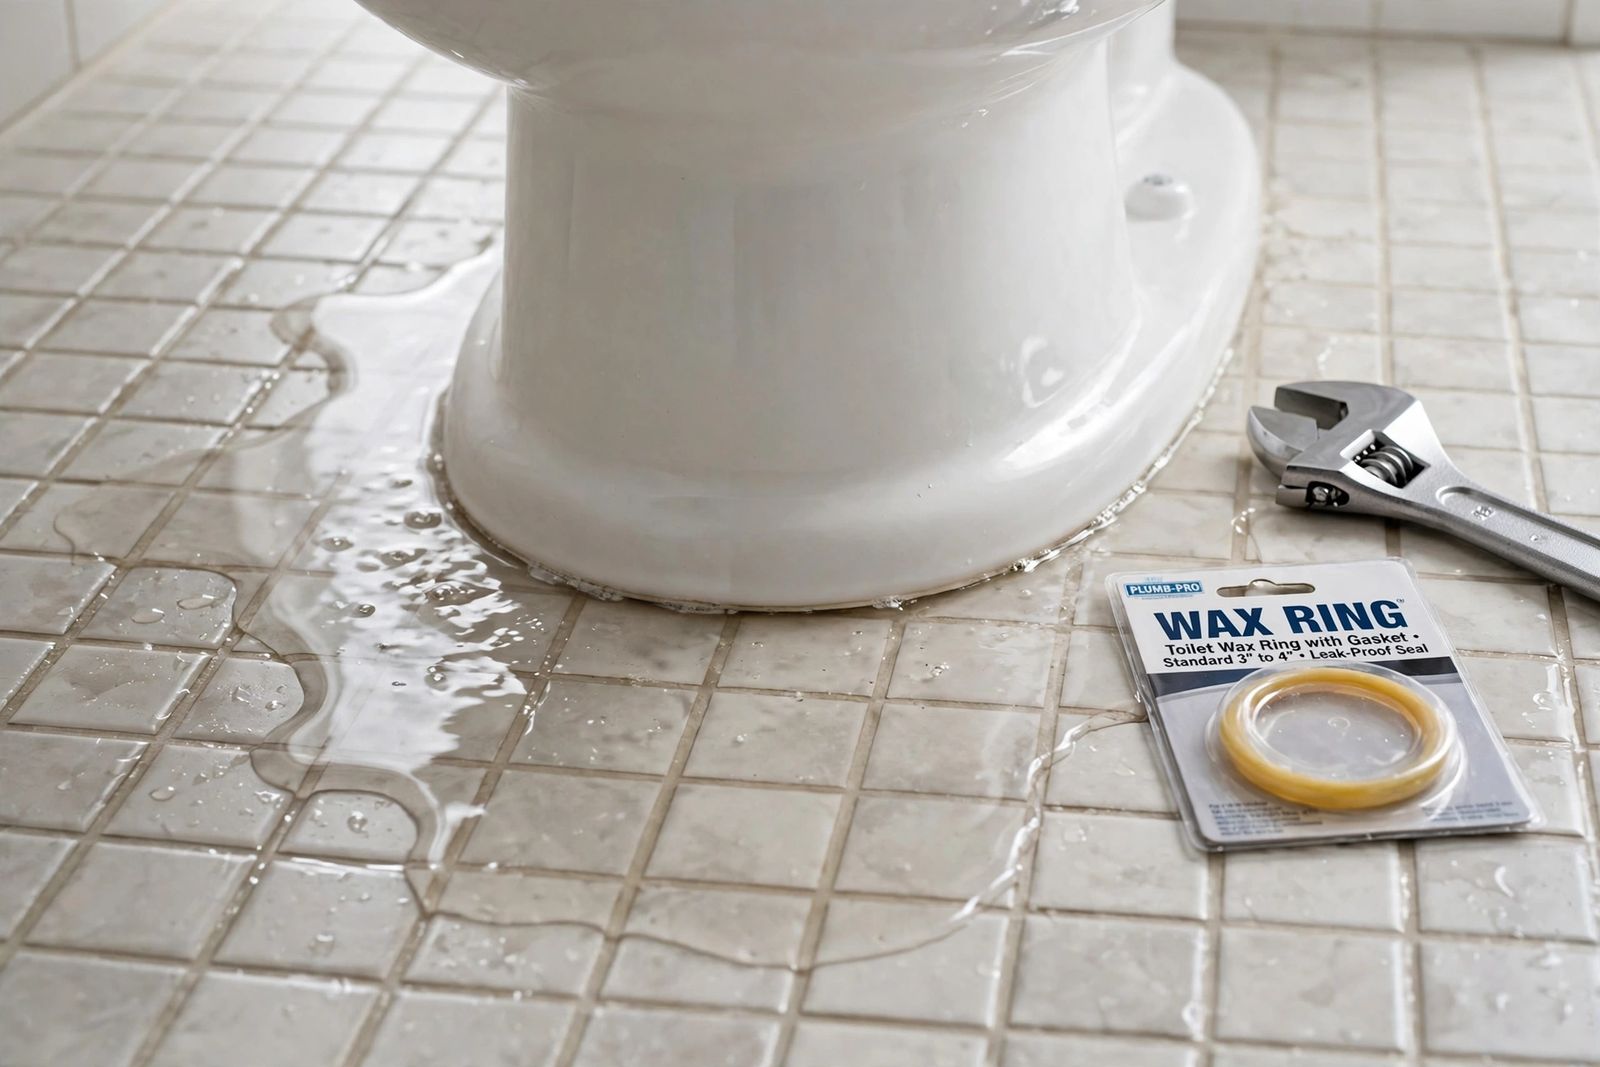
Water at the base of a toilet usually means the wax ring — the seal between the toilet and the floor flange — has failed, and it most often shows only when you flush, because flush water escapes under the base instead of going down the drain. The fix is to pull the toilet and replace the ring, which is a doable DIY job with basic tools. But rule out the tank and supply causes first: a drip from the supply connection or the tank bolts can run down and pool at the base, and those fixes take ten minutes with the toilet left exactly where it is.
Do not put this off. Every flush through a failed seal sends water into the floor under the toilet, where you cannot see it. Left for weeks, that hidden water rots the subfloor, softens the wood around the flange, and can stain the ceiling of the room below. A leak you can fix today with a ring that costs a few dollars becomes a floor repair if it is ignored.
First, Find Out Which Leak You Actually Have
Do not lift the toilet until you know the water is really coming from under it. Dry the floor and the outside of the toilet completely, then use where and when the water appears to name the cause.
The dry-paper test. Ring the base with dry toilet paper or paper towel and leave the toilet unused for a few hours. Then flush once and watch. Paper that gets damp only after the flush points to the seal under the toilet. Paper that gets damp with no flush at all points to a pressurised supply leak or condensation, not the wax ring.
The dye test. Put food colouring in the tank and wait 15 to 30 minutes without flushing. Coloured water in the bowl means an internal tank leak of the kind covered in toilet keeps running. Coloured water on the floor means tank water is escaping on its way down — tank bolts or the tank-to-bowl gasket. Clear water at the base after a flush, with no colour, is drain-side water: the wax seal or the flange.
| Where and when the water appears | Likely cause | The fix |
|---|---|---|
| Only when you flush, seeping from under the base; sometimes a sewer smell | Failed wax ring | Pull the toilet and replace the ring (steps below) |
| Constant drip at the back, wet even with no flushes | Supply line connection or shutoff valve | Tighten or replace the supply connection — toilet stays in place |
| Water runs down from under the tank; damp at the tank bolts, worse on flushing | Tank bolts or tank-to-bowl gasket | New bolts, washers and gasket; tank comes off, toilet stays bolted down |
| Toilet rocks when you sit on it, and the base leaks | Broken flange or rotted floor under it | Repair the flange or floor first — a new ring alone will fail again |
| Beads of water all over the tank and bowl in humid weather, no flush pattern | Condensation (“sweating” tank) | Ventilation, not plumbing — no leak to fix |
| Base leaks and the bowl drains slowly or gurgles | Blocked drain backing up against the seal | Clear the blockage first, then re-check the seal |
Two more checks while you are down there. Grip the bowl and try to rock it: a toilet that moves has been working its seal loose, and that movement, not age alone, is what kills most wax rings. And trust your nose — a sewer smell around the base means the seal has already failed even if you have not seen water yet, because the ring blocks sewer gas as well as water.
The Supply and Tank Checks (Toilet Stays in Place)
Supply line. That same supply connection is also the first check when a toilet tank is not filling at all, since a closed valve or a blocked line starves the tank before any seal question arises. Run a dry finger along the supply tube from the wall valve to the tank connection. If it comes back wet, snug the connection nut gently — hand-tight plus a small turn, the same restraint as any compression fitting in how to fix a leaky faucet. If the line itself is old, stiff or corroded, replace it with a braided line; it is a cheap part and this connection is also where add-ons tap in, as how to install a bidet attachment shows. Dry everything and re-check in 15 minutes.
Tank bolts and gasket. If the dye test put coloured water on the floor, or the damp is highest at the back under the tank, the tank-to-bowl joint is leaking. That fix — water off, tank drained, bolts and the large gasket replaced, bolts retightened a little at a time on alternating sides — is done with the bowl still bolted to the floor. Only go to the next section if the toilet passes both checks and still leaks from underneath on a flush.
A note on tightening the base bolts. If the toilet rocks, you can snug the two closet bolts at the base before doing anything else: pop the caps off, and turn each nut a quarter turn at a time, alternating sides. Understand what this can and cannot do. It stops the rocking that is destroying the seal, but it cannot reseal wax that has already been crushed or pushed out of place — wax does not spring back. If water still appears after the next few flushes, the ring is done and the toilet has to come up.
How to Replace the Wax Ring, Step by Step
Budget one to two hours, and get a helper for the lift — a toilet weighs roughly 60 to 100 pounds and has to move straight up and straight down. You need: a new wax ring (standard, or extra-thick if you already know the flange sits low), new closet bolts if the old ones are rusty, an adjustable wrench, a putty knife, a sponge and bucket, towels, and gloves. Plugs for the drain: a rag you will remember to remove.
- Shut off the water at the valve behind the toilet. Flush and hold the handle down to empty the tank, then sponge the remaining water out of the tank and bowl. The emptier it is, the lighter and cleaner the lift.
- Disconnect the supply line from the bottom of the tank, with the bucket underneath for the drip.
- Remove the bolt caps and nuts at the base. If a nut is rusted solid and just spins the bolt, cut the bolt with a hacksaw rather than forcing it — force is how porcelain chips.
- Rock the toilet gently to break the old seal, then lift it straight up with your helper and set it on its side on towels or cardboard. Never drag it — dragging smears wax and can crack the base edge.
- Scrape off all the old wax from the flange and from the outlet on the bottom of the toilet with the putty knife. Old wax left behind is a leak path under the new ring. Stuff the rag into the drain opening while you work: it blocks sewer gas and stops a dropped nut becoming a much bigger job.
- Inspect the flange before you fit anything — this is the step that decides whether the repair lasts. See the flange section below for what you are looking at and what each problem needs.
- Fit new closet bolts into the flange slots, threads up, if the old ones were corroded or bent.
- Place the new ring. Centre it on the flange and press it gently into place, or press it onto the outlet on the toilet’s underside — both are accepted practice; Oatey’s toilet re-attachment guide allows either. A wax-free rubber seal is a legitimate alternative: Fluidmaster’s wax-free design can be repositioned if your first set-down is crooked, which a wax ring cannot. Whichever you use, never reuse the old ring — Oatey is explicit that a compressed wax ring is single-use, even if it was compressed minutes ago. Remove the rag from the drain now.
- Set the toilet straight down over the bolts in one motion. Do not land it crooked and shuffle it into place — shuffling breaks the new seal before it has ever been used. Press down with your body weight, and sit on the bowl (lid down) to compress the ring evenly.
- Tighten the flange nuts alternately, a little at a time, until the toilet is snug and does not rock. Snug is the whole specification: overtightening cracks the porcelain base, and a cracked base means a new toilet. If the floor is slightly uneven, shim the low edge with plastic shims before the final tightening, and trim them flush.
- Reconnect the supply line, turn the water on, and test with several flushes — not one. Lay dry paper around the base and check it after each flush. Dry paper after four or five flushes means the seal is holding.
- Caulk the front of the base only. Run a bead around the front and sides, and leave the back uncaulked. That open gap is deliberate: if the seal ever fails again, the water escapes where you can see it instead of soaking silently into the floor under a sealed base.
Flange Problems: The Reason New Rings Fail
The flange is the ring in the floor that the toilet bolts to and the drain connects through. A new wax ring seals against it, so a bad flange defeats a good ring. Oatey’s flange guidance sets the standard: the flange should sit on top of the finished floor, or level with it.
- Flange flush with the floor: workable. Use a standard ring, or a jumbo/extra-thick ring for a surer seal — Oatey’s MaxWax is about 40% thicker than standard for exactly this case.
- Flange below the finished floor (common after new tile or flooring is laid over the old): a standard ring cannot compress across the gap and will leak, sometimes from the first week. Fix the height, not the wax: an extra-thick ring for a small gap, or a flange spacer/extender kit — Oatey’s Set-Rite spacers run from 1/8 inch up and stack to raise the flange properly. One firm rule from Oatey: do not stack two ordinary wax rings. They do not seal to each other and leave a leak path between them.
- Flange cracked, broken or with snapped bolt slots: repair it before resetting the toilet. A repair ring that screws down over the broken flange fixes minor damage; a badly corroded or broken flange needs replacement, which is where most DIYers should stop and call a plumber.
- Flange loose, or floor soft around it: if the flange moves when you push it, or the floor flexes and feels spongy, the wood under it has likely rotted from the leak you are fixing. A ring cannot seal a toilet to a moving flange on a soft floor. The floor and flange fixing have to be repaired first.
- Flange too high (well above the floor): the toilet sits on the flange instead of the floor and rocks. It needs shimming at minimum, and a high flange is another plumber-level correction if shims cannot stabilise it.
One more non-flange cause belongs here: if the base leaks and the bowl has been draining slowly, a partial blockage below the toilet can push water back against the seal on every flush. Clear the drain first — the methods in how to unclog a drain apply, and slow drainage in other fixtures too, like a dishwasher not draining, suggests the blockage is further down the shared line. Replace the ring after the drain runs free, or you will be testing the new seal against backed-up water.
What It Costs
| Fix | DIY parts cost | Typical time |
|---|---|---|
| Tighten supply connection / new supply line | $0–$15 | 10–15 minutes |
| Tank bolts and gasket kit | $5–$15 | About 1 hour |
| New wax ring (or wax-free seal) and bolts | $5–$20 | 1–2 hours |
| Flange repair ring or spacer/extender kit | $10–$30 | Added to the ring job |
| Plumber: wax ring replacement | $150–$350 | About 1 hour |
Prices are typical US retail and service ranges as of November 2026, not quotes. The pattern is the point: the part that fixes most base leaks costs less than a takeaway meal, and almost all of the plumber’s bill is the lift, the reset and the guarantee — which is also why the flange inspection matters, since paying for the same lift twice is the expensive outcome.
When to Call a Plumber
- The flange is cracked through, corroded away, or loose in the floor. Repair rings cover minor damage; structural flange work is a plumber’s job.
- The floor is soft, spongy or stained black around the base. That is rotted subfloor. It has to be cut out and replaced before any toilet goes back down.
- The porcelain is cracked — at the base or anywhere that holds water. Cracks cannot be reliably sealed; the toilet gets replaced.
- You replaced the ring and it still leaks. Something else is wrong: flange height, a cracked outlet horn under the bowl, or a drain blockage. A second identical attempt rarely changes the result.
- You cannot lift the toilet safely. It is heavy, awkward and fragile. Paying for the lift is cheaper than a back injury or a dropped bowl.
- The shutoff valve will not close. Work upstream has to happen before the toilet can come up at all.
Frequently Asked Questions
Can I just caulk around the base to stop the leak? No. Caulk over an active leak does not stop the water; it hides it, and traps it against the subfloor where the damage is worse. Fix the seal, test it dry, then caulk the front only, leaving the back open as a tell-tale.
Can tightening the bolts fix a base leak? Only if the wax seal is still intact and the rocking just started. Once wax has been crushed or displaced it cannot reseal — tightening then only stops further damage. If it still leaks after a few flushes, the ring needs replacing.
How long does a wax ring last? Oatey puts an installed wax seal’s life at the life of the toilet — 20 to 30 years — because wax does not perish on a schedule. Rings fail early when the toilet rocks, the flange sits at the wrong height, or the toilet is lifted and reset on the old ring. Movement, not age, is the usual killer.
Should I use a wax ring or a wax-free seal? Either seals well at the correct flange height. Wax is cheaper and proven, but it is one-shot: lift or shift the toilet during setting and you start over with a new ring. Wax-free rubber seals (Fluidmaster’s Better Than Wax is the common one) cost more, are cleaner to handle, and can be repositioned — forgiving for a first attempt. Neither compensates for a flange that sits far below the floor; fix the height first.
Is a toilet leaking from the base an emergency? Treat it as urgent, not as a someday job. Stop using that toilet if you can, especially if the floor feels soft or there is a ceiling below — every flush is adding water to the structure. On a sealed tile floor with a sound subfloor, shutting the supply off and fixing it within a day or two is reasonable.
Why is there a sewer smell but no water? The wax ring seals gas as well as water, and gas escapes through a smaller gap than water needs. A sewer smell at the base with a dry floor usually means the seal has cracked or pulled away but the water path is still mostly holding — plan the same ring replacement before the water follows.
Sources: Oatey toilet re-attachment guide, Oatey flange repair guide and Oatey wax ring guidance (flange height, no stacking, single-use rings); Fluidmaster wax and wax-free seals; The Home Depot’s leaking toilet base guide (tank-bolt check, body-weight seating). Prices are typical ranges, not quotes.