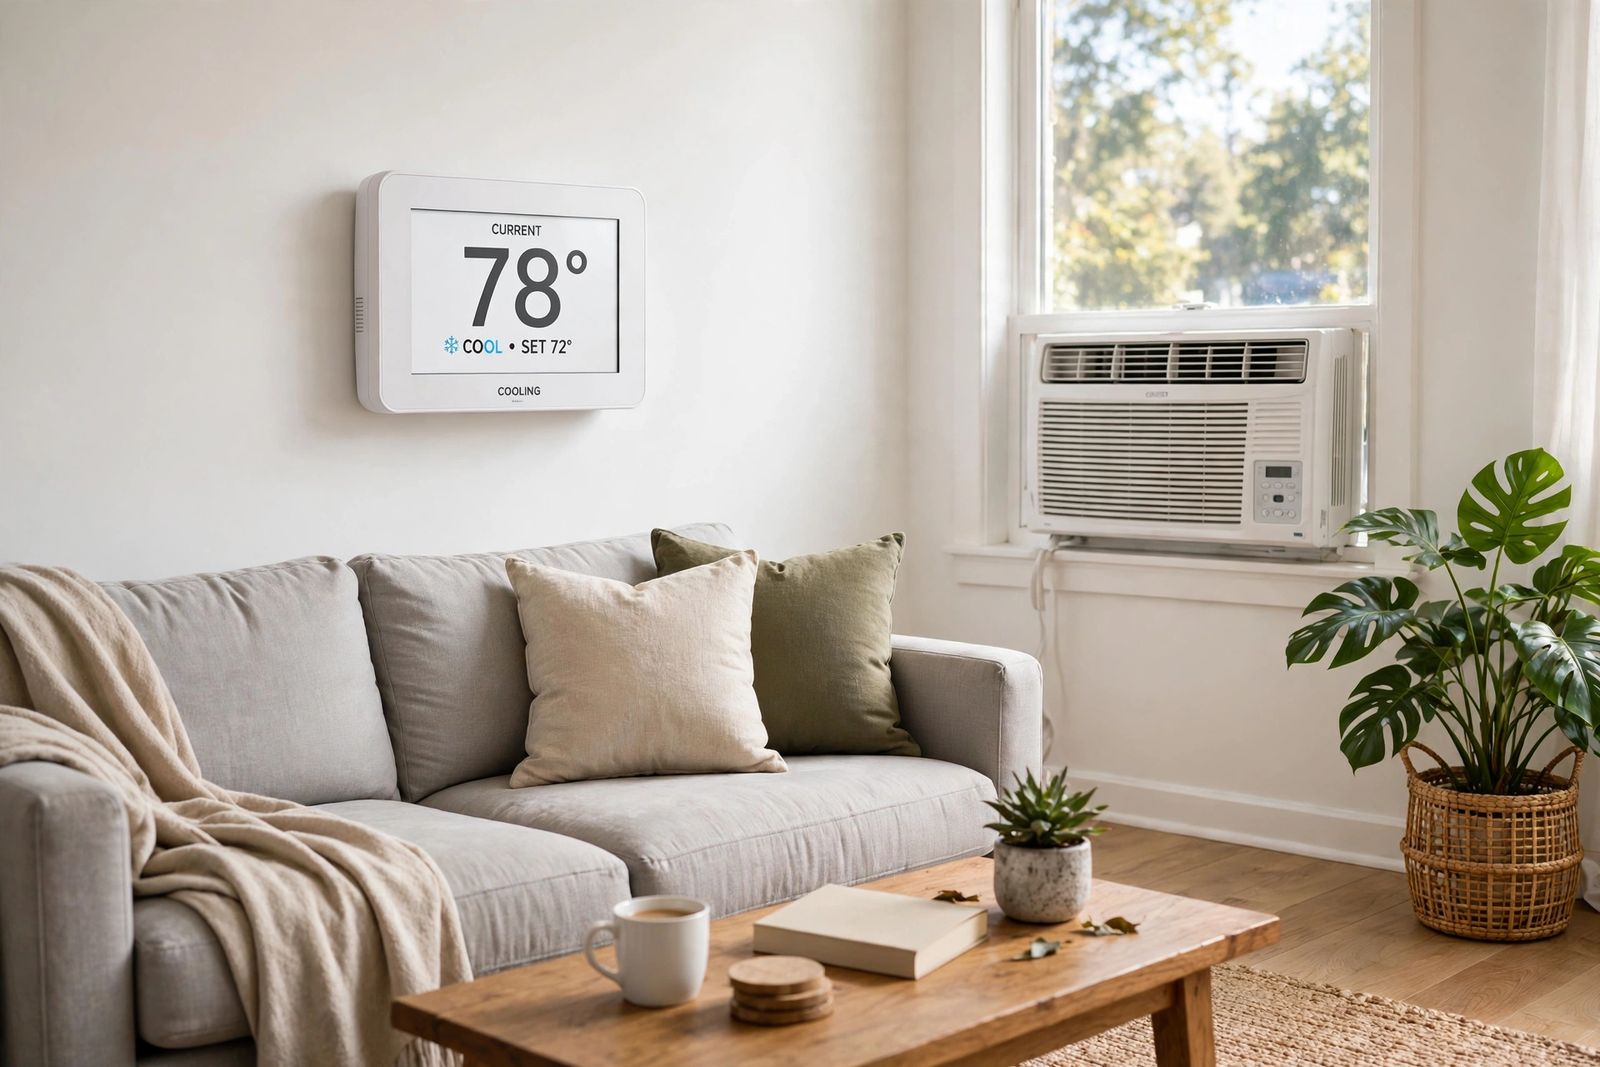
If your AC is running but not cooling, work four checks before you call anyone, in this order: the thermostat settings, the air filter, the outdoor unit’s airflow, and the signs of a frozen coil. Those four cover the most common causes — a wrong mode or fan setting, a clogged filter starving the coil of air, a condenser smothered in debris, and ice that has shut cooling down — and all four are free. If cooling is still weak after them, the cause is almost always in the sealed refrigerant circuit or the electrical parts, and that is where homeowner work ends: refrigerant, capacitors and compressors are technician jobs, not next steps in a checklist.
Safety first. Turn cooling off before you pull a filter or look inside a grille, and turn power off at the breaker or outdoor disconnect before you rinse or clear anything on the outdoor unit. Never open the outdoor unit’s electrical panel: capacitors can hold a charge even with the power off. Refrigerant work is licensed work — under the U.S. Environmental Protection Agency’s Section 608 rules, certification is required for anyone whose work could open the refrigerant circuit, so this article gives no DIY refrigerant instructions. If you smell burning, hear grinding, or a breaker trips twice, stop checking and call a technician.
Name your symptom first — it changes the order
“Not cooling” covers three different failures, and the checks sort faster once you know which one you have:
- No air at all, or nothing runs. Start with power and the thermostat: breaker, outdoor disconnect, and the drain safety switch in step 5 below. A system that will not start is not a cooling problem yet — that fault has its own ordered chain, breaker to thermostat call to float switch to capacitor hum, in AC not turning on.
- Plenty of air, but it is warm or barely cool. This is the main checklist below: settings, filter, outdoor airflow, then ice.
- Cold air, but the house never gets there. The system may be healthy and losing to the load — closed vents, leaky ducts, extreme heat, or a system that is the wrong size. Work the same checklist, then read the “when it is not a fault at all” section before paying for parts.
One measurement helps at every stage: once the system has run steadily for 10–15 minutes, hold a thermometer at a supply vent, then at the return grille. Supply air should be clearly, substantially colder. Air only slightly cooler after the checks below means heat is not being moved — and the remaining causes are professional ones.
The before-you-call checklist (the original asset of this article)
Work top to bottom. Do not skip ahead to refrigerant: it is last for a reason, explained in the correction box below.
| # | Check (in order) | How to do it | If this fixes it | Owner or tech? |
|---|---|---|---|---|
| 1 | Thermostat mode, set point and fan | Mode on COOL, set point a few degrees below the room temperature shown, fan on AUTO. If “Cool On” is flashing, wait 5 minutes before judging anything | System starts and cools = a setting, a schedule hold, or the compressor-protection delay was the whole problem | Owner |
| 2 | Air filter | System off, slide the filter out, hold it to a light. No light through it, or grey and matted = replace it, same size, arrow toward the air handler | Cooling returns over the next hour = airflow was the cause. Note the date: this becomes a monthly check | Owner |
| 3 | Vents and returns | Open every supply register fully; clear rugs, sofas and bookcases off return grilles | Airflow at the vents strengthens = the coil was being starved from the room side | Owner |
| 4 | Outdoor unit airflow | Power off at the disconnect. Clear leaves, grass, cottonwood and stored items; keep about 2 feet clear on all sides. Gently rinse a dirty coil from inside out if your manual allows a garden-hose rinse | Fan runs freely and cooling improves = the unit could not dump the house’s heat outside | Owner (clearing/rinsing only) |
| 5 | Breaker, disconnect and drain switch | Reset a tripped AC breaker once, fully off then on. Confirm the outdoor disconnect is seated. Check the indoor drain pan for standing water | One reset that holds = a one-off trip. Water in the pan = a float switch shut cooling down to prevent an overflow | Owner for one reset and a look; tech if it trips again or the drain stays blocked |
| 6 | Frozen-coil signs | Look for frost or ice on the insulated copper line, the outdoor connections, or around the indoor coil; weak, warming vent air fits the pattern | Ice present = do the thaw in the frozen-coil section below, then re-test. Ice that returns within a day or two = stop | Owner to thaw; tech if ice returns |
| 7 | Window or wall unit basics | Unplug it. Wash or replace the mesh filter behind the front grille, vacuum dusty coils gently, seal gaps around the unit, confirm COOL mode (not Fan or Dry) | Cooling returns = the same airflow story in a smaller box | Owner |
| — | Anything past this line | Refrigerant charge and leaks, capacitor, contactor, compressor, blower motor, control board | — | Tech only — see the boundary section |
The correction most top-10 guides get wrong, in two parts. First, low refrigerant is not a first check and it is never a “top-up.” An air conditioner does not use up refrigerant the way a car uses fuel; the charge circulates in a sealed circuit, so a low charge means a leak, and adding refrigerant without finding and repairing that leak just pays for refrigerant that will leave again. Carrier’s own not-cooling guidance puts the thermostat, the filter and the blocked condenser first and leaves refrigerant to its dealers — the order in the table above follows that. Second, turning the thermostat far lower does not cool the house faster. A single-stage system cools at one rate; a much lower set point only makes it run longer and overshoot. Set the temperature you actually want.
1. Thermostat settings — two minutes, three traps
Carrier starts here too: check that the system is set to cool, then check the set point, because both get changed by accident more often than thermostats actually fail.
- Mode and set point. COOL, not HEAT, OFF or an auto-changeover that has flipped to heat — and the set point a few degrees below the room temperature the thermostat itself shows. Check for a schedule, a temporary hold, or an “away” routine quietly overriding you.
- Fan ON is the classic false alarm. With the fan set to ON instead of AUTO, the blower pushes room-temperature air through the vents between compressor cycles, so the house feels as if the AC is running and blowing warm. Set it to AUTO, where the fan runs only while the system is actually cooling.
- Wait out the delay. If “Cool On” (or “Waiting for Equipment” on newer models) is flashing, that is a built-in compressor-protection delay, normally up to about five minutes — Honeywell Home’s troubleshooting gives the same wait. Do not keep pressing buttons; on many models that restarts the wait.
- Batteries and placement. A dim or erratic display on a battery model is a battery test first. And a thermostat baking in afternoon sun or sitting in a supply vent’s airstream reads its own patch of wall, not the house — the full power-and-placement diagnosis is in thermostat not working.
If the display is blank, or the system never responds to a correct call, finish that article’s power path first — a thermostat with no power imitates every other fault on this page.
2. The air filter — the cheapest cause, checked properly
A clogged filter starves the indoor (evaporator) coil of the warm air it needs to absorb heat. Cooling weakens, run times lengthen, and if the restriction goes far enough the coil drops below freezing and ices over — which is why a filter problem can end as “no cooling at all,” not just “cooling slowly.” The ENERGY STAR maintenance checklist tells owners to inspect, clean or change the filter monthly, and the Department of Energy figures routinely replacing a dirty filter can lower an air conditioner’s energy use by 5 to 15 percent.
- Turn the system off, slide the filter out — it sits in the return grille or a slot at the air handler — and hold it up to a light. No light through it means it is done, whatever the calendar says.
- Replace a disposable filter; do not wash or bang it clean. Fit the same size, with the airflow arrow pointing toward the air handler.
- Use the rating your system specifies. A filter far denser than the blower was designed for can restrict air nearly as well as a dirty one, so a blanket “highest rating available” upgrade is not automatically an improvement — match the manual or the old filter’s frame.
- Then give the system time. If the coil had begun to ice, cooling may take an hour or more to return fully as it thaws.
Make this a habit: check monthly in the cooling season, replace every one to three months, sooner with shedding pets. The same starved airflow is what makes a healthy system start short cycling instead of settling into a full cooling run.
3. Vents, returns and the outdoor unit — heat needs a way out
An air conditioner does not manufacture cold; it moves heat from inside to outside. Anything that blocks either end of that journey reads as “not cooling.”
Inside. Walk the house and open every supply register — registers closed in unused rooms, or covered by rugs and furniture, do not save money on a typical single-zone system; they starve the coil and raise duct pressure. Clear the larger return grilles especially: a return hidden behind a sofa chokes the whole system on its own.
Outside. The outdoor unit (the condenser) has to dump the house’s heat into outdoor air through its coil. Grass clippings, cottonwood, leaves, dryer lint and stored items mat into the fins and choke that rejection, so the compressor works harder while cooling falls away — in extreme cases the system shuts down or the compressor is damaged by overuse, as Carrier notes in the guidance linked above.
- Turn power off at the outdoor disconnect.
- Clear debris by hand and keep roughly two feet of clearance on all sides, with room above the fan.
- If the coil is visibly dirty and your manual allows it, rinse gently with a garden hose — no pressure washer, which folds the fins flat and makes airflow worse.
- Restore power and re-test after the system has run steadily.
If the outdoor fan is not spinning, or the unit hums but never starts, do not keep it running: that pattern is a capacitor, contactor or fan-motor fault (tech-only, below). Note what you saw — it genuinely shortens a service visit.
4. Breaker, disconnect and the drain switch nobody mentions
Three electrical and safety items imitate a cooling failure, and most quick lists skip the third:
- The outdoor breaker. A central system usually has separate circuits for the indoor air handler and the outdoor unit. The outdoor breaker can trip while the indoor blower keeps running — which produces exactly the “air blowing, nothing cooling” symptom. Reset a tripped breaker once, fully off then on. A second trip is a fault report, not a routine: leave it off. Repeated trips on other circuits too are a wider house problem — see circuit breaker keeps tripping.
- The outdoor disconnect. The pull-out box on the wall beside the condenser gets opened for other work and not reseated. Confirm it is fully in.
- The condensate float switch. Cooling wrings water out of indoor air into a drain pan and line. If the line blocks with algae and debris, the pan fills and a float switch shuts cooling down on purpose — a warm house instead of a ruined ceiling. Standing water in the pan, or a float lifted in its cup, is the answer. Clearing an accessible drain clean-out or the outdoor end of the line with a wet/dry vacuum is a homeowner job on many systems; never tape or bypass the float switch, because the water it holds back goes into the house. If water has already escaped the pan — a puddle under the indoor unit or a ceiling stain below it — diagnose it by where it appears in AC leaking water before you restart.
5. A frozen coil — thaw it fully, then fix what froze it
Ice is a symptom with two usual parents: restricted airflow (steps 2 and 3) and low refrigerant (tech territory). Signs are frost on the insulated copper line or the indoor coil housing, vent air that starts cool and turns weak and warm, and sometimes water at the indoor unit as meltwater overwhelms the drain.
- Switch cooling OFF and set the fan to ON. Fan-only operation moves room air across the ice and melts it safely.
- Wait for a complete thaw — hours, not minutes. Restarting cooling against a block of ice strains the compressor and simply re-freezes.
- Do not chip or pry the ice off. A punctured coil turns an airflow problem into a sealed-system repair — the same rule that applies to a refrigerator that is not cooling.
- Fit the clean filter, open the vents, and restart. If the system now cools and keeps cooling, airflow was the cause. If ice returns within a day or two, the cause is in the refrigerant circuit, and homeowner work ends there.
6. Window and wall units — the same story, one box
A window or wall air conditioner does both jobs in a single cabinet, and it fails the same way. Windmill’s support guidance for its window units lists the same first causes: the thermostat setting, the reusable mesh filter, and dirty coils behind it.
- Unplug the unit, pop the front grille, and wash the mesh filter with warm water; let it dry fully before refitting. During heavy use, check it every few weeks — a window unit’s small filter loads fast.
- Vacuum the exposed coils gently with a soft brush attachment. Bent fins and dust mats both cut heat transfer; do not crush the fins.
- Confirm the mode. COOL, not Fan (air with no cooling) or Dry (dehumidifying with little temperature drop), with the set temperature below the room temperature.
- Seal the gaps around the unit and clear curtains or furniture off the grille. Hot outdoor air leaking in around a badly sealed unit is load the small compressor can never beat.
- Know its limits and its end. A window unit is a sealed system: low refrigerant means a leak and a technician, and on an older, inexpensive unit a sealed-system or compressor fault usually means replacement is the sensible money, not repair.
What only a technician should touch
Everything in this section needs gauges, electrical testing, or refrigerant certification. Your job is to recognise the pattern and describe it well, not to open the unit.
- Low refrigerant / a leak. Weak cooling, long runs, and a coil that re-freezes after a full thaw and a clean filter. The technician’s job is to find and repair the leak, then recharge to the nameplate charge — in that order. A quote that is only for adding refrigerant, with no leak search, is an incomplete repair.
- Capacitor or contactor failure. The outdoor unit hums but does not start, starts hard, or the fan spins while the compressor does not. Capacitors are among the most common hot-weather failures and one of the cheaper professional repairs — but they can hold a charge with the power off, which is exactly why they are not a DIY swap.
- Compressor failure. No cooling at all with the outdoor unit drawing power, or a breaker that trips when the compressor tries to start. This is the expensive end of the list, and on an older system it starts the repair-versus-replace conversation below.
- Blower motor, control board and wiring faults. Weak airflow with a clean filter and open vents, erratic starts, or a system that ignores a proven thermostat call. Diagnosed by elimination and measurement, not by swapping parts on suspicion.
When it is not a fault at all
- A design-day afternoon. On the hottest days, a correctly sized system may run almost continuously and hold the house a few degrees above the set point until evening. If the vent air is properly cold (the supply-versus-return check above), it is working at its designed limit, not failing. Blinds on sun-facing glass and less oven/dryer heat genuinely help it.
- The wrong size, since installation. An oversized system satisfies the thermostat in short bursts and leaves the house cool but sticky; an undersized one runs all day and never arrives. Neither is fixed by a part — if the pattern has existed since installation, that history is the diagnosis, and any fix is a professional sizing conversation.
When to call, and when to replace instead
Call a technician — and stop working the checklist — if any of these is true: the breaker trips a second time; ice returns within a day or two of a full thaw with a clean filter; the outdoor unit hums without starting, or its fan will not spin; you hear hissing near the refrigerant lines or grinding from either unit; there is a burning smell or scorched wiring; water overflows despite a clear drain; or there is no cooling in dangerous heat with anyone vulnerable in the house — treat that last one as urgent and call straight away.
Tell the technician what your symptom was, which checklist steps you did, and what each one showed. “Filter replaced, outdoor coil clear, ice on the suction line, thawed fully, ice back next day” will save you paying for those checks twice.
The replace decision is separate. A filter, drain clearing, capacitor or contactor on a sound system is normally worth doing. Replacement moves ahead when the compressor or a coil fails on a system well into its second decade, when the same fault was already repaired once, or when one repair costs more than about half a comparable new system on an already old machine. Either way, do the free checks first: a new system on blocked returns inherits what made the old one look broken.
Frequently asked questions
Why is my AC running but not cooling the house? Most often because heat is not being moved: a thermostat set wrong or left on fan ON, a clogged filter, a blocked outdoor coil, or a frozen evaporator coil. Work the checklist in order — settings, filter, airflow, ice — before suspecting refrigerant or parts.
Can a dirty filter really stop an AC from cooling? Yes. A filter blocked enough to starve the evaporator coil first weakens cooling, then can freeze the coil, at which point cooling effectively stops. It is the first physical check because it is common, free, and the parent of several faults further down the list.
Should I just have the refrigerant topped up? No. Refrigerant is not consumed in normal operation; a low charge means a leak. The correct repair is leak first, recharge second, done by an EPA Section 608-certified technician. A top-up without a leak repair will need repeating.
How long should I let a frozen AC thaw? Until it has thawed completely — typically hours, with cooling off and the fan running. Restarting early re-freezes the coil and strains the compressor. If it freezes again within a day or two despite a clean filter and open vents, call a technician.
Does setting the thermostat much lower make it cool faster? No. A typical single-stage system cools at one rate regardless of how far below room temperature you set it; an extreme set point only makes it run longer. Set the temperature you want.
My window AC blows air but it is not cold. Is it the same problem? Usually, yes: clean the mesh filter, confirm COOL mode rather than Fan or Dry, vacuum the coils gently, and seal the gaps around the unit. If it still blows warm, its sealed refrigerant circuit or compressor has failed — a technician’s diagnosis, and on an older unit often a replacement decision.
This article is general information based on the manufacturer and government guidance linked above, checked in November 2026. Filter locations, menu names and clearances vary by model — follow your manual, and leave refrigerant, capacitor and live-wiring work to a qualified technician.