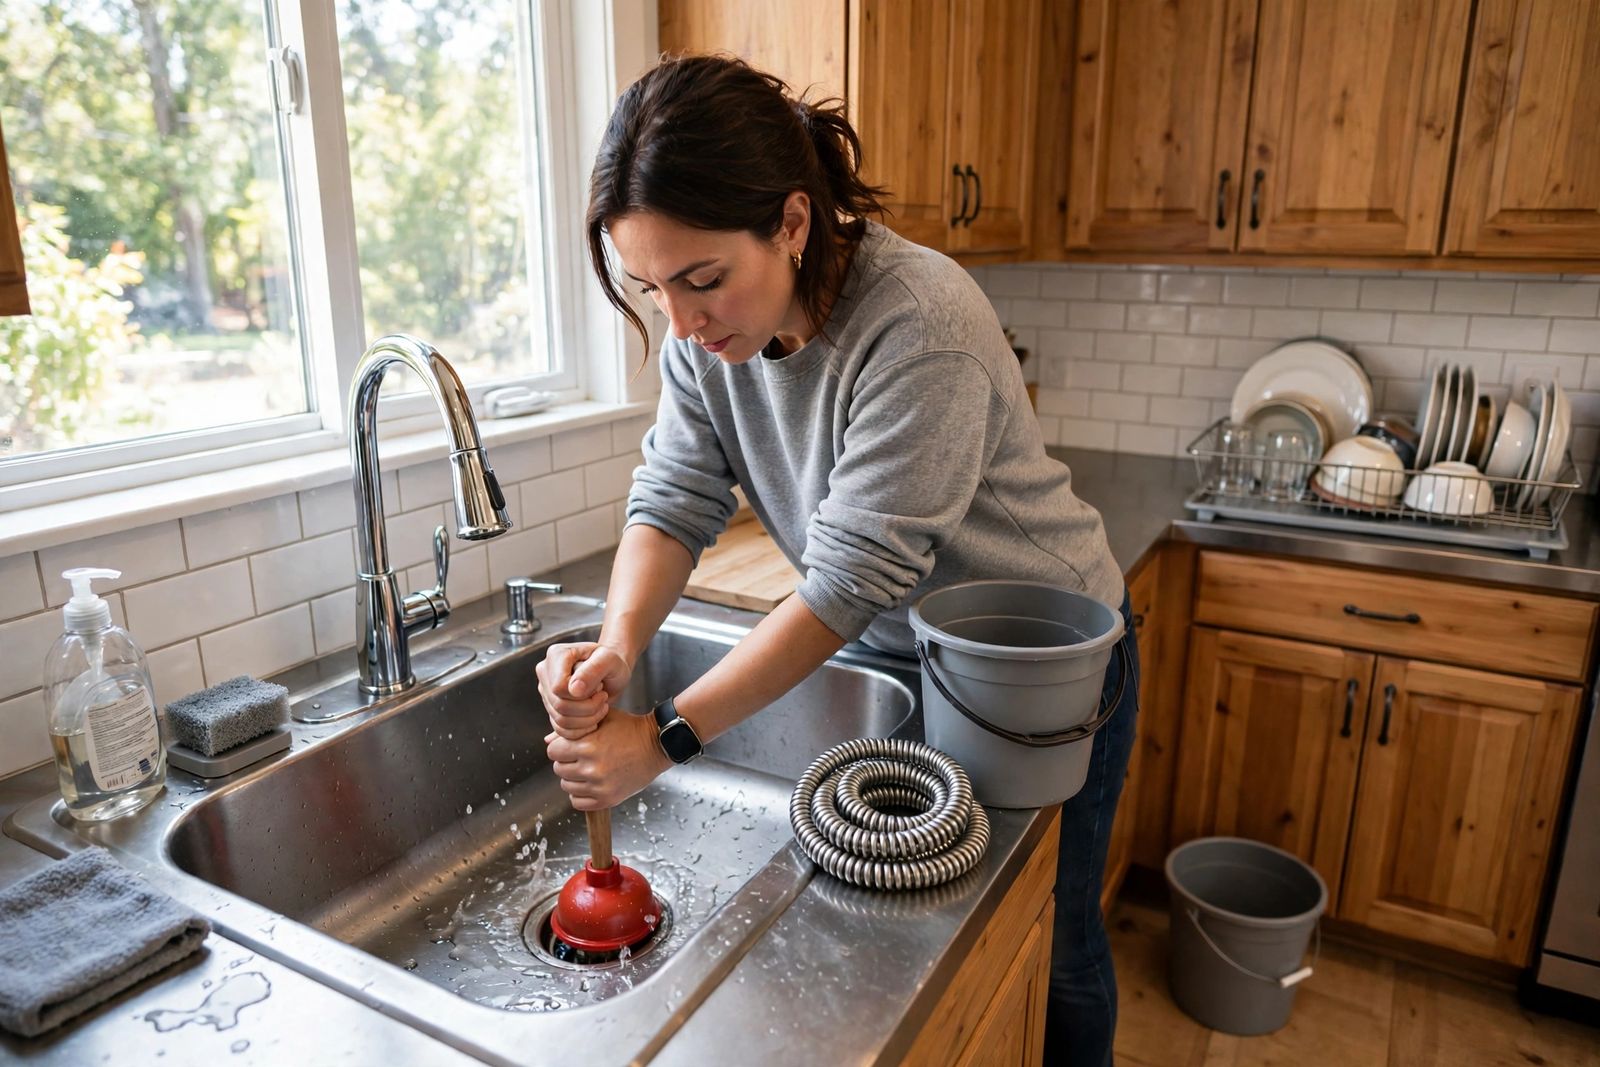
To unclog a drain, start with the gentlest method that matches your clog and escalate only if it fails: pour hot water first for a greasy kitchen sink, pull the hair out of a bathroom or shower drain by hand or with a cheap barbed strip, then plunge with the overflow sealed, then use a drain snake, and only then remove the P-trap under a sink — in that order, most single-drain clogs clear without any chemicals at all. What you should never do is mix drain products, plunge after pouring a chemical opener, or keep working when more than one drain is backing up: that is a main-line problem, and it belongs to a plumber.
First, match the method to the drain
Clogs are not interchangeable. Grease behaves nothing like hair, and the method that frees one often does nothing for the other. This table is the whole article in one view — find your drain, start at “first method,” and move right only when the step on the left has genuinely failed.
| Drain | Likely clog | Try first | Escalate to | Never do |
|---|---|---|---|---|
| Kitchen sink | Grease and food film | Hot water in stages; pull debris from the strainer | Cup plunger (seal the other basin), then P-trap clean-out | Pour more grease down to “test” it; use a chemical opener in a sink full of standing water and then plunge |
| Bathroom sink | Hair and soap scum wrapped on the stopper | Lift the stopper and pull the hair out; barbed drain strip | Cup plunger with the overflow sealed, then a hand snake | Assume baking soda and vinegar will dissolve hair — it will not |
| Shower or tub | Hair mat just under the cover, bound with soap | Remove the cover and pull the mat out; barbed strip | Cup plunger with the tub overflow sealed, then a hand snake through the drain or overflow opening | Stand in caustic chemical water — never pour an opener into a tub you then need to plunge or reach into |
Two checks before any method. If only one drain is slow, the clog is almost certainly near that fixture and the steps below apply. If two or more drains are slow, gurgling, or backing up into each other, skip everything here and go straight to the stop signs at the end — no sink method fixes a main line.
Step 1: Hot water (kitchen sinks, grease)
Grease is the one clog that heat genuinely helps: it coats the pipe while warm and hardens as it cools. Bail out standing water first so the hot water reaches the clog undiluted, then pour a kettle of hot water down the drain slowly, in two or three stages, letting each stage work through before the next. Mr. Rooter and ATCO Energy both put this first for kitchen drains, and for a light grease film it can be the whole job.
Two cautions. Very hot water is a tool for metal pipes; if your drain lines are plastic (PVC), use the hottest tap water rather than a rolling boil, and never pour boiling water into a porcelain basin, where thermal shock is a real risk. And hot water does nothing for hair — if the drain is a bathroom one, go to Step 3 and pull the clog out physically.
Step 2: Baking soda and vinegar — with an honest evidence note
This is the internet’s favourite method, so here is what it can and cannot do, stated plainly. Baking soda is a mild base and vinegar is a mild acid. Mixed together they fizz because they are neutralising each other, producing carbon dioxide and water — Liquid-Plumr’s own explainer describes exactly that reaction. The fizz can loosen a thin film of grease or soap in a drain that is merely slow, and the hot-water flush afterwards does much of the actual work. What the mixture cannot do is dissolve hair, cut through a solid grease plug, or clear a drain that is fully stopped — by the time the fizz reaches the clog, the two ingredients have mostly spent each other. Wirecutter’s plumbers make the same point from the trade side: the household remedies have limited effectiveness, and the tools professionals actually endorse are the plunger and the snake.
Use it, if you like, as a cheap first try on a slow (not stopped) drain: half a cup of baking soda, half a cup of white vinegar, cover the drain, wait about 30 minutes, flush with hot water — the proportions Martha Stewart’s guide uses. Just treat a failure as information, not as a reason to repeat it three times: move on to the plunger. And never follow it with a chemical opener in the same session — see the safety rules below before anything else goes down that drain.
Step 3: Pull the clog out (bathroom sinks, showers, tubs)
Most bathroom clogs sit within reach. On a sink, lift or unscrew the pop-up stopper — hair and soap scum wrap around it — clean it, and fish just below the opening with a barbed plastic drain strip or a straightened wire hook. On a shower or tub, remove the drain cover and pull out the hair mat you will almost certainly find there. This unglamorous step fixes a large share of slow bathroom drains outright, because the blockage was never deep in the pipe. Flush with hot water and test before escalating.
Step 4: Plunge — with the technique that makes it work
Plunging fails most often because the pressure escapes. Use a cup plunger (flat rim) on sinks, tubs and showers — a flange plunger is for toilets. Then:
- Remove the stopper or strainer and any debris you can reach.
- Seal the overflow. Block the sink or tub overflow opening with a wet rag, and on a double kitchen sink plug the other basin. Unsealed, your strokes just push air and water out of the overflow instead of against the clog — HowStuffWorks and Lowe’s both put this step first for a reason.
- Add enough water to cover the plunger cup. Water transmits the force; air compresses and wastes it.
- Seat the cup squarely over the drain and pump firmly, up and down, for 15–30 seconds without breaking the seal. The pull stroke matters as much as the push — you are working the clog loose both ways.
- Lift off sharply and see whether the water rushes away. Repeat two or three rounds; if nothing changes, the clog is beyond plunger range.
Never plunge a drain that has chemical opener in it. The plunger can splash caustic liquid onto your skin and eyes, and Drano’s label for its Max Gel states it directly: never use a plunger during or after use. If a chemical is already in the line, the mechanical steps wait until the label’s flush is complete — or the job goes to a plumber, who should be told what is in the pipe.
Step 5: Use a drain snake
A hand snake (auger) reaches the clogs a plunger cannot. Feed the cable slowly into the drain, turning the handle as you go, until you feel resistance. Work it back and forth gently at the resistance while turning, then withdraw it slowly, still turning — the aim is to hook the clog and pull it out, not ram it deeper. In a tub, if the drain opening is awkward, the snake can go through the overflow opening once its plate is removed, which gives a straighter path. Wipe the cable into the rubbish as it comes out, flush with hot water, and test. If the snake will not pass a point, or comes back against the same wall at the same depth every time, stop forcing it — that can be a damaged pipe, not a clog.
Step 6: Remove and clean the P-trap (sinks)
If a sink still will not drain, the clog may be sitting in the U-shaped trap directly underneath — especially in kitchens, where grease and food debris settle in the bend. Put a bucket under the trap, loosen the slip nuts at both ends (many are hand-tight; use a wrench gently if not), and lower the trap, keeping it upright until it is over the bucket. Clean it out with a brush and hot soapy water, check the short wall pipe beyond it with the snake while it is open, then refit the trap, hand-tighten plus a small turn, and run water while watching for drips. Lowe’s drain guide notes that removing and cleaning the stopper and trap solves many sink drainage problems on its own — it is less drastic than it looks, and it is the last DIY step. Showers and tubs have traps too, but they are usually inaccessible without opening a ceiling or panel; for those fixtures, the snake is the last step instead.
Enzyme cleaners: the slow, safe option
Enzyme and bacteria-based cleaners are the one bottled product worth keeping, used the right way: they digest organic buildup — grease film, soap, food residue — over hours, so they suit a slow drain and regular maintenance, not a drain that is already stopped. They are also the gentler choice for septic systems, because unlike caustic openers they work with the bacteria a septic tank depends on rather than against them; follow the specific product’s label on septic use and dosage. Pour it in at night, let it sit undisturbed, and judge it in the morning. If the drain was fully blocked, an enzyme cleaner will not rescue it — go back to the mechanical steps.
The safety rules that outrank every method
- Never mix products. Do not combine two drain openers, and never add bleach, ammonia, toilet-bowl cleaner or any other cleaner to a drain that already holds one. The National Capital Poison Center is blunt about why: mixing an acid cleaner with bleach forms chlorine fumes that can cause serious breathing problems, ammonia mixed with bleach releases chloramine gas, and strong drain cleaners are themselves caustic alkalis that can burn skin and eyes. One product at a time, exactly as its label directs, is the whole rule.
- Never plunge or snake after a chemical opener until it has been flushed exactly as the label says — and if it has not worked, tell any plumber you call what is standing in the pipe.
- Chemical openers and standing water are a bad pair. A gel opener that fails sits in the sink as a caustic pool you now have to bail, plunge around, or hand a plumber. That is why the mechanical order above comes first: if you do choose a chemical opener, use it on a drain that is slow rather than stopped, wear gloves and eye protection, ventilate, and follow the label’s amount and wait time — never more, never mixed.
- Septic systems: prefer mechanical methods and enzyme products labelled for septic use; repeated caustic openers work against the bacterial action the system needs.
- Garbage disposals: switch the power off before reaching anywhere near the drain, and use tongs or pliers — never fingers — to remove anything caught, as ATCO’s guide stresses for jammed disposals. If the work under the sink turns up water rather than a clog, that is a leak, not a blockage — garbage disposal leaking diagnoses it by where the water first appears.
For the plumbing on either side of this job, see our guides to fixing a leaky faucet, a toilet that keeps running, and a dishwasher that is not draining — the dishwasher fault, in particular, sometimes turns out to be this same kitchen drain clog showing up one fixture over.
Stop and call a plumber when you see these signs
- More than one drain is slow or backing up, or water rises in a tub or shower when you run a sink or flush a toilet — that pattern means the main line, not a fixture.
- Sewage smell, or actual sewage, coming up through any drain.
- Gurgling sounds from drains when other fixtures are used.
- The clog returns within days of a proper clearing — repeat clogs point to a pipe problem (a sag, damage, or roots) that clearing cannot fix.
- The snake will not pass a point, or you found a leak or corroded pipe while removing the trap.
- A chemical opener is standing in a blocked drain and the label’s flush has not cleared it — do not escalate with tools; call, and say what product is in there.
None of these is a failure of effort. They are the signs that the blockage is deeper, bigger, or different from the kind any household method is built for — and a plumber with a powered auger and a camera can find out which in one visit.