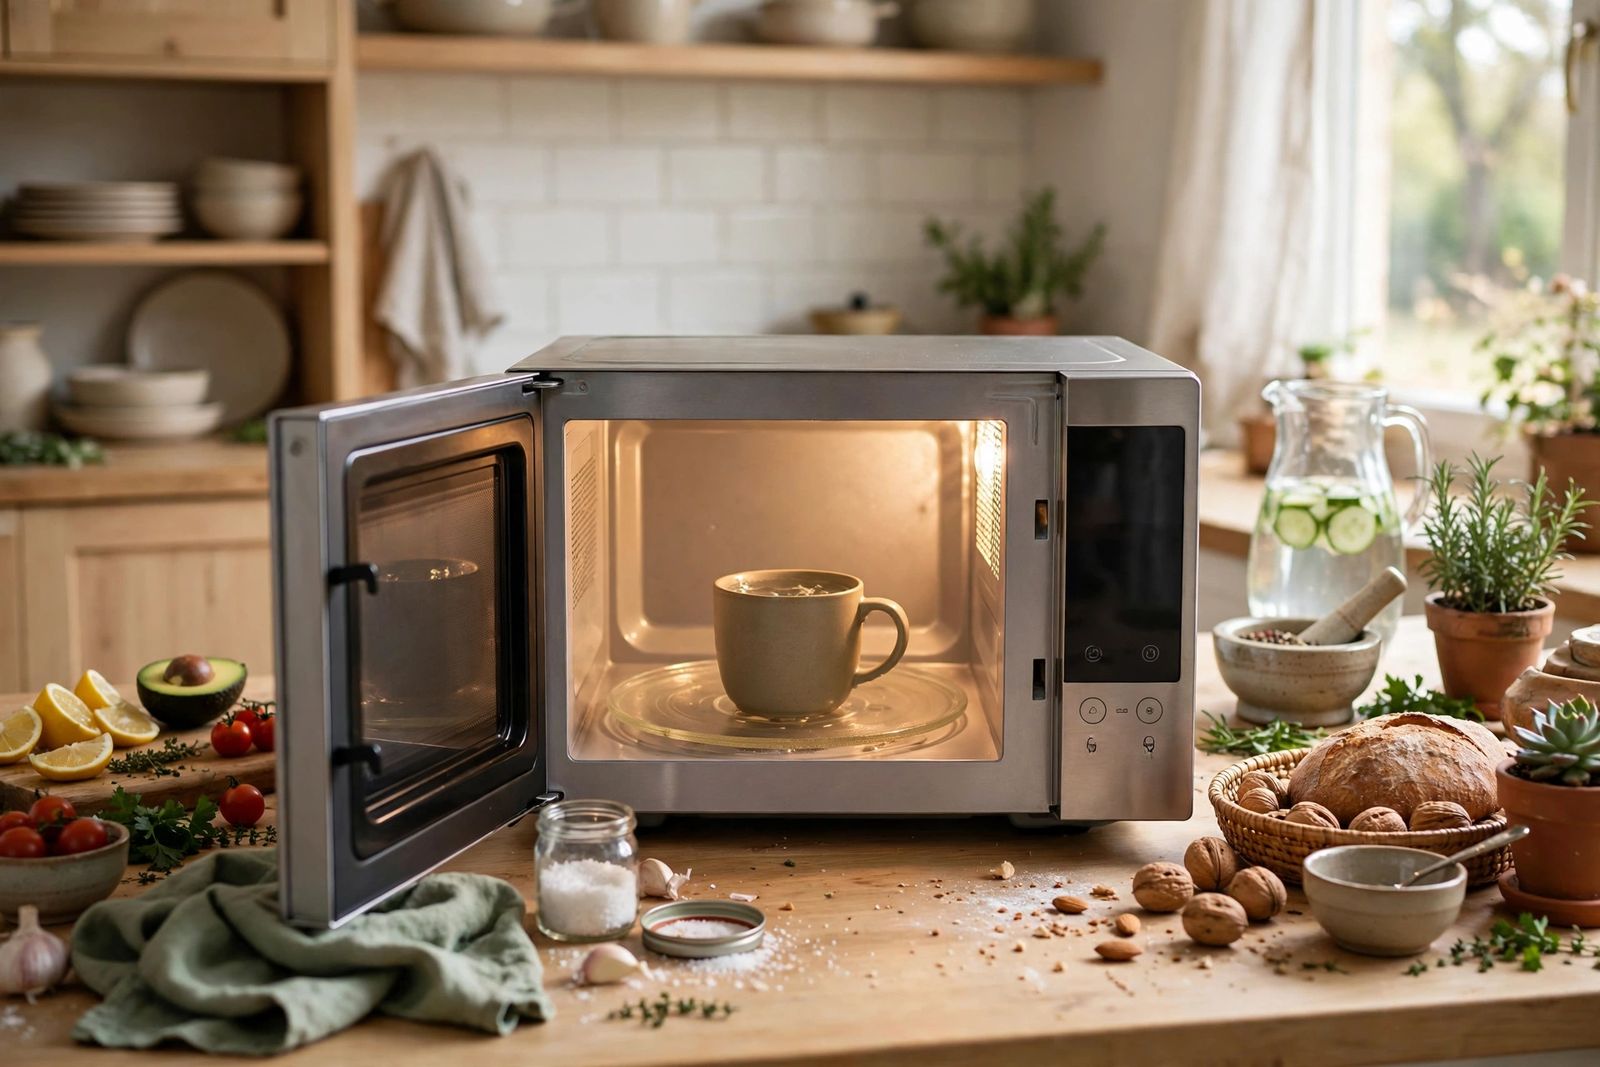
If your microwave runs, lights up and turns but the food stays cold, the fault is almost always in the high-voltage heating chain — the magnetron and the parts that feed it — and that chain is exactly the part of the appliance you must never open. A microwave is two machines in one box: the light, fan, turntable and controls run on ordinary household power and keep working, while a separate high-voltage circuit makes the heat. When the second circuit fails, the microwave performs a perfect impression of cooking and heats nothing. Your job is therefore narrower than with most appliances, and safer: run the checks that need no tools and no open cabinet, read the symptoms the machine is showing from outside, and hand that reading to a technician — because inside this one appliance, GE Appliances states plainly that it offers no do-it-yourself repair advice at all, due to a high-voltage capacitor that can hold a dangerous charge even after the microwave has been unplugged.
Safety first — the one rule that governs this whole article. Never remove the outer cover of a microwave, and never test, touch or discharge anything inside it. The U.S. Consumer Product Safety Commission’s Publication 5061, Electrocution Hazard with Do-It-Yourself Repairs of Microwave Ovens, warns that removing the cover and touching an electrical part can kill you, and that the possibility of shock still exists even after the oven is disconnected from the power source. iFixit’s repair guidance repeats the same warning beside every internal part it lists: the capacitor can store thousands of volts — a lethal amount of electricity — even after unplugging, and only a licensed technician should replace those components. Some popular repair pages still walk readers through discharging the capacitor with a screwdriver and testing the diode, magnetron and capacitor with a multimeter. Do not follow them. On this appliance, “unplugged” does not mean “safe,” and there is no home version of making it safe.
First, prove it really is not heating
Feel is unreliable: a large, dense portion can come out cold in the middle from a microwave that is heating weakly, and a small drink can feel barely warm on a low setting from one that is fine. Use water instead — it is the test load the manufacturers themselves use.
The one-minute check. Put one cup of cold water in a microwave-safe mug or measuring jug, set full power (Power Level 10 / High), and run exactly one minute. On a healthy microwave the water comes out clearly, noticeably hot. Stone cold after a full minute on full power is a true no-heat fault. Lukewarm or weakly warm is a different, weaker symptom — partial heating — and it is worth noting which one you have, because the symptom table below reads them differently. Never run the microwave empty to test it: every check on this page uses the cup of water as the load.
The measured version, when “weak” is the question. If the water warms but you suspect the microwave has lost strength, GE Appliances publishes a performance test: one quart of water in a glass bowl, starting between 59 and 75 °F (15–24 °C), heated exactly 2 minutes 30 seconds on High, then measured with a thermometer after the bowl is out — GE warns never to put the thermometer inside the microwave. A rise of 28 to 40 °F (15 to 22 °C) means the oven is heating properly. A rise well below that range is hard evidence of weak output to give a technician, not a guess.
The green zone: every check you may safely do
Everything in this section happens from outside the cabinet, with the cover on. Work in order, and re-run the one-minute water test after any check that changes something — the moment the water comes out hot, you are done.
1. Power at the wall. If the display is dead and nothing responds, this is not yet a heating fault at all: check the plug is fully in, test the outlet with a lamp or phone charger, and check the breaker and any GFCI outlet on the circuit. A microwave that trips the breaker the moment it starts is a different symptom from one that runs cold — that pattern points to an electrical fault, and a circuit breaker that keeps tripping works through how to read it safely. If the display lives and the machine runs, move on.
2. Cook, not Timer. The most common false alarm. The Kitchen Timer counts down exactly like a cook cycle but produces no heat at all, by design — GE’s own first check for “runs but doesn’t heat” is to make sure the Timer function was not inadvertently used. Cancel everything, set an actual cook time, and test again with the water.
3. Power level and mode. A power level left at 2 or 3 after defrosting, a Defrost or Keep Warm cycle, or a sensor program can all imitate a heating fault. Set Power Level 10 / High and a plain timed cook for the water test. Very slow warming on low settings is the setting working as designed, not a failure.
4. Demo mode and Control Lock — the two settings that fake a fault perfectly. Whirlpool’s troubleshooting guide names both. In Demo Mode — a showroom setting sometimes left on after delivery or switched on by accident — the light and fan switch on and the turntable rotates, but the magnetron never runs, so nothing heats; the display often shows “DEMO,” and on many models the timer counts down suspiciously fast. Control Lock is different: it locks the keypad (Whirlpool models typically show “LOC” or “L”) and can stop a cycle from starting at all. The exit sequence for both is model-specific — your manual gives the exact buttons for your machine, and guessing button combinations from another brand’s page can leave you in a different mode than you started in. Check the display first; if either is showing, the manual’s sequence is the whole repair.
5. The door: close it firmly and watch how it behaves. The door is a safety system, not just a lid. Federal rules require two independent interlock systems that stop microwave production the moment the latch is released, and the switches behind the latch are among the most common no-heat failures: most microwaves have three or four door switches, acting in sequence, and if one fails the microwave will not start or heat even though the door looks shut. From outside, you may: wipe food and grease from the door edge and latch area, check nothing is trapped in the hinge, and close the door firmly — GE says firmly, but do not slam. Then note the behaviour, because it is diagnostic: a door you have to lift, press or slam to make it run, a light that stays on with the door closed or stays off with it open, or heating that cuts out when the door is nudged all point at the latch and switch family. What you may not do is reach the switches themselves — they sit inside the cabinet, beside the capacitor, which is why even this cheap part is a technician’s job. And a door that is bent, warped or will not close firmly is a stop sign, not a check: the FDA’s rule is not to operate an oven in that condition at all.
6. One power reset. Unplug the microwave (or switch its breaker off) for a few minutes, restore power, and repeat the water test once. A reset can clear a confused control board after a power surge. If the fault returns exactly as before, it is hardware, not a glitch — resetting again will not change the answer.
7. Ventilation and the cool-down retest. A microwave that heats, then quits mid-cycle or stops heating after a long run and works again when cold, may be tripping its own thermal protection. Check the vents are not blocked by stored items or grease-clogged filters (the classic over-the-range problem), let the machine cool fully, and retest with water. A pattern that repeats — heats cold, dies warm — is symptom information for the technician, recorded in the table below.
That is the end of the green zone. If the water is still cold after these checks, the fault is internal, and every remaining step on this page is about reading it correctly — not reaching it.
Read the symptoms: what the outside of the machine is telling you
This is the part of the diagnosis a homeowner can do completely, and it is genuinely useful: technicians price and order around the pattern you describe. Match what you observed during the green-zone checks to a row.
| What you observe | Fault family it points to | Your move |
|---|---|---|
| Display dead, no light, no sound, nothing responds | No power reaching the machine, or an internal fuse/protection device has cut everything | Green-zone check 1 (outlet, breaker, GFCI). If wall power is proven good, stop — the rest is internal |
| Timer counts down, light/fan/turntable run, zero heat — and “DEMO” shows, or the countdown runs fast | Demo mode: a setting, not a failure | Exit demo mode by your manual’s exact sequence; retest with water |
| Runs and sounds completely normal, water stone cold after 1 minute on High | The high-voltage chain has failed silently — magnetron, diode, capacitor, transformer/inverter, or a door switch that never lets it fire | Green zone complete. Technician call; report “runs normal, no heat, sounds normal” |
| Runs cold with a loud buzz, growl or much heavier hum than usual | The high-voltage chain under strain — classically the diode or the magnetron failing under load | Stop using it. Technician call; report the sound — it narrows the diagnosis |
| Heats at first, then stops heating mid-cycle, or dies and revives after cooling | Thermal protection cutting the heat — overheating, blocked vents, or a failing thermal cutout; on inverter models, an inverter shutting down | Green-zone check 7 once. If it repeats, technician call with the heats-then-dies pattern |
| Works only if the door is lifted, pressed or slammed; cuts out if the door is nudged; light behaves oddly with the door | Door latch and interlock switches | Technician call — the parts are cheap, the access is not. Never tape, wedge or bypass a latch |
| Trips the breaker the moment cooking starts | A short in the high-voltage chain or the appliance — an electrical fault, not a settings problem | Leave it unplugged. Do not keep resetting; see circuit breaker keeps tripping for the safe pattern test, then a technician |
| Sparking, arcing, burning smell, smoke, or a popping sound | Stop conditions — cavity damage, a burnt waveguide cover, or a high-voltage fault arcing | Stop, unplug, do not run it again. If there is smoke or flame, leave and call emergency services. Microwave sparking reads the cause from where the sparks come from — and which causes, once fixed, make the oven safe to use again |
Two honest limits on this table. First, sound alone cannot prove which single part failed — a loud buzz narrows the family, it does not name the part, and several different failures present identically from outside; anyone who diagnoses one specific part from “runs but cold” alone is guessing. Second, the table’s job is the handover: family, pattern and timing. The part-level verdict happens on the technician’s bench, with the capacitor safely discharged by someone trained to do it.
The red zone: what is inside, and why each part is a professional’s
Understanding what these parts do helps you follow the technician’s diagnosis and quote. None of the descriptions below is a test procedure — deliberately. This is where a microwave differs fundamentally from its kitchen neighbour: on an oven that is not heating — and on a dryer not heating, whose whole heat chain is tested unplugged, part by part, with the same meter logic — the suspect parts can be checked with the power off and a meter, by a careful owner. In a microwave, the equivalent parts sit wired to a charged capacitor, and that single fact moves every one of them out of home reach. Its counter neighbour is the opposite case: a Keurig’s descale is designed to be done entirely by its owner, from outside — how to descale a Keurig runs that procedure by model family.
- The high-voltage capacitor — the reason for every rule on this page. It works with the diode to convert the transformer’s output to DC and roughly double it — to nearly 5,000 volts, per iFixit and Repair Clinic’s descriptions of the circuit — to power the magnetron. It is also a storage device: it can hold a lethal charge after the plug is pulled, which is why “unplugged overnight” is not a safety procedure and why there is no safe home method for testing it, discharging it or replacing it. Every other red-zone part is reached past this one.
- The magnetron. The tube that actually generates the microwaves. When it burns out, the classic presentation is the first table row above: everything runs, nothing heats — sometimes after a period of louder humming or buzzing as it fails. It is not repairable; it is replaced as a unit, by a technician, and on many brands it carries a longer parts warranty than the rest of the microwave, which is worth checking before paying for one.
- The high-voltage diode. The one-way valve in the doubling circuit. Failed open, the magnetron never gets its full voltage; shorted, it strains the circuit — the loud-buzz row — and can blow the high-voltage fuse. Its test is a multimeter job performed beside the capacitor, which is the entire reason it is red-zone despite being a small, inexpensive part.
- The transformer (or inverter board). The transformer steps household power up toward the thousands of volts the magnetron circuit works with; many newer and Panasonic/Sharp models use an inverter board instead, which fails to the same symptom — and on Panasonic inverter models often announces itself with an H97 or H98 error code. A failed transformer frequently comes with a burning smell. Both versions are diagnosed and replaced inside the cabinet.
- Door switches, thermal fuse and thermoprotector. The safety layer. The switches confirm the door is shut before heat is allowed; the thermal fuse and thermoprotector cut power if the machine overheats, and the thermal fuse, once open, cannot be reset. These are the cheapest parts in the red zone and among the most common failures — and they are still red-zone, because reaching them means opening the cabinet next to the capacitor. A blown fuse is also evidence, not just a part: something overheated or shorted to blow it, and replacing it without finding that cause — a technician’s sequence — buys a second blown fuse.
Stop using it now, whatever the table said
Some signs end all testing, including the water test. Stop, unplug, and do not run the microwave again if: the door is bent, warped, damaged or will not close firmly, or the machine ever appears to run with the door open (both are FDA stop conditions); there is sparking or arcing with no metal inside; you smell burning or see smoke; the cord or plug is scorched or damaged; or it trips the breaker repeatedly. A failed heating circuit does not become safer with more test runs.
Repair or replace: the economics are split by type
The verdict depends less on which part failed than on what kind of microwave holds it, because the part is usually the small half of the bill — safe access, diagnosis and labour are the rest.
Countertop microwaves: replacement usually wins. A basic countertop unit costs roughly what a single technician visit plus a mid-priced part costs, so for an out-of-warranty countertop machine with a confirmed magnetron, capacitor or control-board fault, replacement is normally the sensible spend. The exceptions are a machine still under warranty (check the magnetron’s longer parts warranty before anything else) and a settings or door-behaviour fault your green-zone checks already fixed for free.
Over-the-range and built-in microwaves: repair usually wins. These cost far more to buy, and replacement adds removal, fitting and ventilation matching on top. A door-switch set, diode or thermal fuse — cheap parts, professional labour — is comfortably worth doing, and even a magnetron replacement often beats the full installed cost of a new unit that fits the same cabinetry.
The working rule is the same one that decides the kitchen’s largest appliance — refrigerator not cooling works through the same maths: if a single repair quote passes roughly half the price of a comparable replacement installed, on a machine already well into its life, put the money toward the replacement. Either way, get the diagnosis in writing first: “runs but no heat” has at least five internal causes with very different bills, and a quote given before the bench test is a guess.
What to tell the technician — the output of your green-zone work: the model number (inside the door frame), which table row matches, whether the water test was stone cold or weakly warm, any sound change, whether it heats-then-dies, what the door behaviour is, and anything that changed just before the fault (a move, a power surge, a new installation — the last one points back at demo mode and packaging). That description, not a part you bought in advance, is what shortens the visit.
Frequently asked questions
Why does my microwave run but not heat at all? Because the two halves of the machine fail independently. The light, fan, turntable and timer run on ordinary power and keep working; the heat comes from a separate high-voltage circuit — transformer or inverter, capacitor, diode and magnetron, gated by the door switches. A failure anywhere in that chain, or one door switch that never confirms the door, leaves a microwave that performs cooking without doing any.
Can I test the capacitor, diode or magnetron myself with a multimeter? No. Every one of those tests requires opening the cabinet and working beside a capacitor that can hold a lethal charge after unplugging. Pages that publish home discharge-and-test procedures for these parts are publishing the exact activity the CPSC’s microwave warning exists to prevent. The homeowner’s diagnostic tools on this appliance are the water test, the settings and door checks, and the symptom table — all from outside.
Is it safe to keep using a microwave that does not heat? No. Stop after the green-zone checks. Some no-heat faults are stable, but others — a shorting diode, a failing capacitor, a breaker-tripping fault — can worsen into arcing, smoke or a fire risk, and repeated test runs add wear without adding information. Unplug it while you decide on service or replacement.
My microwave heats, but much more slowly than it used to. Is that the same fault? Not usually. First rule out the setting: a low power level or defrost cycle heats slowly by design. If full power is confirmed, run GE’s measured test above (one quart, 2 minutes 30 seconds, a 28–40 °F rise is healthy). A clearly weak result on full power is real evidence of a fading magnetron or inverter — a technician conversation, with your two temperature readings in hand.
The display is completely dead. Is that a heating problem? No — a dead display means no power is reaching the controls at all: work the wall-power checks (plug, outlet, breaker, GFCI) first. If the outlet proves live and the machine stays dead, an internal fuse or protection device has opened, which is internal, red-zone work — and, like a blown thermal fuse in the heating chain, it opened because of something, which is what the technician is really being paid to find.
This article is general information, based on the manufacturer support pages and safety guidance linked above. Models differ in settings, demo-mode sequences and part arrangements; your microwave’s manual governs your machine. Nothing in this article is an instruction to open a microwave cabinet: internal diagnosis and repair of microwave ovens belong to qualified technicians, because of the high-voltage capacitor hazard described above.