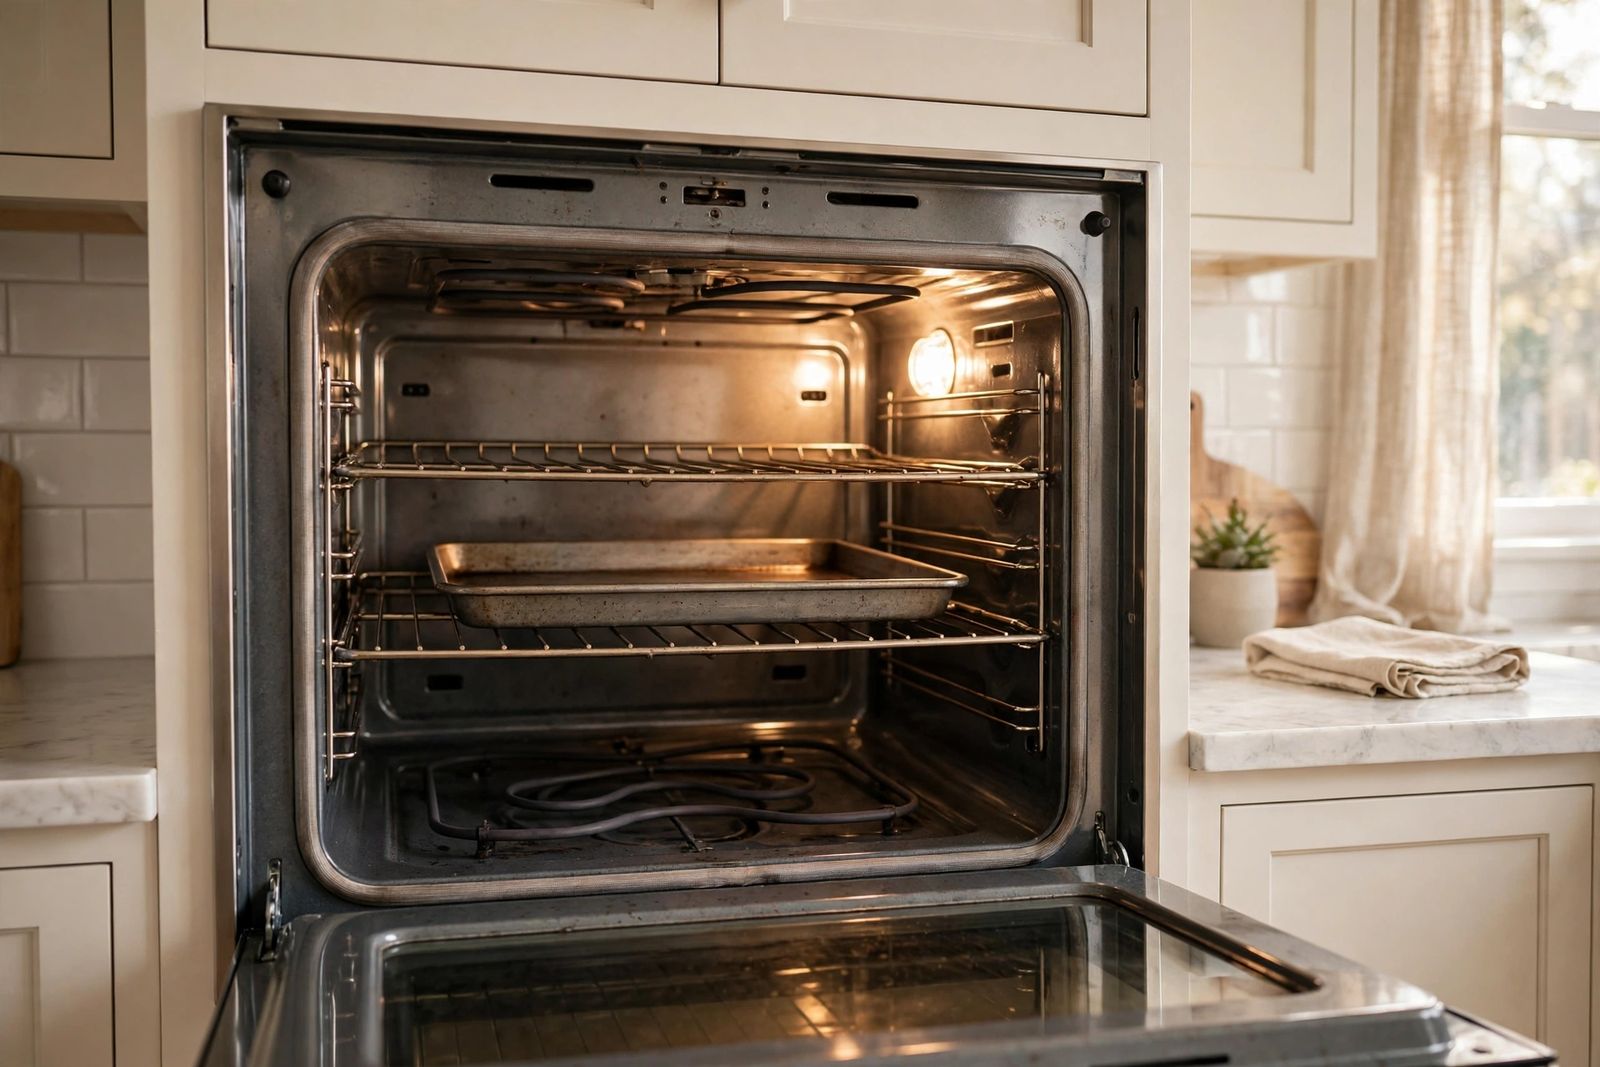
An oven that will not heat has usually failed at one link in a short chain, and the chain is different for each fuel. On an electric oven it is most often the bake element — the coil that does nearly all the heating — burned open. On a gas oven it is most often a weak igniter: the igniter still glows, but no longer draws enough current to open the gas safety valve, so no flame ever lights. One observation separates the two in minutes: set Bake and watch. An electric bake element that stays dark, or a gas igniter that glows for well over a minute with no flame, has already told you which chain you are on. Whirlpool’s own troubleshooting guide names the same two parts first — a broken heating element in electric ovens, a faulty igniter in gas ovens — because they are the heat source itself.
Two safety rules govern everything below. Switch off the range breaker (or unplug the range) before you touch an element, remove any panel, or put a meter on any part, and let the oven cool first. And gas work is not a home repair: on a gas oven you may watch the igniter and check that the supply valve is open, but you do not loosen gas fittings, replace the safety valve, or test the gas train. If you smell gas at any point, do not touch light switches or try to relight anything — leave the house and call your gas utility from outside.
First, prove that it really is not heating
A preheat that “feels slow” is not the same fault as no heat at all, and ovens cycle above and below the set point as they work, so a single quick reading misleads. Prove the fault first:
- The preheat test. Empty the oven, set Bake at 350°F, and give it a full 15 to 20 minutes. Then check with an oven thermometer placed in the centre of the middle rack, or open the door and feel for real heat. Stone cold after a full preheat is a true no-heat fault. Warm but well short of the setting is a different problem — a weakening part, a drifting sensor, or heat escaping at the door — and the same order below covers it.
- The broil cross-check (electric). Cancel Bake and set Broil for two or three minutes. If the top element glows red while the bottom one stayed dark on Bake, power is reaching the oven and the bake circuit alone has failed — that points at the bake element or its relay, not the supply. If neither element glows on either setting, suspect the supply, a thermal fuse, or the control before any single element.
- The cooktop cross-check (gas). Light a surface burner. Burners that light normally prove gas is reaching the range, so a cold oven is an oven fault — the igniter first. Burners that will not light either move the problem to the supply: the shutoff valve, the regulator, or the gas service itself.
Note which pattern you have before going further. “Broils but won’t bake,” “glows but never lights,” and “heats but stops 50 degrees short” are three different faults, and the description is what a technician will ask for first.
Settings traps: the oven that was told not to heat
Modern ovens carry several modes that imitate a failure exactly, and they cost nothing to rule out. Cancel everything and start a plain Bake cycle before suspecting any part.
- Delayed start. A timed or delayed bake holds the oven cold until its start time arrives. The display usually shows the pending time; cancel it and set Bake to start now. After a power outage, also set the clock — on some ranges the oven will not run at all until the clock is set.
- Control lock. The panel lights but ignores the Start button. The unlock is model-specific — Whirlpool’s support guidance describes the common pattern of holding the Control Lock pad for about three seconds — and your manual gives the exact keys for yours.
- Sabbath mode. In Sabbath mode the display freezes (Samsung shows SAb), tones stop, and temperature changes register only after a delay, so the oven looks unresponsive; after a power cut it stays in Sabbath mode but will not heat until the mode is exited. Samsung’s Sabbath mode support page gives the exit for its models: hold the same button combination used to enter it for three seconds until SAb disappears.
- Demo (showroom) mode. Demo mode exists for shop floors: the display, lights and fan work, and the heating parts never turn on. New ranges occasionally arrive with it still switched on. Whirlpool’s manuals state the symptom plainly — with DEMO on, all commands and menus work but the oven does not heat up, and DEMO reappears on the display — and Samsung’s demo mode shows “tESt”. The exit sequence differs by model; it is in the manual under Demo or Showroom.
- A self-clean latch or a door not fully closed. A door that is locked only for self-clean must be fully unlocked before baking, and on some models the elements will not come on with the door open or ajar. If the oven stopped right after a self-clean cycle and reads that it is still too hot, let it cool rather than forcing the latch — a no-heat complaint that begins the day after self-cleaning points at the thermal fuse below, not at a setting.
The split: two failure chains, two different first parts
Everything after the settings and supply checks depends on fuel, because an electric oven and a gas oven make heat in entirely different ways. Work your own chain in order; each link has an observable test that separates it from the next.
| Electric oven chain | Gas oven chain | |
|---|---|---|
| Link 1 — makes the heat | Bake element → Link 2 temperature sensor → Link 3 control board/relay | Igniter → Link 2 safety valve → Link 3 temperature sensor → control |
| First test | Element glows red on Bake? Blister, break or dark = failed | Igniter glows? Glow over ~90 seconds with no flame = weak igniter |
| Supply check | Full 240V: one tripped leg of the double breaker = display alive, no heat | Cooktop burner lights? + shutoff valve handle in line with the pipe = open |
| Sensor test (both) | Thin probe, upper back wall: about 1,000–1,100 Ω at room temperature, power off | Same probe, same range |
| Last link (both) | Control board/relay — diagnosed by elimination only | Same |
Electric chain, link 1: the bake element
The bake element is the coil on the oven floor (the broil element is its twin at the ceiling). A working bake element glows bright orange-red within a few minutes on Bake — GE Appliances describes the same glow check, and notes that the broil element may stay dark during a bake, which is normal. Inspect yours cold, with the breaker off, using a torch:
- Blistering, bubbling, a crack or a visible break anywhere on the coil means the element has failed. A spot that has burned through the outer sheath is worse: GE warns a sheath short can spark for a few seconds and trip the breaker. Do not use the oven again until it is repaired; the cooktop is unaffected.
- No glow and no visible damage does not clear the element — coils also fail internally. The confirming test is a meter, power off, one lead disconnected: an open reading (no continuity) means the coil is broken. A healthy element shows continuity, typically somewhere in the 15 to 50 ohm range depending on wattage; your model’s technical sheet gives its exact value, and values are not interchangeable between models.
- A hidden bake element changes the job, not the diagnosis. Many newer ovens bury the element under a smooth oven floor, so there is nothing to see or glow-check. The broil cross-check still works — broil heats, bake does not — but reaching a hidden element is panel work, and GE treats it as a service job.
If Bake fails but Broil works and the bake element tests open, you have found the fault. If the bake element tests good, move down the chain — do not replace it on suspicion.
Gas chain, link 1: the igniter — and why “it glows” proves nothing
Most gas ovens light with a hot-surface igniter (GE calls its version a Glo-Bar): a small ceramic bar beside the bake burner that glows orange-hot. The part most guides under-explain is that the igniter has two jobs wired in series. It must get hot enough to ignite gas, and the current flowing through it is what heats the safety valve’s mechanism until the valve opens. The valve does not care how bright the glow looks; it cares how much current passes.
That is why the classic gas failure is deceptive. As an igniter ages, its resistance rises. It still glows — sometimes for minutes — but the current through it falls below the roughly 3.2 to 3.6 amps the valve needs, so the valve never opens, no gas flows (which is why there is usually no gas smell), and the burner never lights. The observable test needs no tools:
- Start Bake and watch the igniter through the slots in the oven floor or the broiler drawer area, as your model allows. A healthy igniter glows bright and the burner lights within about a minute — 30 to 90 seconds is the normal window the manufacturers’ and parts guidance describes.
- Glow that continues well past 90 seconds with no flame is a weak igniter until proven otherwise. Turn the oven off; repeated long glow attempts add nothing.
- No glow at all means the igniter has burned open, or power never reaches it — the thermal fuse and control sit behind that symptom, and testing them is technician work.
- A boom, a pop, or a door that puffs open when the burner finally lights is delayed ignition — gas built up before it lit. Stop using the oven and call for service; that symptom is not a “watch it” fault.
Igniter replacement itself sits on the pro side of the line in this guide: the part is beside the gas burner, it must be the exact matched part for the model, and the current-draw test that confirms the diagnosis needs a clamp meter on a live gas appliance. Watch, time it, and report what you saw — that is the homeowner’s share of this repair, and it is the share that saves the diagnostic fee argument.
Gas chain, link 2: the safety valve and the supply behind it
If a new or known-good igniter draws proper current and the burner still never lights, the safety valve itself has failed — it stays shut despite the signal to open. There is no homeowner test for this and no homeowner repair: the valve is in the gas train, and it belongs to a licensed technician, full stop.
Before that verdict, the supply checks are yours:
- The shutoff valve behind the range: the handle in line with the pipe is open; across the pipe is closed. Valves get knocked closed when a range is moved for cleaning or flooring work — if the oven died right after the range was pulled out, check here and at the regulator lever in your manual, which on some models can shut off the oven while still feeding the cooktop.
- The cooktop test again: burners dead as well as the oven means the problem is the supply to the house, not the appliance — that call goes to the gas utility, and you do not turn gas back on at the meter yourself.
Both chains: the temperature sensor
The sensor is the thin metal probe on the upper back wall of the oven cavity, and it is the control’s only thermometer. Its failure pattern is different from the heat parts: an oven whose sensor has drifted or failed usually heats, but wrongly — stopping far short of the setting, overshooting, cycling erratically, or showing a sensor fault code (on GE ovens, F3 and F4 point at the sensor circuit; other brands use their own codes, listed in your manual). A sensor touching the cavity wall reads the wall instead of the air and shuts the heat off early, so check first that the probe is straight and clear of the wall.
The confirming test is resistance, power off, with the sensor disconnected: a healthy sensor reads about 1,000 to 1,100 ohms at room temperature — approximately 1,080 ohms is the figure Whirlpool’s own sensor test publishes, and GE’s range guidance lands in the same band. A reading far outside that range, an open circuit, or a reading that jumps as the probe is moved means the sensor is replaced. Before condemning the probe, reseat its connector: an oxidised or loose harness plug can read open on a meter while the probe itself is good, and mimics a failed sensor exactly.
Separate calibration from failure. An oven that is consistently off by a small, steady amount on the thermometer test may only need the calibration offset in its settings menu — Whirlpool allows up to about 30°F either way, Samsung about 35°F, always by the manual. An oven whose error grows, swings, or comes with a fault code is not a calibration case; that is the sensor or the control.
Both chains, last link: thermal fuse, then the control board
Two parts sit behind every link above, and both are diagnosed last for opposite reasons.
The thermal fuse (or high-limit cutout, where fitted) is a one-time safety that opens the heat circuit permanently if the oven overheats. Its signature is timing: the oven worked, ran a self-clean cycle — which runs far hotter than baking — and has not heated since. A blown fuse cannot be reset and must never be bypassed, and like the dryer version of the same part, it is evidence as much as a fault: the overheating cause has to be found, or the replacement opens the same way. The same heat-chain discipline runs through dryer not heating — a safety that sacrificed itself is a report, not just a part. Fuse location is behind panels on most models, so testing and replacing it is technician work.
The control board and its relays switch power to the element or the igniter. A failed bake relay leaves every heat part perfect with no power ever sent to them — the display counts up as if preheating and the cavity stays cold. But the board is the least common cause and the most expensive part in the chain, so it is diagnosed by elimination only: element or igniter known good, sensor in range, fuse intact, supply whole, and still no call for heat. Replacing a board on suspicion is how a weak-igniter fault turns into two repair bills, and a shorted element can damage the relay that feeds it — which is why the element is always proven before a board is condemned.
When to call a professional, and when to replace instead
Stop and call a technician — and stop opening panels — if you smell gas at any point; if the burner lights with a boom or delayed ignition; if a gas part (igniter circuit beyond observation, safety valve, regulator) is the suspected fault; if the breaker trips again after one full off-then-on reset; if you find a blistered or sparked element, scorched wiring, or a melted plug; if the oven died immediately after a self-clean cycle; or if the fault survives the element/igniter observation and the sensor test. Temperature faults that are really about a control reading the wrong room belong to the heating system’s other half — thermostat not working works through the same reading-versus-reality checks for the house itself.
The replace decision is separate. An igniter, a bake element, or a sensor on an otherwise sound range is normally worth doing — they are the wear parts of the chain. Replacement makes more sense when the range is well into its second decade, the failed part is the control board or the safety valve rather than a wear part, the same fault was already repaired once, or other age faults are queuing behind it. As a working rule, a single repair costing more than about half the price of a comparable new range, on an already old machine, is money better put toward replacement. Either way, note the glow test result before you decide: a range whose only fault is a 90-second glow has years left in it, and scrapping it over the cheapest part in the chain is the expensive option. The contrast is the appliance beside it: a microwave not heating seals its wear parts inside a cabinet you must never open, so the same symptom there ends at safe checks, not part swaps.
Frequently asked questions
Why does my stovetop work but my oven won’t heat? Because the two use separate heat parts. On an electric range, a burned-out bake element or its relay leaves the surface burners untouched — and a half-tripped 240-volt breaker can also leave the display and burners partly alive while the oven gets nothing. On a gas range, the burners light with spark igniters while the oven uses the glow igniter, so the weak oven igniter fails alone; a regulator lever knocked to off can likewise feed the cooktop but not the oven.
My gas oven igniter glows, so why is there no flame? Because the glow is only half the igniter’s job. The gas safety valve opens on current — roughly 3.2 to 3.6 amps through the igniter circuit — not on brightness. An aged igniter glows orange yet draws too little current, the valve stays shut, and no gas flows. A glow that runs well past 90 seconds without a flame is the observable sign, and it is a technician’s replacement, not a cleaning job.
Why does my oven broil but not bake? On an electric oven, that split almost always means the bake element has opened — the broil element and the supply are proven good by the broil working. On a gas oven with separate bake and broil burners, the same logic points at the bake igniter. The reverse split (bakes, won’t broil) names the broil element or broil igniter instead.
My oven heats, but never reaches the set temperature. Is that the same fault? It is the other half of the chain. Heat that arrives but stops short usually means a weakening element or igniter that can no longer keep up, a sensor reading high and cutting the heat early, or heat escaping past a worn door gasket. Run the thermometer test first — a steady small offset is calibration, while a large, growing or swinging error is the sensor test.
Why did my oven stop heating right after the self-clean cycle? Self-clean runs far hotter than any baking, and it is the classic moment for the thermal fuse to open, a weak element to finish failing, or a control relay to give up. Mention the timing when you book the repair: “dead since self-clean” moves the thermal fuse to the front of the technician’s list.
This article is general information, based on the manufacturer support pages and guidance linked above. Models differ in part locations, test values and mode exits; your range’s manual governs your machine. Gas repairs beyond observation and supply-valve checks, live-circuit testing, and any fault involving scorch marks, melted wiring or a repeatedly tripping breaker belong to a qualified technician.