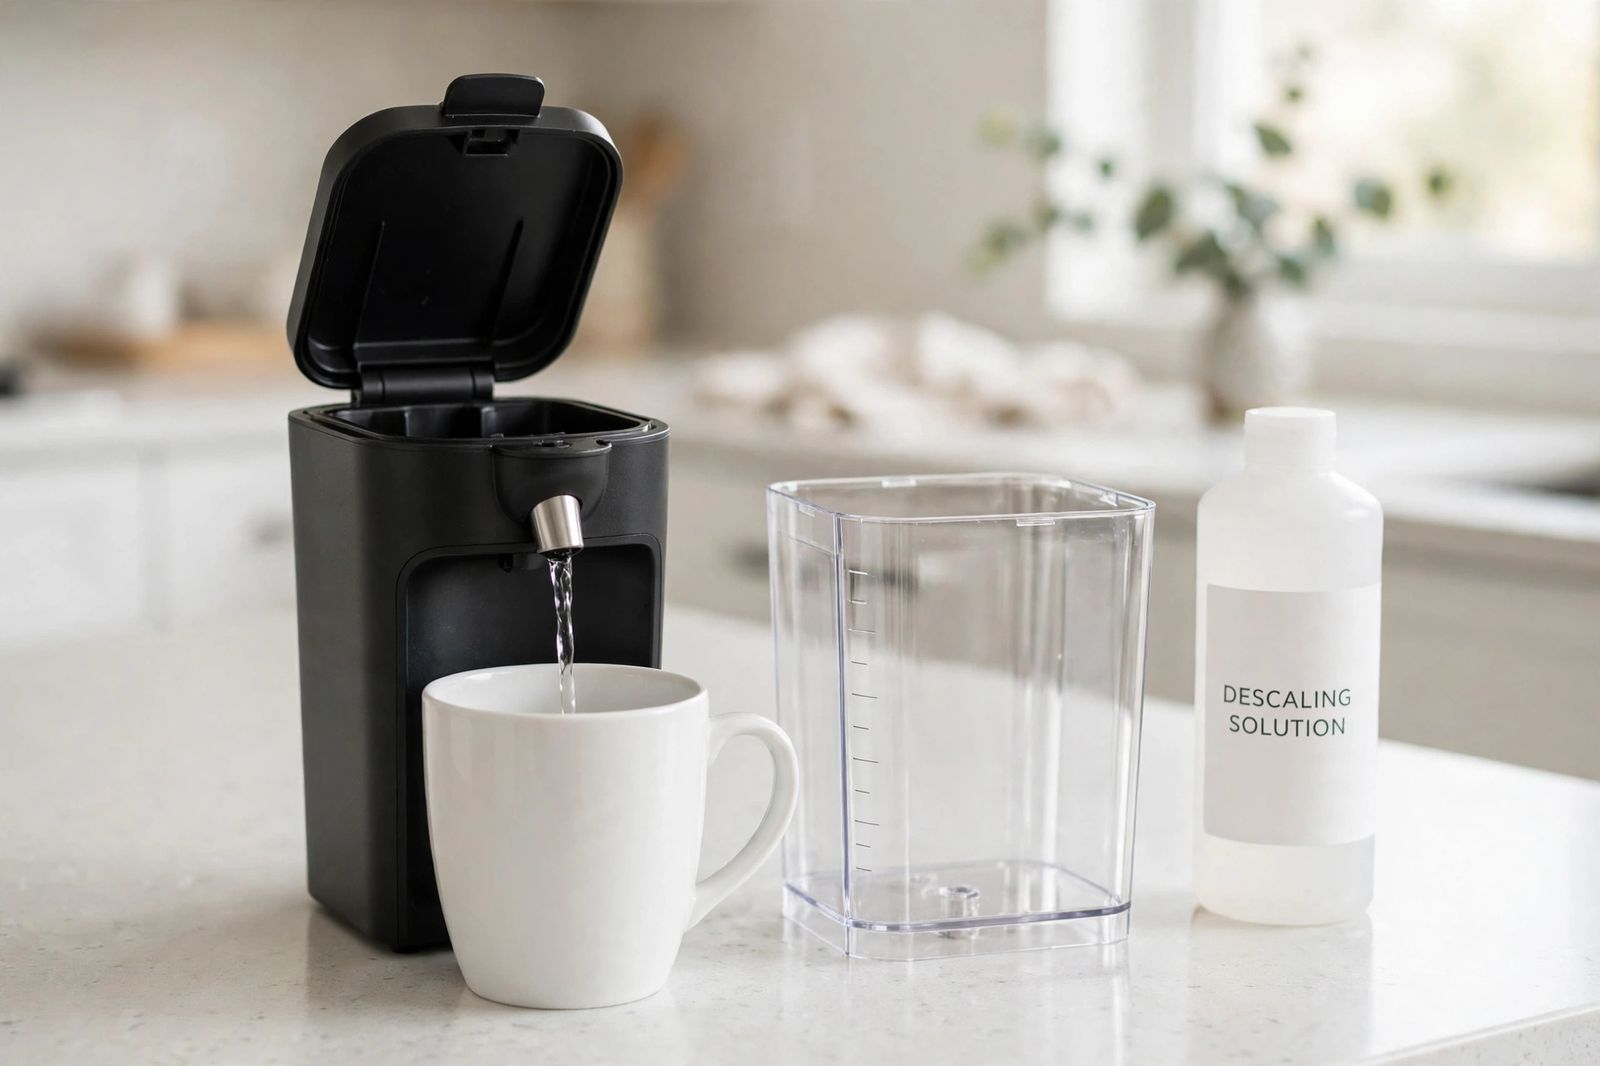
To descale a Keurig, empty the reservoir, take the water filter out, and pour in one full bottle of Keurig Descaling Solution plus a bottle of water — then, before you brew anything, put the brewer into Descale Mode if your model has one: with the brewer plugged in but powered off, hold the two buttons for your model family together for three seconds, as the table below shows. Brew the whole solution reservoir into a large ceramic mug, emptying it into the sink, until the ADD WATER light comes on. Rinse the reservoir, refill it to the MAX line with fresh water, and brew again until the DESCALE light turns off. Models with no Descale Mode — the K-Classic, K-Elite, K-Select and K-Mini families among them — run the same solution through by hand instead, stand for 30 minutes with the power on, and then need at least 12 fresh-water rinse brews. Budget about 20 minutes on a Descale Mode model and about 45 minutes on a classic one, and descale every three months, or every three to six months where your manual gives the wider interval.
That first step — activating the mode, from off, before the first brew — is the one most owners miss, and missing it is the usual reason a descale “doesn’t work” and the light stays on. Brewing descaler through a Descale Mode brewer the ordinary way cleans the inside, but it never completes the programmed routine the brewer is waiting for, so the notification stays. The reverse mistake is just as common: hunting for a button combination on a model that has none.
First: does your Keurig even have a Descale Mode?
There is no single Keurig descaling procedure, because there is no single Keurig. Keurig’s own Use and Care Guides split the range into families that start the job differently, stand for different lengths of time, and finish on different signals. Find your model name — it is on the front or the base — and start from its row.
| Model family | How to activate Descale Mode | Stand time | The cycle is finished when |
|---|---|---|---|
| K-Slim, K-Slim + ICED, K-Supreme, K-Supreme Plus, K-Iced Plus, K-Brew + Chill, K-Café Essentials, K-Café Barista Bar, K-Express, K-Iced | Plugged in and powered off, hold 8 oz and 12 oz together for 3 seconds until DESCALE turns solid, then press the flashing BREW button (on some of these, the flashing 12 oz button) | None | Fresh-water brews until the DESCALE notification turns off |
| K-Express Essentials, K-Iced Essentials (separate 6, 8 and 10 oz buttons) | Plugged in and off, hold 6 oz and 10 oz together for 3 seconds, then press the flashing 8 oz button | None | 8 oz fresh-water brews until the DESCALE light turns off |
| K-Express Essentials, newer version (one SIZE button + BREW) | Plugged in and off, hold SIZE and BREW together for 5 seconds, then press BREW when it flashes | None | 8 oz fresh-water brews until the notification turns off |
| K-Duo Hot & Iced (Gen 2), K-Duo Essentials Hot & Iced (Gen 2) | Plugged in and off, hold CUPS and OZ together for 3 seconds; run the single-serve cycle, then the carafe cycle — both sides, with the carafe on the heating plate | None | Two single-serve rinses, then a carafe rinse; the mode exits and DESCALE turns off |
| SMART brewers (K-Café SMART, K-Supreme SMART, K-Supreme Plus SMART) | No button combination. When the Descale notification shows, press the left arrow and choose CONTINUE; if it is not showing, press both arrows together to open Settings and select Descale Mode | None | The screen reads DESCALE COMPLETE |
| K-Classic, K-Café, K-Café Special Edition, K-Latte, K-Elite, K-Compact, K-Select | No Descale Mode — do not hunt for one. Power on, lift and lower the handle with no pod, and brew the largest size | 30 minutes, power on, after the solution reservoir is through | At least 12 largest-size fresh-water rinse brews |
| K-Mini, K-Mini Plus | No Descale Mode and no descale light. Use one third of a bottle (4.6 oz) plus fresh water to the fill line, lift and lower the handle, and press BREW; start a second brew and switch off as the solution begins to dispense | At least 30 minutes, power off, with the solution sitting in the brewer | Two fresh-water brews at the largest fill |
| K-Duo, K-Duo Essentials, K-Duo Plus, K-Duo Special Edition (Gen 1) | No Descale Mode. Run a 12 oz single-cup cleansing brew and a 12-cup carafe cleansing brew | At least 30 minutes | Four 12-cup carafe rinses and four 12 oz single-cup rinses |
Two corrections belong here, because the internet gets both backwards. The K-Elite has no Descale Mode — the 8 oz + 10 oz hold some guides prescribe for it appears in no Keurig guide for that model; its procedure is the manual row above. And the K-Slim does have one — the 8 oz + 12 oz hold — despite guides that walk K-Slim owners through a manual process and leave them wondering why the light stays on. If your model is not in the table, Keurig’s support site carries its Use and Care Guide; if that guide shows no mode, treat your brewer as a classic.
Before you start
- A large ceramic mug, 10 oz minimum — never a paper cup. Every Keurig guide checked says the same thing: you are about to pour mug after mug of hot liquid, and paper softens.
- One bottle of Keurig Descaling Solution (14 oz), or your chosen alternative — the comparison below matters because the choice changes the rinsing, not the steps.
- Fresh water and a sink within reach. You will empty the mug after nearly every brew.
- No pod in the holder, and the water filter out. A descale always runs with the pod holder empty, and the charcoal filter removed and set aside — descaler saturates the charcoal and can restrict flow afterwards. Refit it, or a fresh one, only after the rinse.
- Never immerse the brewer in water, and hand-wash the reservoir, lid and drip tray; do not dry the reservoir’s inside with a cloth, because lint can remain.
The full cycle, start to finish
The skeleton is the same on every family; only the activation (above), the stand, and the finishing signal differ.
- Prepare. Empty the reservoir, remove the filter, pour in the entire bottle of solution, then fill the empty bottle with water and add that too. (K-Mini: one third of a bottle, 4.6 oz, topped up to the fill line.) Mug on the tray, no pod in the holder.
- Activate, if your model has a mode. Plugged in and powered off, hold your family’s buttons for three seconds (five on the newer Essentials). DESCALE turns solid and a button starts flashing. On a classic, skip this — there is nothing to activate.
- Run the solution through. Press the flashing button — or, on a classic, lift and lower the handle and choose the largest size. Pour each mug into the sink and keep going until the ADD WATER light comes on. Do not stop when the reservoir merely looks empty, do not lift the handle or pull the reservoir mid-cycle, and do not wander off: several of these brewers switch off after about five idle minutes, which abandons the sequence.
- Stand — classic models only. Leave the brewer on for at least 30 minutes with the solution inside. This soak, not the brews before it, is where stubborn scale dissolves. Descale Mode models go straight to the rinse; a K-Mini stands with the power off.
- Rinse the reservoir, discard any leftover solution, and refill to the MAX line with fresh water.
- Run the rinse to its real end. Descale Mode: press the flashing button each time until the DESCALE notification turns off and the brewer exits the mode itself. Classic: count at least 12 rinse brews at the largest size, refilling once partway. Gen 1 K-Duo: four carafe and four single-cup rinses.
- Refit the filter and note the date — the next descale is three months away.
Foam at the spout during step 3 is normal: Keurig’s K-Café Essentials guide explains the solution can foam as it reacts with the scale inside. If the brewer instead stops dispensing altogether, see the recovery section below — it is documented behaviour on a heavily scaled machine, not a breakdown.
How long the whole job actually takes
| Family | Solution brews | Stand | Rinse | Total, start to finish |
|---|---|---|---|---|
| Descale Mode single-serve (K-Slim, K-Supreme, K-Express, K-Café Essentials and relatives) | Brew the full solution reservoir to ADD WATER | None | One full fresh-water reservoir, to DESCALE off | About 15–20 minutes — Keurig puts the K-Café Essentials and K-Express Essentials procedures at approximately 20 minutes |
| K-Brew + Chill | As above | None | Two fresh-water brews, to notification off | About 15–20 minutes |
| Classic single-serve (K-Classic, K-Elite, K-Select and relatives) | Largest-size brews to ADD WATER | 30 minutes, power on | At least 12 largest-size brews | About 45 minutes — Keurig’s own allowance for the procedure |
| K-Mini, K-Mini Plus | One brew, then a second started and stopped | At least 30 minutes, power off | Two largest-fill brews | About 30–40 minutes, most of it the stand |
| K-Duo (Gen 1) | One single-cup brew and one carafe brew | At least 30 minutes | Four carafe + four single-cup brews | About 75 minutes |
The pattern is worth naming: the clock difference between families is almost entirely the stand. A Descale Mode brewer is not cleaning faster — it is cleaning without the soak, because its programmed cycle holds the solution in the machine differently. Cutting a classic’s stand short to match a K-Slim’s 20 minutes is the classic way to do the job twice.
Descaling solution or vinegar? The honest comparison
Keurig’s guides name exactly one product. Every Use and Care Guide checked for this article lists Keurig Descaling Solution in what you need, writes the procedure around a 14 oz bottle of it, and gives no vinegar procedure and no vinegar quantity at all. Vinegar is not forbidden in those guides — it is simply absent, and that distinction matters for what can honestly be claimed about it.
| Keurig Descaling Solution | White distilled vinegar (1:1 with water) | |
|---|---|---|
| Cost per descale | One single-use 14 oz bottle per descale. TechRadar’s Keurig guide listed it at $12.99 a bottle on keurig.com ($9.74 on subscription) — treat that as a dated list price, not a live one, and check the current price before you buy | A fraction of that. A large jug of plain white vinegar costs a few dollars and covers many descales; the vinegar in one 1:1 reservoir is the cheap part of the job either way |
| Smell and taste | Low odour; rinses out on the procedure’s own rinse count | Strong, lingering smell, and it survives a light rinse — plan on extra fresh-water brews beyond the standard rinse, until a mug of plain hot water smells and tastes of nothing |
| What Keurig documents | The whole procedure: dose, activation, stand, rinse count and the signal that ends it | Nothing. No dose, no stand time and no rinse count in any Keurig guide checked. The 1:1 mix and the extra rinsing come from general practice, not from the maker |
| Warranty position | The documented method. If a fault is ever raised under warranty, this is the procedure the conversation will be about | See the correction below — the common claim that vinegar automatically voids the warranty is stronger than anything in the warranty text itself |
| Best for | A brewer still in its one-year warranty, anyone who wants the documented procedure, anyone who hates the smell | A brewer out of warranty, a tight budget, and an owner willing to rinse longer than the book says |
The warranty correction. Popular guides state flatly that using anything other than Keurig’s solution voids your warranty, and one widely read version claims to have found that sentence in the manual. The actual limited one-year warranty text in Keurig’s guides does not say that about descaling. What it says is that the warranty does not cover damage caused by use of non-Keurig pods or accessories, services by anyone other than Keurig, or misuse — and that damage or malfunction resulting from the use of non-Keurig pods and accessories may not be covered. That is a “damage it causes is on you” clause, not an automatic void for pouring vinegar in the tank. The honest summary is narrower than the folklore in both directions: vinegar is not a method Keurig publishes or stands behind, a warranty claim for damage Keurig attributes to an undocumented cleaner would be an argument you could lose, and in-warranty owners have a simple reason to use the bottle — but “vinegar voids your warranty, full stop” is not a sentence Keurig’s own text supports.
If you do use vinegar, the rules that keep it sensible are these: plain white distilled vinegar only, never apple cider, malt or cleaning-strength vinegar; mixed 1:1 with water, never straight; run through exactly the same activation, brews and stand as the solution procedure for your family; and then rinse past the standard count — the classic’s 12 brews are a floor, not a ceiling, when the tank held vinegar.
Why the descale light is still on
On most newer brewers the light is not measuring scale at all. Keurig’s guides describe the maintenance alert as a reminder that arrives after every 250 brews on the K-Express, K-Iced and K-Slim + ICED families, and after every 500 on some others — a counter, not a sensor. Two consequences follow. The light can arrive while buildup is still minor, especially on filtered water. And on a Descale Mode brewer it turns off not when the scale is gone, but when the brewer has completed its programmed routine — which is why Keurig’s guides state that the full descaling procedure must be completed to turn off the Descale light.
Work the causes in this order:
- You never entered Descale Mode. The brewer was on when you started, so the button hold did nothing. Start again from plugged in and powered off.
- You stopped after the solution. The fresh-water reservoir is half the routine. Brew it through, to the notification turning off — not to the tank looking empty.
- The cycle was interrupted. A lifted handle, a removed reservoir, or the brewer’s own auto-off after idle minutes can abandon the sequence. Stay at the counter and press BREW the moment it flashes.
- On a classic, you shorted the rinse. Fewer than 12 largest-size rinse brews, or a skipped 30-minute stand, leaves the manual procedure incomplete.
- On a K-Duo Gen 2, you did one side. Both the single-serve and the carafe cycles, in both phases, or the light stays.
- Flow is restricted for another reason. Clear the entrance and exit needles (below) and reseat the reservoir firmly, then repeat the procedure.
Unplugging is not a reset. No Keurig guide checked describes an unplug-to-reset procedure; the 30-minute unplug that circulates online is Keurig’s recovery step for a brewer that stops dispensing mid-descale, and even after it, the procedure still has to be completed. If the light is still on after two complete procedures with descaling solution, with the needles cleared, that is Keurig’s own threshold for treating it as a service question rather than a technique one — the same threshold its guides set for a brewer still pouring partial cups after two descales. Contact Keurig Customer Service at 1-866-901-BREW (2739).
If the brewer stops dispensing mid-descale
A heavily scaled brewer can react badly to the descaler itself: little or no output, then the sound of air blowing out. Keurig documents this in its guides and gives the recovery in the same place:
- Turn the brewer off and unplug it.
- If descaling solution is in the reservoir, discard it, rinse the reservoir thoroughly, and refill with fresh water.
- Plug back in, power on, and repeat the fresh-water rinse step. The brewer should begin to function normally as the solution is rinsed out and the scale is removed.
- If the problem persists, let the brewer sit unplugged for at least 30 minutes before continuing with the rinse.
Do not respond with more descaler. The machine is blocked, not under-dosed, and the documented fix is more rinsing.
Cleaning is not descaling
Descaling removes what your water left behind. It does nothing about what your coffee left behind, and Keurig treats the two as separate jobs — the same split the laundry room makes, where a washer’s tub cycle and its gasket-and-filter hand work are different tasks in how to clean a washing machine.
- The needles. Grounds gather in the exit needle, inside the bottom of the pod holder, and the entrance needle, under the lid. Brewer unplugged, work a straightened paper clip gently into the holes, then run two cleansing brews with no pod. This is also the first check when grounds appear in your cup.
- The pod holder and funnel wash by hand; the reservoir, lid and drip tray are hand-wash only — Keurig’s guides state plainly that the parts are not dishwasher safe.
- The water filter is changed every two months on Keurig’s schedule. It freshens the water but does not remove the dissolved calcium and magnesium that become scale, so it complements descaling rather than replacing it.
- The water itself. For chlorine or mineral tastes, Keurig recommends bottled or filtered water — and states plainly: do not use distilled water.
How often, and the signs you are overdue
Keurig’s current guides converge on every three months, or when the Descale notification turns on; the classic guides widen that to every three to six months. Hard water shortens every interval, because your water’s mineral content is what builds the scale. Monthly schedules in some online guides have no Keurig source behind them; neither does waiting for symptoms. The signs, when they come, are slower brews, short or partial cups, and cooler, flatter coffee — and by the partial-cup stage Keurig’s advice is already to descale, and to call for service if two full procedures do not restore a full cup.
Put the date somewhere you will see it, the way you would for the kitchen’s other standing jobs — the coils and seals in refrigerator not cooling, or the safe outside checks in microwave not heating — because a counter-based light exists only on the newer half of the range, and the classic half relies on your calendar entirely.
Frequently asked questions
How do I put my Keurig into Descale Mode? Start with the brewer plugged in and powered off, hold the two buttons for your family together — 8 oz and 12 oz on most current single-serve models, 6 oz and 10 oz on the button version of the K-Express Essentials, SIZE and BREW for five seconds on the newer Essentials, CUPS and OZ on the Gen 2 K-Duo — then press the flashing button to begin. SMART brewers use the on-screen notification or Settings instead. The K-Classic, K-Elite, K-Select, K-Mini and Gen 1 K-Duo families have no Descale Mode to enter.
Can I descale a Keurig with vinegar? You can, and people do, at 1:1 white distilled vinegar to water, through the same procedure, with extra rinsing for the smell. But know what it is: a method Keurig does not publish. Its guides name only Keurig Descaling Solution, give no vinegar dose, and its warranty excludes damage caused by non-Keurig accessories and misuse — which is a reason for in-warranty owners to use the bottle, even though the text does not say vinegar automatically voids the warranty.
How long does it take to descale a Keurig? About 15–20 minutes on a Descale Mode model, about 45 minutes on a classic model including its 30-minute stand, about 30–40 minutes for a K-Mini, and about 75 minutes for a first-generation K-Duo, which has two sides and four-plus-four rinses. The full breakdown is in the timing table above.
Why does my coffee taste of vinegar after descaling? The rinse was too light for vinegar. Refill the reservoir with fresh water and keep brewing and discarding full mugs until a mug of plain hot water smells and tastes of nothing. With descaling solution, the procedure’s own rinse count normally prevents this.
What happens if you never descale a Keurig? Scale keeps building on the heating element and in the water path. Keurig’s wording is measured — scale is nontoxic, but if left unattended it can hinder brewer performance — and the practical sequence is slower brews, short cups, cooler coffee, and eventually a brewer that will not fill properly at all. The light itself is not a blockage sensor: on most newer models it is a brew counter reaching 250 (or 500) brews, and completing the full procedure — not the cleaning alone — is what turns it off.
This article is general home-maintenance information based on Keurig’s published Use and Care Guides, linked above, including the K-Café Essentials guide and the classic-brewer procedure reproduced on Keurig’s behalf in its manuals. Button combinations, doses, stands and rinse counts differ by model and by generation of the same model; your own brewer’s Use and Care Guide is the authority for your machine. Prices mentioned were listed prices at the time their source pages were published and are not live prices.