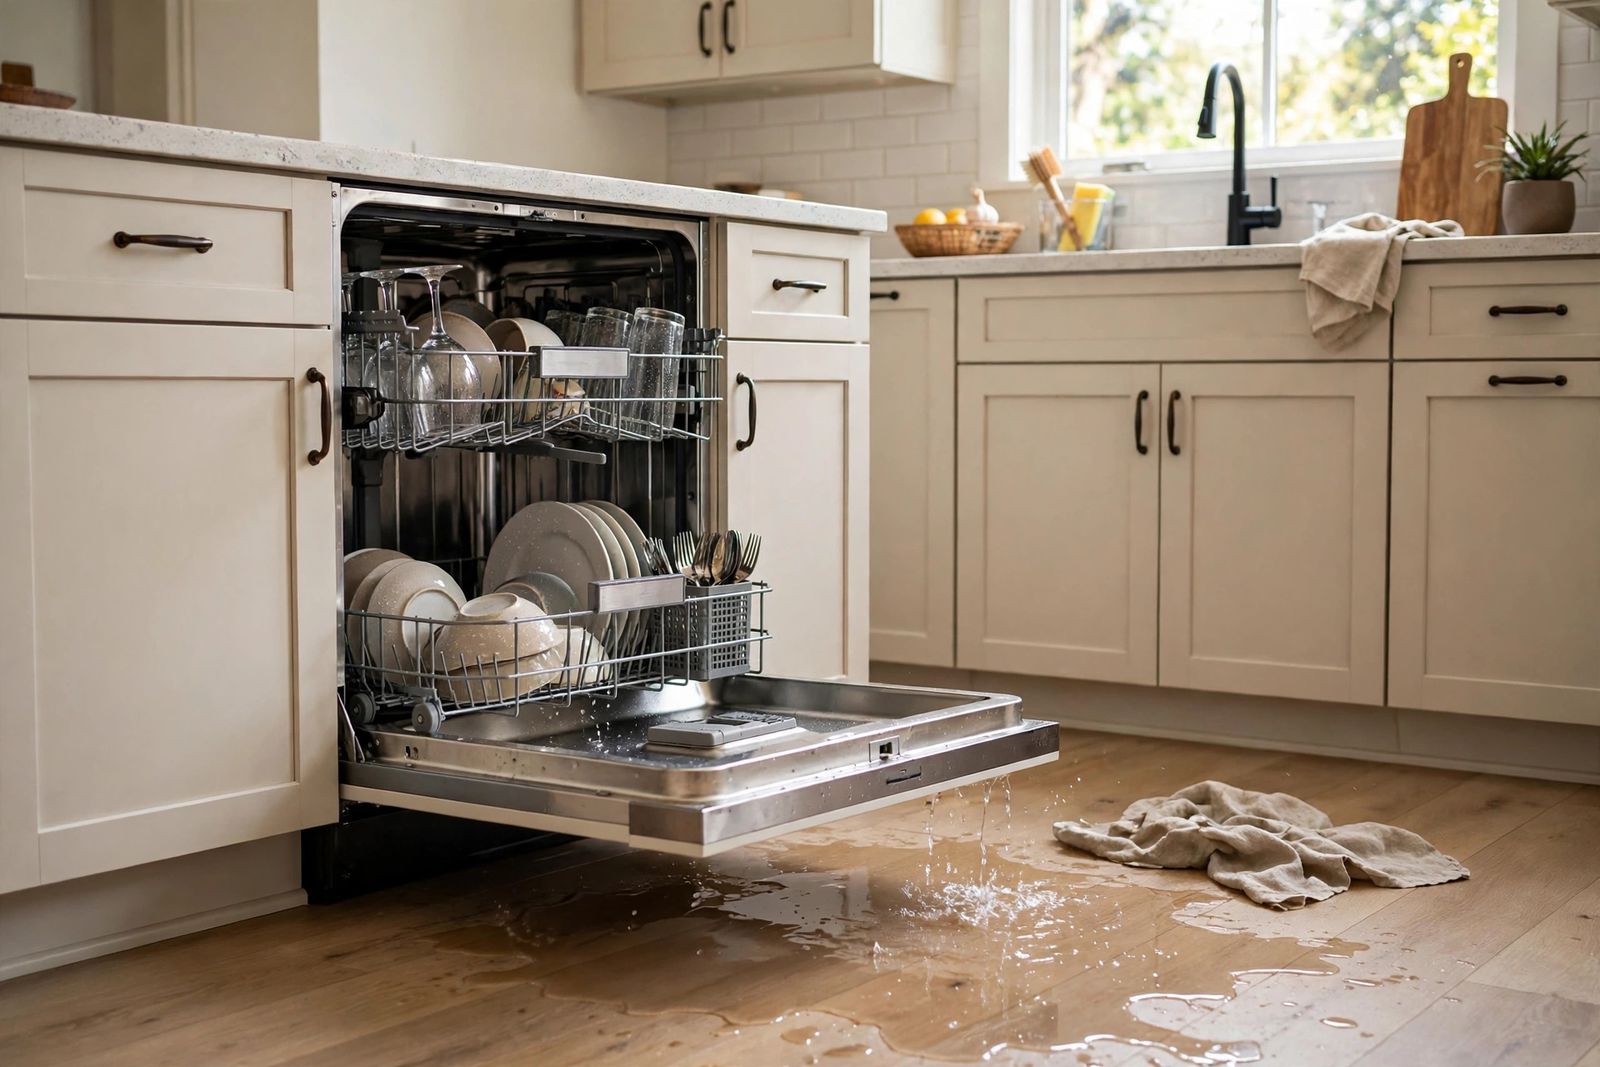
A leaking dishwasher is diagnosed by one fact before any other: where the water appears. Water at the front door points to the door gasket, suds or a spray arm throwing water at the seal. Water underneath the machine points to the water inlet valve, a hose connection or a pump seal. Water behind it or spreading from one side points to the drain hose, the supply line or an overfill that has escaped the tub. Find the first wet place and the moment in the cycle when it got wet, and you have usually named the part — everything after that is confirming it, not guessing. The manufacturers work the same way: Whirlpool’s leaking guide sorts leaks by exactly this map — front and door area, bottom-front centre, and behind or under the cabinet — before it names a single part.
Stop the water first
Do this before any diagnosis, every time. Stop the cycle, close the dishwasher’s water supply valve — usually under the kitchen sink — and switch off the dishwasher’s circuit at the breaker if water is near a socket, wiring or the machine’s electrical connections, or if you will remove any panel. Mop up and dry the floor and the cabinet base: standing water against cabinet floors and floorboards does its damage quietly, and a floor dried now is also your baseline — fresh water after this point tells you the leak is still active. Both Whirlpool and KitchenAid end their own leak checks at the same line: if an active leak continues, power off at the breaker and water supply off. Do not run the machine again “to see” until you have a suspect and a dry floor to test it against — one supervised short cycle, watched, is the test; an unattended full cycle is how a drip becomes a floor replacement.
One warning that shapes the whole method: the puddle is not always the leak. Water runs along the base pan and cabinet floor and drips from the lowest corner, which can be inches from the real source. So work from the first wet spot and the highest wet spot, and use the cycle timing as your second witness — a leak that appears while the machine fills, washes, drains or sits switched off is four different faults wearing the same puddle.
The leak-point diagnosis table
Dry everything first. Then match what you find to one row, and run that row’s confirming check before you order anything.
| Where the water appears | When it appears | Most likely part | The confirming check |
|---|---|---|---|
| Front, along the bottom or corners of the door | During the wash | Door gasket (or lower door seal) | Wipe the gasket and its channel clean, close the door on a dry paper towel at each corner, and run a short wash watched: a towel that comes out wet at one corner, or visible drips tracking from that corner, confirms the seal there. Inspect for tears, cracks and flattened sections. |
| Front, at the door — but the water is foamy | During the wash, soon after a detergent change or a rinse-aid refill | Suds, not a part: wrong detergent, too much detergent, or spilled rinse aid | Look inside the tub: a layer of foam where there should be mostly clear water confirms it. No part has failed — see the suds section below. |
| Underneath, front corner, behind the toe-kick | While filling — or even with the machine switched off | Water inlet valve, or its supply fitting | Power off, toe-kick off, dry the valve body and the supply fitting completely, then turn the water back on and watch with a flashlight without running a cycle. A fitting or valve body that wets itself while the machine sits idle is the leak — a sound valve and fitting stay dry. |
| Underneath, centre of the machine | During the wash or drain, never while idle | Pump seal or sump seal | Toe-kick off, everything dried, then one supervised short cycle with a flashlight: water weeping from the pump body or around the motor shaft while the pump runs — and nowhere else — confirms a seal. This is the pro-territory row; the check is yours, the repair usually is not. |
| Behind the machine, or under the sink cabinet | During the drain (drain side) or during filling (supply side) | Drain hose or its clamps; supply line connection | Dry every fitting under the sink, then run a supervised cycle: the fitting that wets first — drain connection during draining, supply connection during filling — is the one. Run a dry paper towel around each joint; the first damp joint wins. |
| Spreading from one side, or water everywhere at once, with the tub visibly overfull | During filling, and the water level inside looks too high | Float switch stuck down, or an inlet valve that will not close | Open the door and lift the float on the tub floor by hand: it should rise and fall freely and, on most models, click. A float stuck down with debris, or a tub that keeps filling after you lift it, separates the two — stuck float is the clean-and-retest fix; filling that continues regardless is the valve. |
All four locations, the timing and a confirming check belong in one table — locations listed as plain bullets, without checks, leave you guessing, and a table that covers only the front of the machine misses the back and an overfill spreading from the side. The table is the article; the sections below are each row explained.
Front of the door: gasket, latch, level — and the spray arm pretending to be the gasket
The door gasket is the rubber or vinyl seal around the tub opening that the closed door compresses. GE Appliances’ factory-service guide puts it plainly: if water is leaking around the front of the dishwasher, the door seal is the first suspect — an old seal goes brittle and stops sealing — with the door latch as its partner, because a latch that does not pull the door in square leaves a good gasket uncompressed on one side.
Work it in this order:
- Clean before you condemn. Food residue, grease and detergent film on the gasket or the surface it meets break the seal on a gasket that is otherwise sound. Whirlpool and KitchenAid both list debris on the seal and dishes or utensils physically blocking the door from closing among the first checks. Wipe the gasket and its channel, reseat any section that has popped out of its groove, and retest.
- Inspect for the failure shapes. Cracks, tears, a section flattened thin, or rubber gone stiff and shiny. A gasket damaged this way is replaced, not cleaned: both manufacturers’ fix is the same — clean the channel and press-fit the exact OEM gasket for the model, then leave the door closed for some hours so it seats.
- Check the latch and the level. The door should close evenly and pull in with a firm, even resistance; a door that sits proud at one corner will leak at that corner through a perfect gasket. And a machine tipped forward, or leaning to one side, pools its water against the front seal — Whirlpool’s own pre-service check is to level the machine side-to-side and front-to-back on its feet so the door closes squarely, noting that proper levelling alone can stop a leak from the bottom of the door.
- Rule out the spray arm. A cracked spray arm, one with blocked holes, or a load that deflects the jet — a sheet pan or cutting board angled at the door is the classic — throws a focused stream at the door seam and produces a textbook “gasket leak” with a healthy gasket. Spin each arm by hand: it should turn freely and clear the load. If the gasket is clean, intact and evenly compressed and the leak is at the door, the water is arriving there under pressure from inside, and the arm or the loading is why.
The leak that is not a leak: suds
Foam changes the rules, because a tub full of suds does not behave like a tub of water: suds climb, spill over the tub’s front lip and push past seals that hold water perfectly well. The causes are all in the dispenser, not the machine. Hand dish soap — even a small amount, even residue from pre-washing dishes in it — is the most common. So is too much dishwasher detergent, and so is rinse aid: Whirlpool’s owner-manual troubleshooting states it directly — suds can cause the dishwasher to overflow; measure detergent accurately and use only detergents made for a dishwasher — and warns in the same breath to keep the rinse-aid dispenser lid securely closed and not overfill it, because spilled rinse aid foams in the wash.
The confirming signs are visible: foam in the tub, a leak that is bubbly rather than clear, and a start date that matches a new detergent, a heavy hand with the powder, or a rinse-aid refill. The fix is patience, not parts: stop the cycle, let the suds collapse, scoop out what you can, and run rinse cycles until the tub runs clear — then run one normal cycle with the correct detergent at the packet dose before you judge any gasket. Replacing a door seal on a suds leak is the most common wasted repair in this whole article: the new seal leaks too, because the seal was never the problem.
Overfill: the float, and the inlet valve behind it
A dishwasher fills to a set level and no further because a float on the tub floor rises with the water and trips a switch that closes the water inlet valve. GE describes the pair as one safety device: the float and float switch are activated when the right level is reached, and if they are not working properly the dishwasher overflows and leaks onto the floor. Whirlpool and KitchenAid add the mechanism: the float must move up and down freely, and debris under it can stop it signalling the correct level.
That gives you two distinct failures with two distinct signatures:
- The float is stuck. Debris, a stray label or hard-water build-up holds the float down, so the machine never gets the “full” signal. The check is the lift test in the table: the float should move freely and fall back under its own weight. Lift it out or clean around and under it as your model allows, retest with a supervised fill. A float that moves freely and a tub that fills to a normal level and stops — that was the fault.
- The valve will not close. The inlet valve is the electrically operated valve where your home’s supply line meets the machine, behind the toe-kick. It fails two ways: its body or its supply fitting weeps — the idle-wet test in the table catches that one — or it sticks open, so water keeps entering even when the float has risen and the cycle is off, and the tub slowly overfills until water finds the door. The unmistakable signature is a machine that fills, or a tub that gains water, while switched off. A valve that will not seal cannot be adjusted back to health; it is replaced as a unit, and because the job joins a pressurised water line to an electrical part, it sits on the service side of the line for most households. The same valve logic governs the kitchen’s other big appliance — refrigerator not cooling works through the pattern-first diagnosis for the fridge, whose ice and water side fails at the same kind of inlet valve.
While you are under the machine with the toe-kick off, separate a third symptom that is often confused with this one: water left standing in the tub after a finished cycle, with no water on the floor, is not a leak at all — it is a drain fault, and dishwasher not draining works that path in order. A fourth symptom is confused with all three: a cycle that completes, with no leak and no standing water, but dishes that come out dirty — that is a cleaning fault, and dishwasher not cleaning dishes works it link by link, starting with which rack stayed dirty.
Behind and underneath: hoses, clamps and connections
The plumbing leaks are the least dramatic and the most fixable. GE’s guide names the hardware directly: hose clamps secure the drain hose and the circulating hose to the pump, and if they have come loose, or the hoses have cracked, that is the cause of the leak. Whirlpool’s version of the same check covers the whole path — worn, cracked or loose water supply line or drain tube, every connection checked for a tight seal, and damaged lines and fittings replaced rather than patched.
- The drain hose runs from the pump to the sink drain or garbage disposal, and it only carries water under pressure during draining — which is why its leaks keep drain timing. Check both ends: the clamp at the pump outlet under the machine and the clamp at the disposal or drain connection under the sink. Hairline splits hide in the corrugations and at the rubber boots on each end; a hose that is cracked, brittle or split is replaced whole. Where that same hose meets the disposal, the leak keeps the same dishwasher timing but the fault sits at the inlet clamp — garbage disposal leaking covers that joint and the two other places a disposal leaks. Never tape or epoxy a drain hose as a repair — at least one top-ten page recommends exactly that, and it is wrong: a patched pressure hose over a kitchen floor is a postponed flood, and a hose costs little.
- The supply line and its fittings carry water whenever the home supply is on, which is why their leaks keep no schedule at all — the floor wets while the machine is idle. The dry-towel test around each fitting, starting at the shutoff and ending at the inlet valve, finds the weeping joint. A loose fitting is tightened; a corroded line or a fitting that weeps after tightening is replaced.
- Preserve the drain route. If you disturb the drain hose, keep its high loop fastened up under the countertop, or its air-gap connection, exactly as installed — that loop is what stops sink water flowing back into the machine, and flattening it while chasing a leak trades one fault for another.
Centre underneath: the pump and sump seals — pro territory
What is left, once the rows above are eliminated, is the leak the manufacturers agree ends the home checks. The circulation pump pressurises the wash water and the drain pump empties the tub, and both are sealed where their shafts and housings meet the bottom of the tub. GE’s description of the failure is exact: age and detergents dry out the rubber gasket that seals the pump to the bottom of the tub until it leaks. Whirlpool and KitchenAid name the same parts — pump, diverter and motor shaft seals, suspected when water pools under the centre or rear of the machine.
The confirming check is still yours to do, and it is worth doing, because it converts a vague “leaks underneath” into a diagnosis a technician can quote on: everything dried, toe-kick off, one supervised short cycle, flashlight on the pump area. Water that weeps from the pump body or shaft area while the pump runs, with every hose, clamp and fitting above it dry, is a seal — and seals inside a pump assembly are replaced as parts of a disassembly that involves pulling the machine out and, on many models, tipping it. That is the honest boundary of this article: diagnose it here, repair it with a technician. The same boundary covers the last and rarest cause, a cracked tub — plastic tubs crack at corners and around moulded fittings, stainless tubs fail at seams — which no sealant makes sound again; a tub leak on an old machine is a replacement conversation, not a repair.
Repair or replace?
Price the decision by the row of the table you landed on. A gasket, a float clean-out, a clamp, a drain hose or a supply fitting is a small-parts fix on any machine worth keeping, and a suds leak costs nothing but rinses. An inlet valve is a mid-range part whose fitting is the cost — worth doing on a machine that is otherwise sound and washing well. A pump or sump seal is where the arithmetic turns: the labour of pulling and stripping the machine approaches the value of an older dishwasher, so on a machine well into its second decade, or one with other faults queueing behind the leak, that quote is usually better put toward a replacement. The working rule is the same as for any appliance: a single repair costing more than about half the price of a comparable new machine, on an already old unit, is money better spent on the new one. One exception outranks the arithmetic — any leak, however cheap its part, that has been running long enough to soften flooring or swell cabinet bases has a second, larger repair attached to it, and stopping the water today matters more than which side of the rule the part falls on. The leak-tracing method itself transfers: water heater leaking uses the same discipline — make it safe first, then let the drip’s location decide whether you are looking at a fixable fitting or a finished appliance.
Frequently asked questions
Why is my dishwasher leaking from the bottom of the door? Because that is where three different faults surface: a worn, dirty or flattened door gasket, suds from the wrong or too much detergent spilling over the tub lip, or an overfill from a stuck float raising the water past the door’s lower edge. The table’s checks separate them — clean gasket and a foam check first, then the float lift test — before any part is ordered.
My dishwasher leaks even when it is turned off. What does that mean? Water entering a switched-off machine has only one pressurised source: the supply side. Either the inlet valve is stuck open or failing to seal, letting the tub fill slowly until it overflows, or a supply fitting is weeping. Close the supply valve under the sink — that stops it — and use the idle-wet test in the table to separate valve from fitting.
Can the wrong detergent really cause a leak? Yes — it is one of the manufacturers’ own listed causes. Hand dish soap, excess detergent or spilled rinse aid creates suds that climb and spill where water alone would be contained, and the resulting “leak” appears at the door with every seal intact. Clear the suds, dose correctly, and retest before replacing anything.
Why does it only leak during the drain part of the cycle? Because the drain path — drain hose, its clamps and the drain pump — is only under pressure while the pump is pushing water out. A split hose or loose clamp that is dry all cycle can spray during draining. Dry the fittings and watch one supervised drain: the first wet joint is the fault.
Is it safe to keep using a dishwasher with a small leak? No. Even a slow leak is water delivered repeatedly to flooring, cabinet bases and the machine’s own electrical parts, and underneath-leaks in particular can run for weeks before the floor shows it. Stop the water, work the table, and run only supervised test cycles until a full cycle stays dry.
This article is general information, based on the manufacturer support pages linked above (Whirlpool, KitchenAid and GE Appliances). Models differ in gasket design, float and valve locations and access; your dishwasher’s manual governs your machine. Work involving the inlet valve’s electrical connections, pump and sump seals, or any fault where water has reached wiring belongs to a qualified appliance technician.