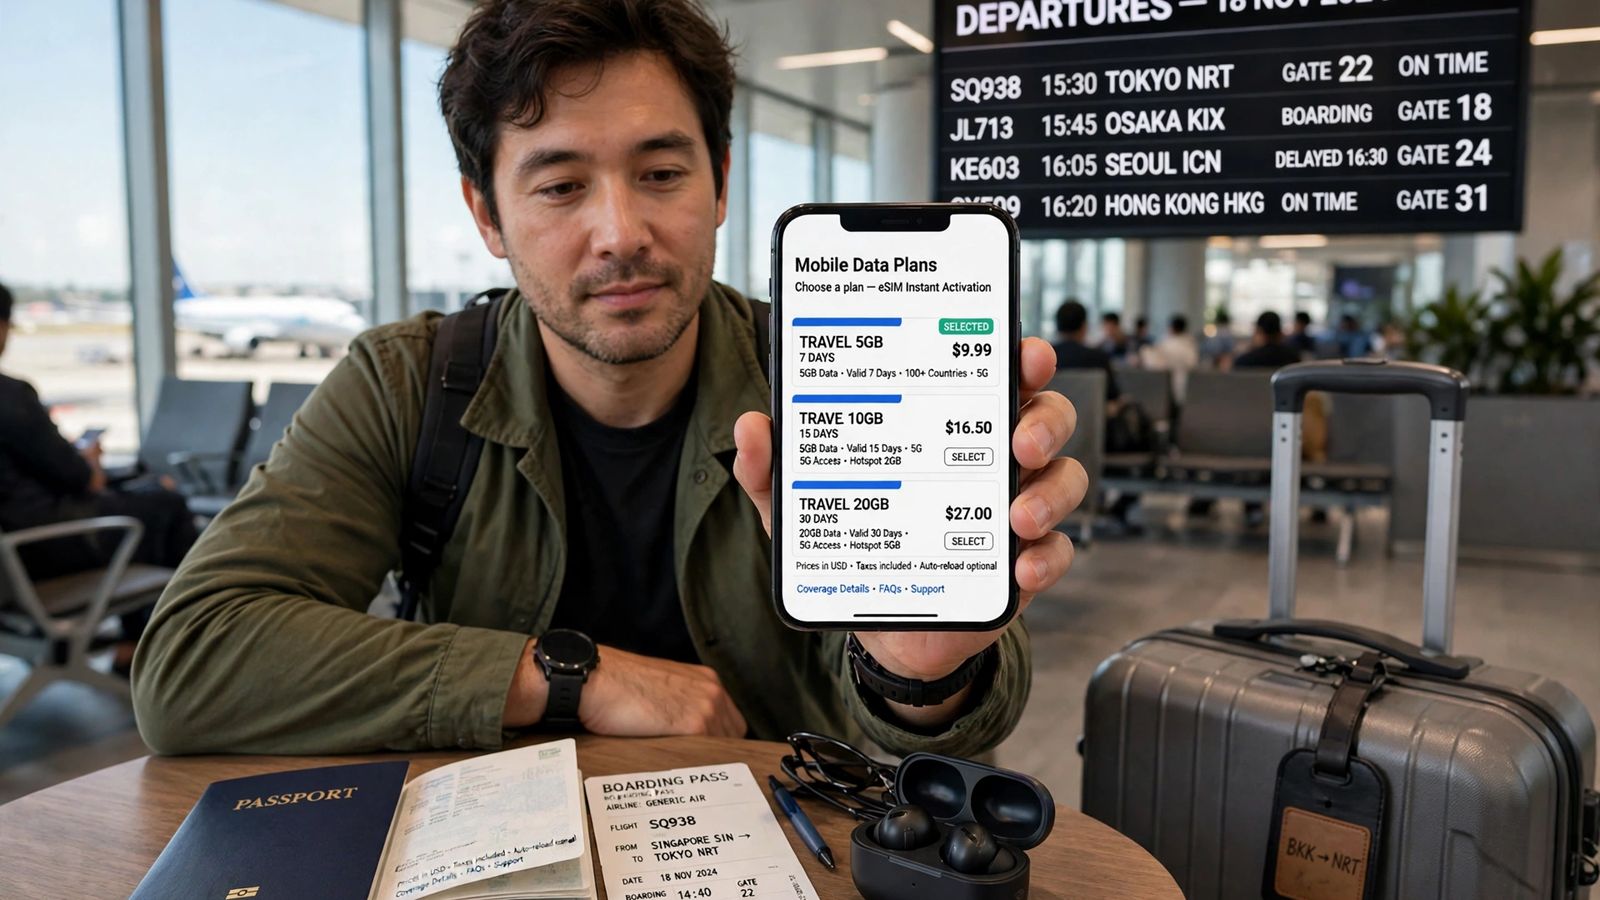
To learn how to use an eSIM for travel, the whole job is four steps, in this order: check that your phone supports eSIM and is unlocked, buy a plan that covers your destination, install the eSIM at home on Wi-Fi before you fly, then — after you land — turn that line on, set it as your mobile data line and turn data roaming on for that line only. Your home line stays on alongside it for calls, texts and bank codes, with its own data roaming off.
What a travel eSIM is
An eSIM is a SIM built into the phone instead of a card you insert. The GSMA, the industry body behind the standard, describes consumer eSIM as a globally backed remote SIM specification: you download an operator profile onto the chip inside your device, and you stay in control of it — enable, disable, delete and swap profiles in settings, and hold several on one phone.
A travel eSIM is a short-term prepaid profile bought for the place you are visiting, usually from a worldwide service provider or an app rather than an airport shop. Apple notes that worldwide providers sell prepaid data plans usable in over 190 countries and regions, with different data amounts, durations and country lists — so the plan’s own terms, not the category, decide what you get. Most eSIM phones also support dual SIM: two lines active at once, one carrying mobile data. That split — travel line for data, home line for your number — is the setup this article builds.
Step 1: check your phone supports eSIM — before you pay
Compatibility has three parts: the model, the region it was sold in, and the carrier it is tied to — a model name alone is not enough.
The quick test: look in SIM settings for an Add eSIM option, or dial *#06# and look for an EID number alongside the IMEI. An EID means eSIM hardware is present; no Add eSIM option and no EID means the phone cannot take a travel eSIM.
- iPhone: Apple’s travel eSIM page requires an iPhone XS, iPhone XS Max, iPhone XR or later. Two regional exceptions matter: in China mainland only the specific models Apple lists support eSIM, and a China mainland carrier’s eSIM cannot be used on a device bought outside China mainland; in Hong Kong and Macao, certain models have two physical nano-SIMs instead.
- Google Pixel: Google’s Pixel Help says a Pixel 3a or later can run two SIMs — one physical SIM and one eSIM — and a Pixel 7 or later can run two eSIM profiles at once if the carrier allows it. Google warns eSIM works only with some carriers, and a Japanese-bought Pixel 3a cannot have two SIMs.
- Samsung Galaxy: Samsung’s Galaxy eSIM page lists supported models but warns eSIM service may vary by country and carrier, and may not be supported depending on the country of origin even on a listed device. The Settings check — Settings > Connections > SIM manager, look for Add eSIM — is the reliable test for your exact phone.
Step 2: check the phone is unlocked — the check that decides everything
A carrier-locked phone rejects an eSIM from another provider. This is the most common reason a travel eSIM fails, and it cannot be fixed after departure — only the carrier that locked the phone can unlock it.
Apple states the rule plainly: to use your iPhone with another carrier when travelling, the iPhone cannot be locked to a carrier. Its check: Settings > General > About > Carrier Lock — No SIM restrictions means unlocked.
On Android there is no single equivalent screen, so the check is the question itself: if you bought the phone from a carrier — especially on a contract or instalment plan — ask that carrier to confirm it is unlocked for other providers’ eSIMs, before you buy the plan. Google gives the same advice for Pixel: eSIM depends on the carrier, so ask yours. Do this days ahead: unlocking runs on the carrier’s timeline.
Step 3: choose the plan — and read the four terms that matter
Buy for the destination and the trip, not for a headline price. Plans come in three shapes — one country, a region, or global — and the country list is the first term to verify: search for your destination by name instead of trusting the region label, because a regional plan does not include every country in that region. One more group term matters for multi-country trips: a regional or global eSIM for travel keeps working across the borders it lists, while a single-country plan ends at the border. Then read these four terms, because they differ between plans and decide how the trip goes:
- Data-only or with a number? Many travel plans are data-only — Apple notes there are many apps offering data-only eSIM plans. A data-only plan gives you internet and no phone number: no ordinary calls or SMS on that line. Messaging apps work as normal over data. If a plan includes a number it will say so; if the listing never mentions one, treat it as data-only.- When does validity start? Some plans count their days from first connection in the destination; others start at installation or purchase. The terms say which — and that line decides whether installing a week early costs you days.
- Can you top up? A plan you can add data to in the provider’s app is a safety net; one you cannot means installing a second eSIM mid-trip if you run out.
- Is hotspot use allowed? Hotspot and tethering are plan features, not phone features: plans allow, limit or block sharing the connection with a laptop or another phone. Check this term before paying if you plan to work from the connection. The sharing itself runs over Wi-Fi from your phone — on current models that is the standard explained in what Wi-Fi 7 is.
Step 4: install your eSIM for travel before you fly, on Wi-Fi
Installing means downloading the profile onto the phone — not the same as starting the plan — and it needs an internet connection: Apple states the iPhone must be connected to a Wi-Fi network or hotspot to set up an eSIM (with a narrow exception for some eSIM-only models in some regions). Do it at home, a day or two before departure; airport Wi-Fi, with its sign-in pages and dropouts, is the wrong place.
You will install by one of three routes: a QR code (the usual route — display it on a second screen or printout, since a phone cannot scan its own screen), the provider’s app or a link (Apple’s eSIM setup page lists both among its setup methods), or manual entry of the SM-DP+ address and activation code, which all three platforms offer under the QR screen.
iPhone: go to Settings > Cellular (Mobile Data in some regions), tap Set Up Cellular or Add eSIM, then Use QR Code; scan and follow the prompts, entering the confirmation code if one was supplied. You can also scan the code with the Camera app and tap the plan-detected notification, and on iOS 17.4 or later press and hold a QR code shown in an email or browser on the phone itself, then tap Add eSIM. Label the new line “Travel” or the country name — two unlabelled lines are how the wrong one ends up carrying data.
Google Pixel: go to Settings > Network & internet > SIMs, tap Add SIM, then Set up an eSIM; scan the QR code and follow the prompts. For manual entry, use the help option on the scanning screen.
Samsung Galaxy: go to Settings > Connections > SIM manager, tap Add eSIM, then Scan QR code — or Enter activation code for manual entry.
When installation finishes, the new line normally shows no service at home — expected, because it has nothing to connect to yet. Leave mobile data on your home line for now, and leave the travel line off unless your plan starts at first connection. Before the trip is also the moment to secure the accounts it depends on — how to set up passkeys covers the sign-in protection worth having before you rely on hotel networks and a travel line.
Step 5: switch over when you land
Land, turn off Airplane Mode, and make these settings:
- Turn the travel line on.
- Set the travel eSIM as the mobile data line. iPhone: Settings > Cellular > Cellular Data, select the travel line — Apple’s dual SIM guidance notes an iPhone can use one mobile data network at a time, so this choice is the whole decision. Pixel: Settings > Network & internet > SIMs, under Your primary SIMs set Mobile data to the travel SIM. Galaxy: Settings > Connections > SIM manager, set the travel eSIM as primary for mobile data.
- Turn data roaming ON for the travel line. This feels wrong and is required: most travel profiles connect through partner networks, which the phone treats as roaming — and the toggle is per line.
- Turn data roaming OFF for your home line, and turn off automatic data switching (Allow Cellular Data Switching on iPhone; Automatic data switching on Pixel). With switching on and the travel signal weak, the phone can quietly move data back to your home line at roaming rates — the surprise bill this setup exists to prevent.
- Leave network selection on automatic unless your provider names a specific network, and only enter APN details if the provider supplied them. Keep your home line on, set as the default for calls and texts (Pixel: Calls and Texts under Your primary SIMs; iPhone: Default Line).
Give the phone a minute or two to register, then test with a map or a web page. On iOS 26 or later, Apple adds a shortcut: a Turn On Travel eSIM notification may appear on arrival — choosing both lines puts data on the travel eSIM — and the phone may switch back to your home line automatically when you return, depending on region.
Living with two lines during the trip
With the split set up correctly, daily use needs no attention. Apps — maps, messaging, banking, translation — use the travel line’s data. WhatsApp and similar apps keep your existing number, because it belongs to your account, not to whichever SIM is carrying data. FaceTime and iMessage also continue on your home line, per Apple.
The home line staying on is what keeps calls, SMS and two-factor codes arriving on your usual number. Two cautions: your home carrier can still charge for calls abroad under its roaming rules — data is the part you have moved, not voice — and Wi-Fi calling rules vary by carrier. If the hotel connection itself keeps dropping, that is a separate fault — WiFi keeps disconnecting covers the device-versus-router test for it. Watch usage in the provider’s app, and save the plan’s QR code and activation details offline before you travel — how to screenshot on Android covers the quick capture — because you may need them with no connection at all.
If the eSIM does not connect after landing
Work through this order — it starts with the settings that cause most failures of an eSIM for travel:
- Data roaming is off on the travel line. The most common cause. Turn it on for that line only.
- The home line is still the data line. Re-check the mobile data selection from Step 5.
- The travel line is off, or data switching pulled data home. Turn the line on; turn data switching off.
- The phone has not re-searched for networks. Toggle Airplane Mode on and off, wait, then restart the phone.
- Network or APN details are wrong. Leave network selection on automatic unless the provider named a network; enter an APN only if the provider gave you one.
- Do not delete the eSIM. Deleting is not a reset: some profiles cannot be added again without the provider’s help. If the checks above fail, contact the provider’s support with the plan still installed.
- The phone is locked. If the profile was rejected at installation, revisit Step 2 — no in-trip setting can fix a locked phone, which is why the check belongs before departure.
When you get home
Reverse Step 5: set mobile data back to your home line and turn the travel line off. Keep the profile if the plan is reusable or still valid; delete it only when it is finished, since a deleted profile may not be reinstallable from the same code.
Frequently asked questions
Can I use an eSIM for travel if my phone is locked to a carrier? No. A locked phone accepts only its own carrier’s profiles. Check before you buy — on iPhone, Carrier Lock in Settings > General > About should say No SIM restrictions — and ask your carrier to unlock it if it does not.
Does a travel eSIM give me a phone number? Usually not. Most travel plans are data-only: internet, but no number for calls or SMS. Messaging apps keep working on your existing number over data, and your home line stays reachable for calls, texts and verification codes.
Should I install the eSIM before I travel, or after I arrive? Install it before you travel, at home on Wi-Fi — installation needs an internet connection, and problems are easier to fix before departure. Installing is not starting: when validity begins depends on the plan’s terms.
Can I keep my home SIM and a travel eSIM active at the same time? Yes, on a dual SIM phone — the normal setup. Apple supports two active eSIMs on supported iPhone models, and a physical SIM plus an eSIM on models with a tray; Google supports a physical SIM plus an eSIM on Pixel 3a or later, and two eSIMs on Pixel 7 or later if the carrier allows it.
This article is general information, based on the Apple, Google, Samsung and GSMA pages linked above and checked in November 2026. Menu names vary by model, region and software version — where yours differ, follow the same-named setting in your maker’s own help, and check your plan’s terms for validity, hotspot and top-up rules.